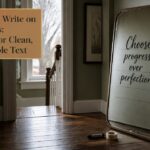
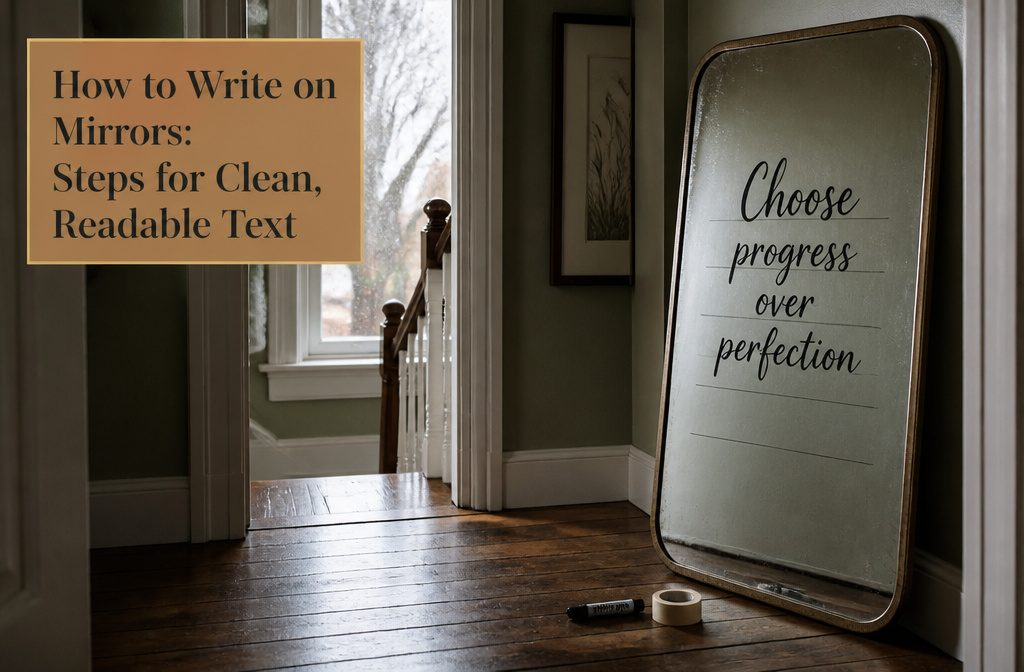
You can letter a mirror in under an hour with oil-based paint pens and layout tape, but most designs fail at the guideline stage.
If your base line crosses through the guide mark instead of sitting above it, the wet oil-based ink smears into the dry-erase marker and leaves streaks that take longer to fix than the whole project should have taken.
Space your guidelines about an inch apart, write above them, and wipe them away with Windex once the lettering dries.
1. Choose Your Marker
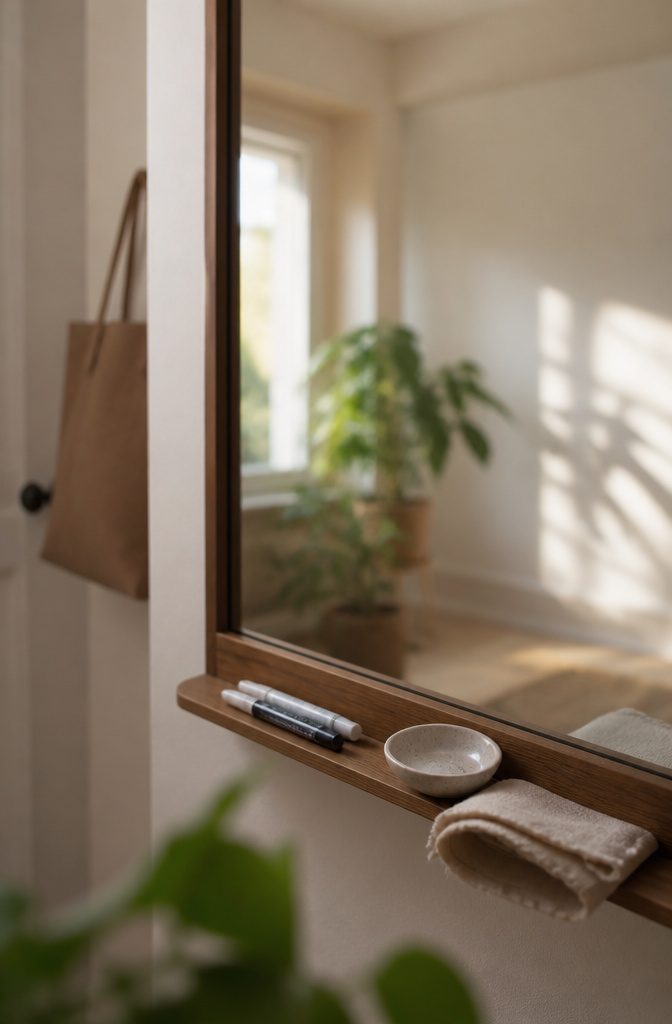
The marker you pick decides whether your design lasts through the weekend or through the season. Water-based markers wipe away easily with Windex, which makes them the right choice for temporary lettering that needs to come off after an event.
Oil-based markers stay put longer, so they work better when the design needs to hold up over time. If you do need to remove oil-based ink later, Windex and a razor blade will get it off cleanly.
The Sharpie Oil Based Paint Pen in white is my go-to for mirrors and acrylic.
It dries quickly and glides smoothly across the surface, so even clean strokes come easier if you are new to lettering. The formula matters more than you might think.
Mirrors and acrylic feel slick, and unsuitable ink can smudge or skip before it sets. A stronger ink saves time and gives you brighter, more even lettering that looks polished without much effort.
2. Clean the Mirror
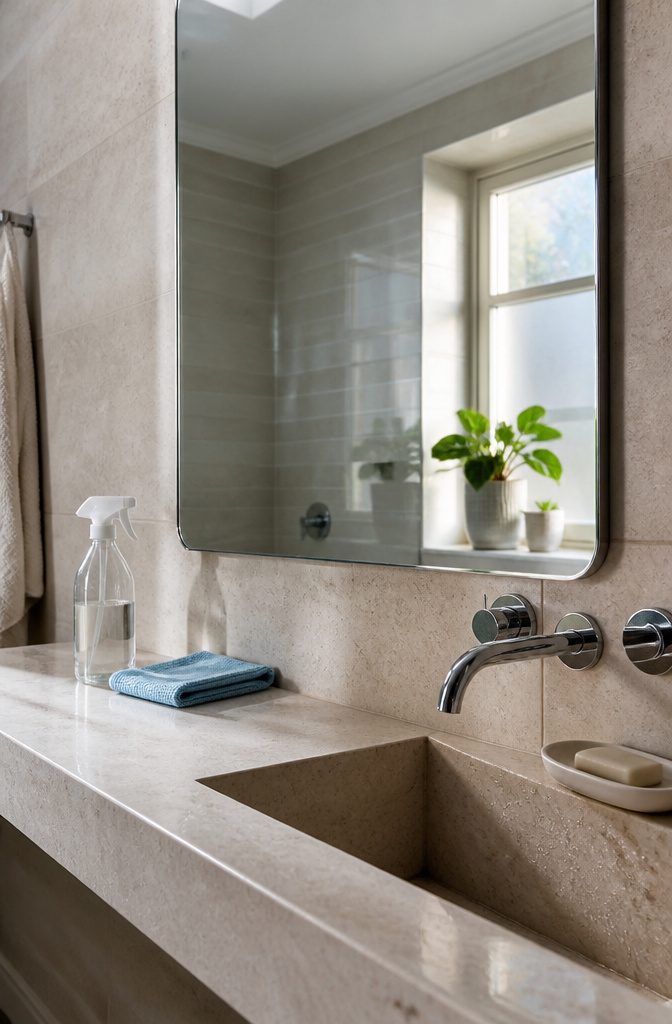
I start with Windex and a microfiber cloth. Dust, fingerprints and smudges mess with how smoothly a marker glides, and they show through the lettering once you’re done.
I spray the Windex onto the cloth rather than straight onto the mirror — hitting the glass directly leaves streaks that are harder to buff out, and you’ll see them later when light catches the surface.
A few passes with the damp cloth, then a dry section to finish, and the mirror should look completely clear.
If you can still see a smudge when you tilt your head, keep going. The cleaner the surface, the easier the pen moves and the sharper the letters look when you step back.
3. Plan Your Layout
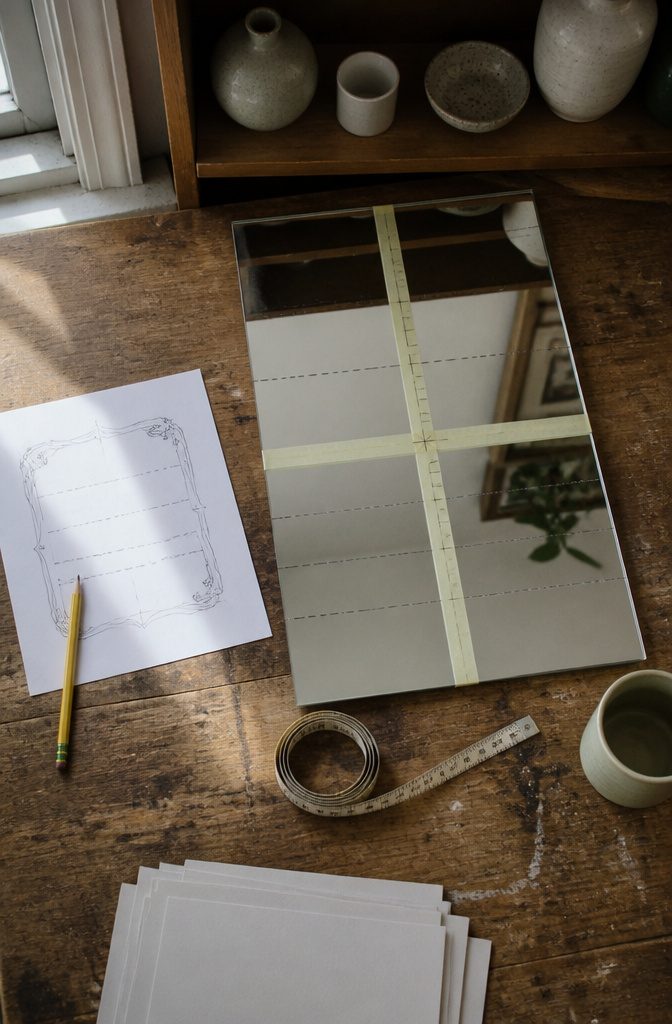
I always sketch the design on paper first and measure the mirror before I scale the drawing to check that everything actually fits.
Skipping that step is how you end up three words into a quote with no room left for the rest of it.
Once the rough draft looks right, I use ruler tape or a measuring tape to mark where the center sits and where each line should land.
The tape keeps lines straight and the layout centered, which matters more on a larger mirror where an inch off-center reads as crooked from across the room.
Double-check the measurements before you commit to writing. I measure twice because catching a misalignment at this stage takes ten seconds, and catching it after the first word is permanent marker means starting over.
4. Mark Guidelines
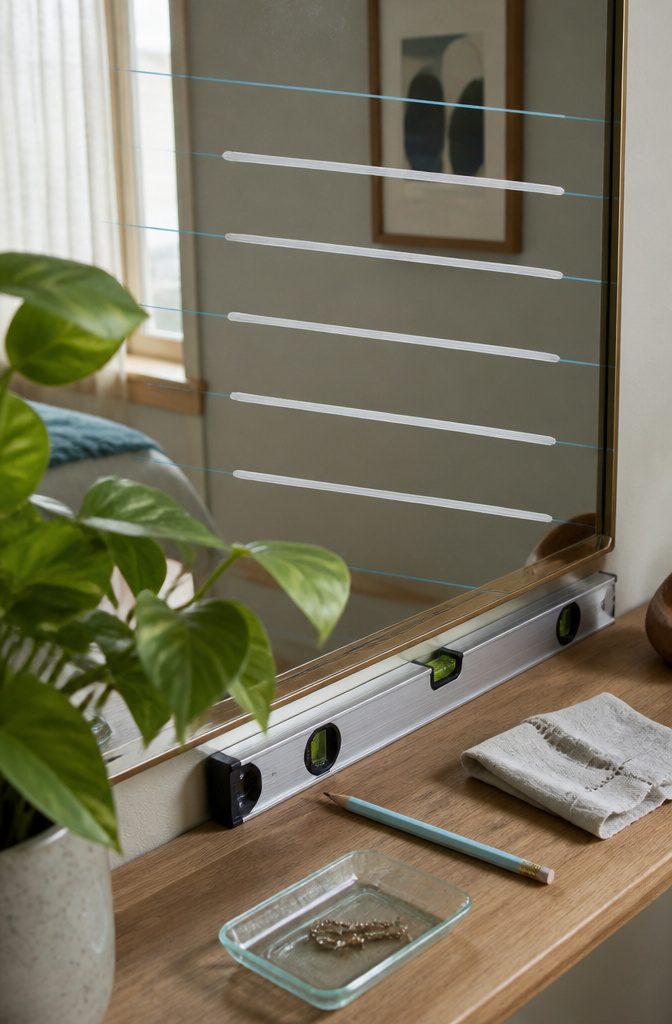
I make guidelines using a light-colored dry-erase marker and a level. A pale blue or pink works best because it shows up just enough to follow but doesn’t scream through white lettering.
I hold the level against the mirror, draw the line, and move down to the next one. Space lines about an inch apart for typical lettering height, adjusting if the design calls for something taller or more compact.
The Stabilo White Colored Pencil is another option I reach for when I want guidelines that wipe off even more easily than dry-erase.
Draw lightly—just enough pressure to see the line. Heavy-handed marks take more effort to remove later.
Either way, I write above the guideline so the oil-based marker never touches the dry-erase or pencil.
Mixing the two smears the oil-based ink while it’s still wet, and that leaves a mess that’s harder to clean than either marker alone. Keep the baseline of each letter sitting on top of the guide, not crossing it.
5. Write Without Smudging
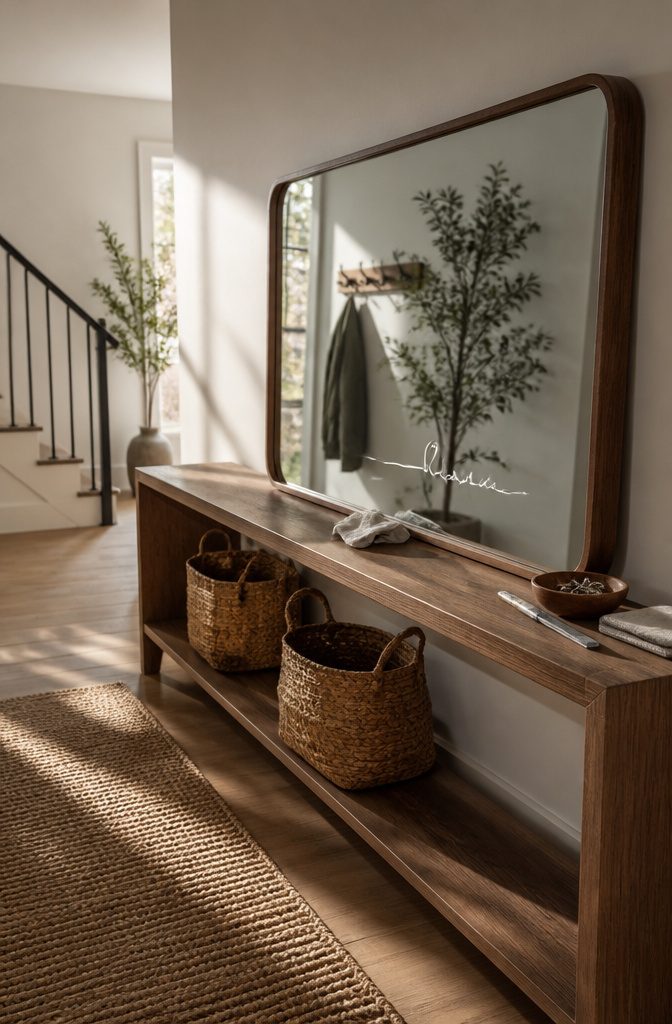
I rest my microfiber cloth on the mirror right under wherever I’m writing, so my hand never touches the glass directly.
Body oils show up fast on a clean mirror, and a smudge in the middle of a word is harder to fix than it is to prevent. The cloth moves with my hand as I work across the surface.
Oil-based paint pens dry in under a minute, which means I can keep moving without worrying about dragging my sleeve through fresh ink. Water-based markers stay wet longer and need more caution.
I measure twice before I write anything. On a seating chart or a welcome sign, misaligned text stands out immediately, and there’s no way to nudge letters over once they’re down.
I mark my guidelines, check the spacing between lines, and confirm that everything sits where I want it before I uncap the pen.
6. Remove Guidelines and Mistakes
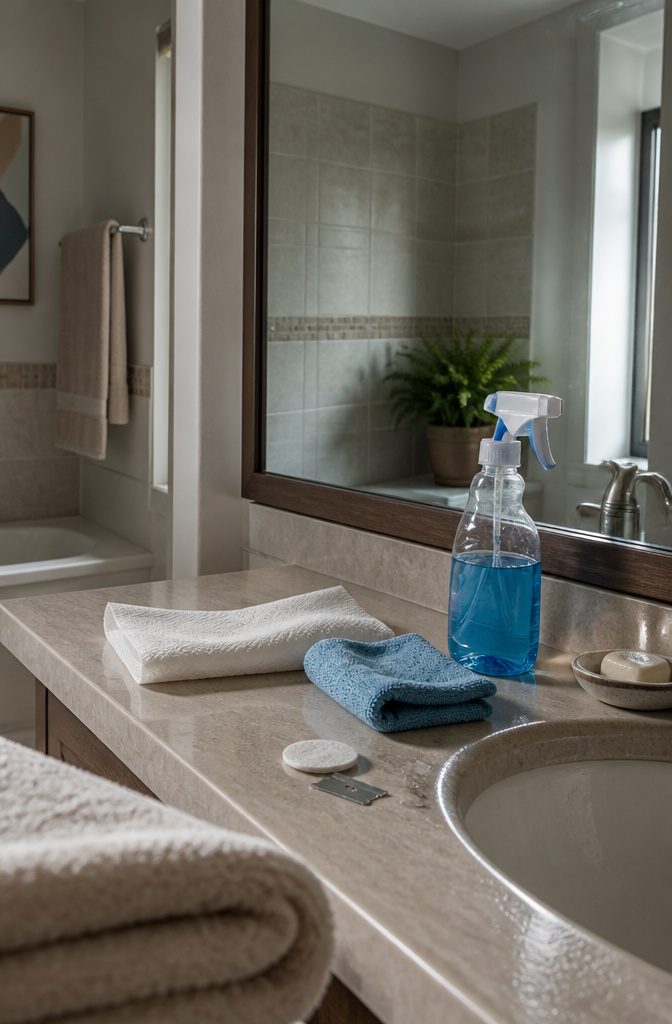
Once the ink is dry, spray Windex onto a paper towel or microfiber cloth and lightly wipe away any layout lines and hand smudges.
The first time feels oddly unnerving, since it looks like you’re about to erase everything, but the oil-based marker stays put while the guides disappear.
For small mistakes, the same Windex-on-cloth approach works if you catch them right away.
Stubborn marks from oil-based ink need stronger measures: use a razor blade to carefully scrape them off, or reach for rubbing alcohol at 97% or greater concentration. The more diluted versions take longer and don’t always lift the ink completely.
A cotton pad soaked in high-proof alcohol cleans up stray marks without leaving residue, and mirrors handle both methods without damage since the surface is already smooth glass.
What to Gather Before You Start
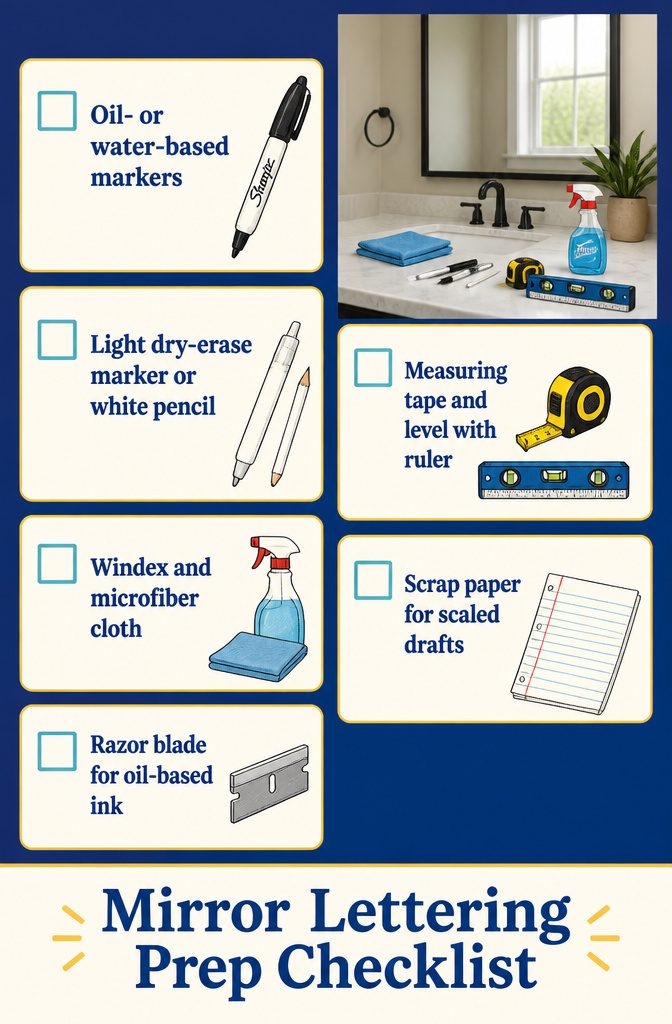
You’ll want everything within reach before you lift a marker, because stopping halfway to hunt for tape is how letters drift.
Gather these:
- Oil-based markers (a white Sharpie works) for lettering that stays put, or water-based markers if the design needs to come off easily after an event
- A light-colored dry-erase marker or Stabilo White Colored Pencil for sketching guidelines you can wipe away
- Ruler tape or a measuring tape and a level with ruler to keep lines straight and the layout centered
- Windex and a microfiber cloth or paper towel for cleaning the mirror and erasing mistakes
- Scrap paper for drafting a rough layout at scale
- A razor blade if you need to scrape off oil-based ink
The dry-erase marker is useful for anyone with decent vision and lighting. The white pencil is easier to see and wipes away just as cleanly.
Washable Options for Mirror Message Boards
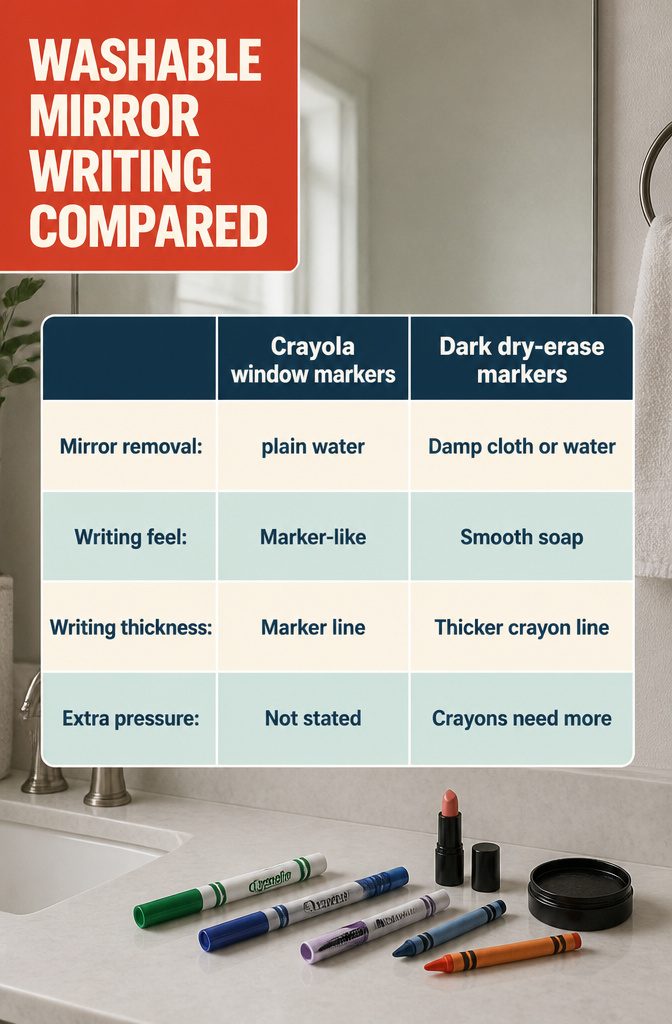
If you want writing that wipes clean, you have a lot of options that cost about the same as a pack of regular markers.
- Crayola window markers — priced the same as their standard markers and sold at Walmart — come off mirrors with plain water. No scrubbing.
- Dry-erase markers in dark colors work just as well on mirrors as on whiteboards. Purple, blue, green, and black all show up cleanly. Quartet makes reliable ones.
- Soap writes smooth and rinses off in seconds under running water.
- Lipstick leaves bold color and removes with a damp cloth.
- Crayons write thicker than markers and need a little more pressure to wipe away, but they work.
- Shoe polish marks clearly and comes off with a hand towel or washrag.
- Washable markers disappear with a wet paper towel.
If you accidentally use permanent marker, rubbing alcohol takes it off. So do Mr. Clean and nail polish remover.
Frequently Asked Questions
What can I use to write on mirrors?
Oil-based paint pens work best for lettering that needs to last, while water-based markers wipe off easily for temporary designs.
Dry-erase markers, Crayola window markers, soap, lipstick, crayons, and shoe polish all write on mirrors and clean off with water or a damp cloth.
Does Sharpie stay on mirrors?
Oil-based Sharpie paint pens stay on mirrors until you remove them with Windex and a razor blade or rubbing alcohol at 97% concentration or higher.
Regular permanent markers also stick to mirrors but come off with rubbing alcohol, nail polish remover, or Mr. Clean.
Can I write on a mirror with a Sharpie?
Yes.
Oil-based Sharpie paint pens glide smoothly on mirrors and dry in under a minute, which makes them the standard choice for mirror lettering. The white paint pen works particularly well on reflective surfaces.