
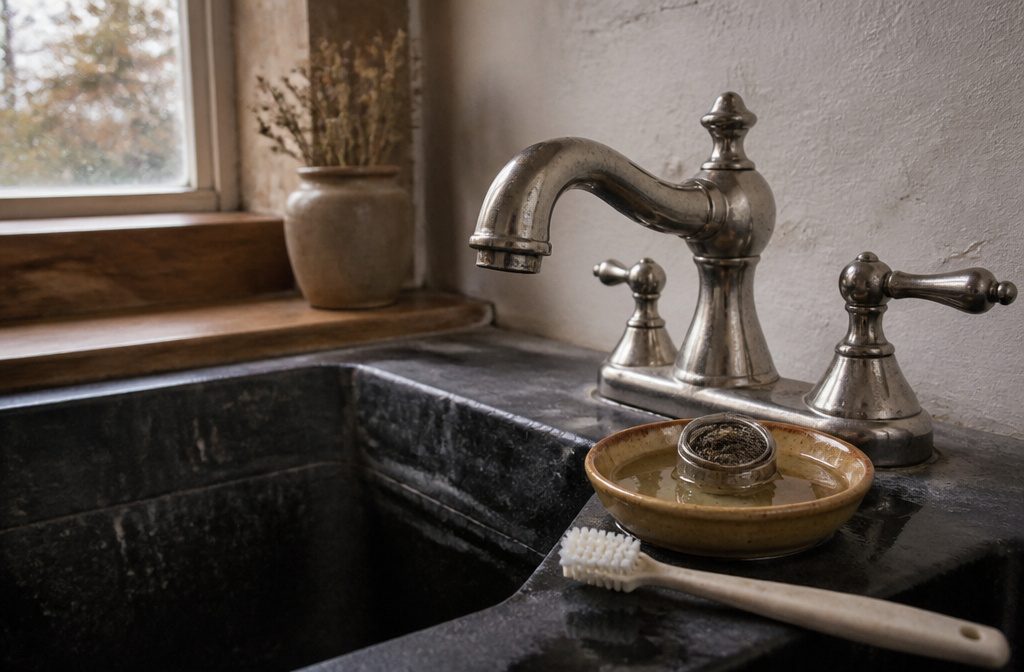
A clean faucet takes a damp cloth after every use and a deeper scrub once a week, but most people skip the aerator until water pressure drops to a trickle.
White vinegar mixed fifty-fifty with water dissolves the calcium buildup that clogs the screen, and an old toothbrush reaches the debris a cloth cannot.
The aerator unscrews by hand in most cases, soaks for thirty minutes, then threads back on without tools.
1. Wipe the Faucet Daily

A damp cloth after every use stops water spots and grime from settling in. I wipe mine down each time I finish at the sink, or at minimum once a day if I’m being realistic about it.
A soft cloth or sponge is all it takes — plain water lifts most surface dirt before it dries into something harder to shift.
Chrome scratches easily under pressure, so I keep the motion light. Hard rubbing dulls the finish, and once that reflective surface goes cloudy it’s permanent.
The same cloth that works on stainless works here, just with a gentler hand. If I catch myself scrubbing, I’m pushing too hard.
This step takes fifteen seconds and saves the deep clean later. Mineral deposits need vinegar and waiting; daily wiping needs neither.
2. Wash With Dish Soap
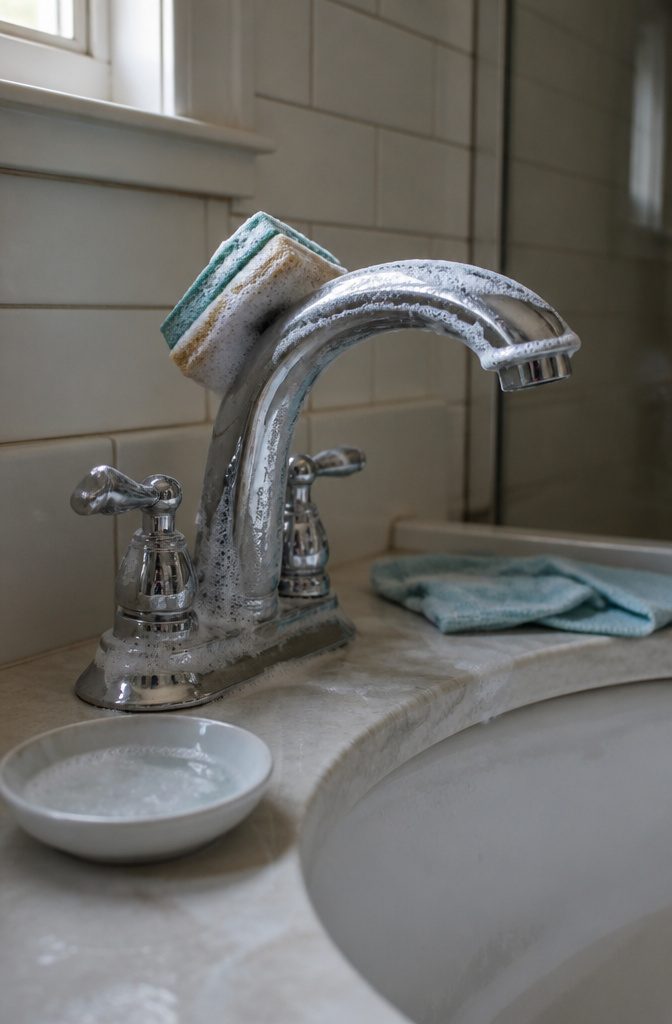
When a damp cloth leaves marks behind, dish soap or another gentle cleanser takes care of them without needing anything harsher.
Apply the soap with a sponge and work it over the finish, paying attention to spots where water has dried or grime has settled.
Rinse the foam off completely, then check your work. If marks remain, repeat the step rather than switching to a stronger chemical.
Chrome allows mild dish soap or white vinegar, but both need thorough rinsing afterward to prevent streaks or film. I avoid abrasive cleaners on any faucet finish; they scratch the surface and make future buildup cling faster.
The sponge does the scrubbing work without wearing down the metal, and dish soap is mild enough for daily use when the faucet needs more than a wipe.
3. Remove Mineral Deposits
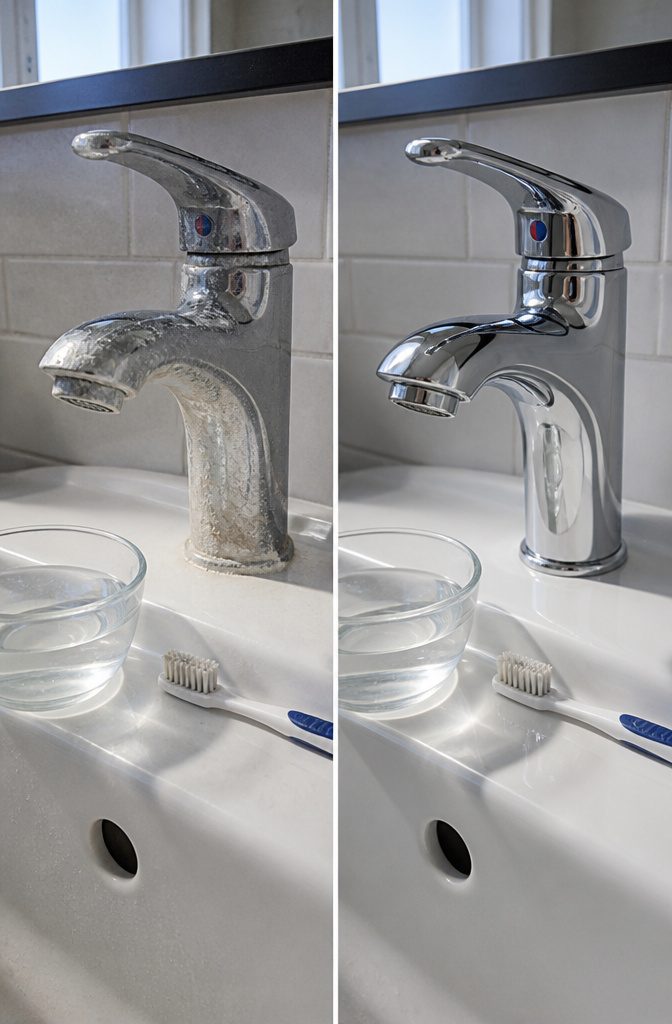
Hard water leaves white, chalky marks on faucets that multiply fast if left alone.
The deposits reduce water flow over time and trap bacteria in the texture. I use white vinegar mixed with water to address visible calcium buildup — it breaks down the scale without scratching chrome or brushed finishes.
A half-and-half solution works for most mineral deposits. If the marks are thick, a paste made with white vinegar and baking soda gives you something you can scrub with an old toothbrush.
These calcium deposit stains, otherwise known as limescale, not only look unpleasant but also create the perfect breeding ground for bacteria and other microorganisms.
— Lysol
That breeding ground is why I handle deposits when I see them instead of waiting.
Prepared products like Lysol bathroom cleaner also work well — let it sit for 15–20 seconds before wiping clean, and repeat if the first pass does not lift everything. Always follow the product label.
4. Unscrew and Clean the Aerator
Unscrew and Clean the Aerator
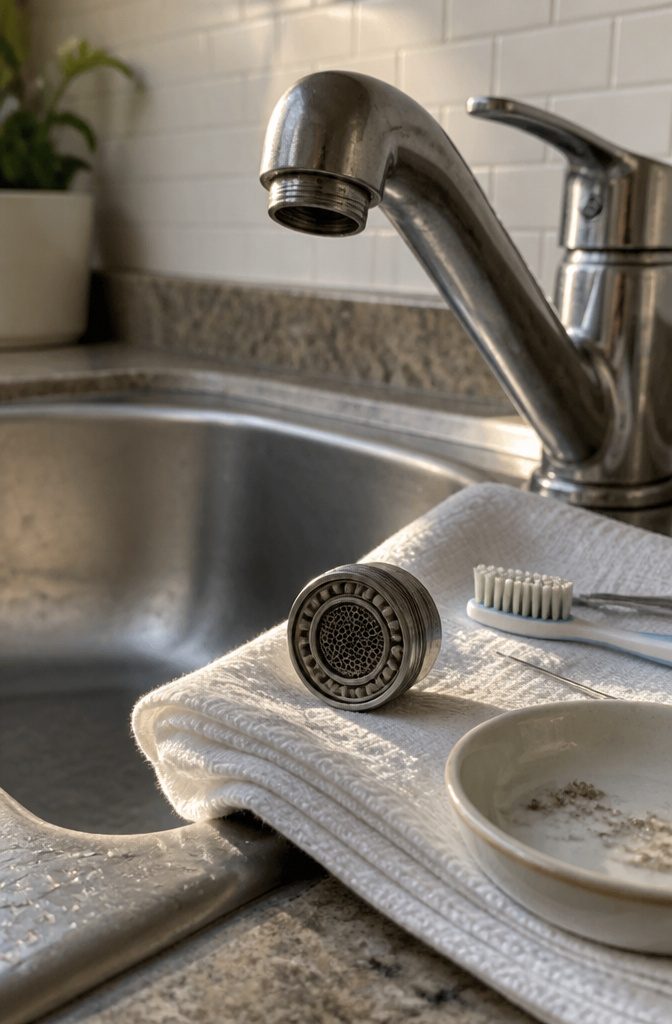
When water flow slows or the spray pattern turns uneven, the aerator is usually the culprit.
Try unscrewing it by hand first; most aerators come off with a firm counterclockwise turn. If it refuses to budge, wrap an adjustable wrench around it and apply steady pressure.
Once the aerator is off, rinse it under running water to flush out loose sediment. Take a toothbrush or any soft-bristled brush and scrub gently inside and out, working through the small holes where mineral deposits collect.
For stubborn debris that the brush cannot dislodge, grab a needle or pin and clearWhen water flow slows or the spray turns uneven, the aerator is usually the problem.
The aerator sits at the tip of the faucet, and its tiny holes trap sediment over time. Try unscrewing it by hand first; if it resists, an adjustable wrench will break it free without damage.
Once detached, rinse the aerator under running water to clear loose debris.
A soft-bristled toothbrush works well for scrubbing the mesh screen inside and out, and a needle or pin reaches sediment lodged in the small holes that a brush cannot shift.
I tend to hold the aerator under bright light while cleaning so I can see whether the holes are actually open, because even a few blocked openings will choke flow noticeably.
Reassemble the aerator once the holes run clear and the metal looks clean. Water pressure should return to normal immediately.
5. Soak Removable Parts
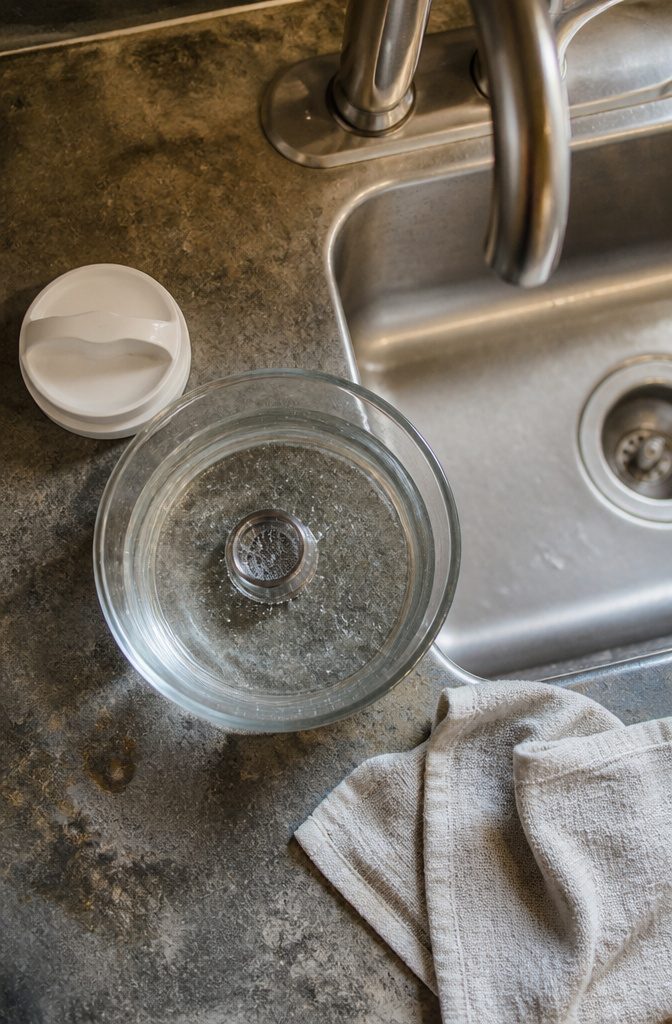
Once the aerator or spray head comes off, drop it into a bowl with one part white vinegar, one part water.
Thirty minutes loosens most buildup, but a couple of hours or an overnight soak works better if the deposits are thick. The acidity breaks down calcium and lime without scrubbing.
For faster results, mix CLR with water at a 50/50 ratio.
That solution only needs two minutes to cut through the same deposits vinegar handles in half an hour. Rinse thoroughly after either soak — CLR especially, since residue tastes metallic if it gets into drinking water.
If the whole faucet body needs descaling, the same half-vinegar, half-water bath works.
Submerge the piece completely and let it sit. The soak does most of the work; what remains after comes off with light scrubbing.
6. Scrub, Rinse and Reassemble
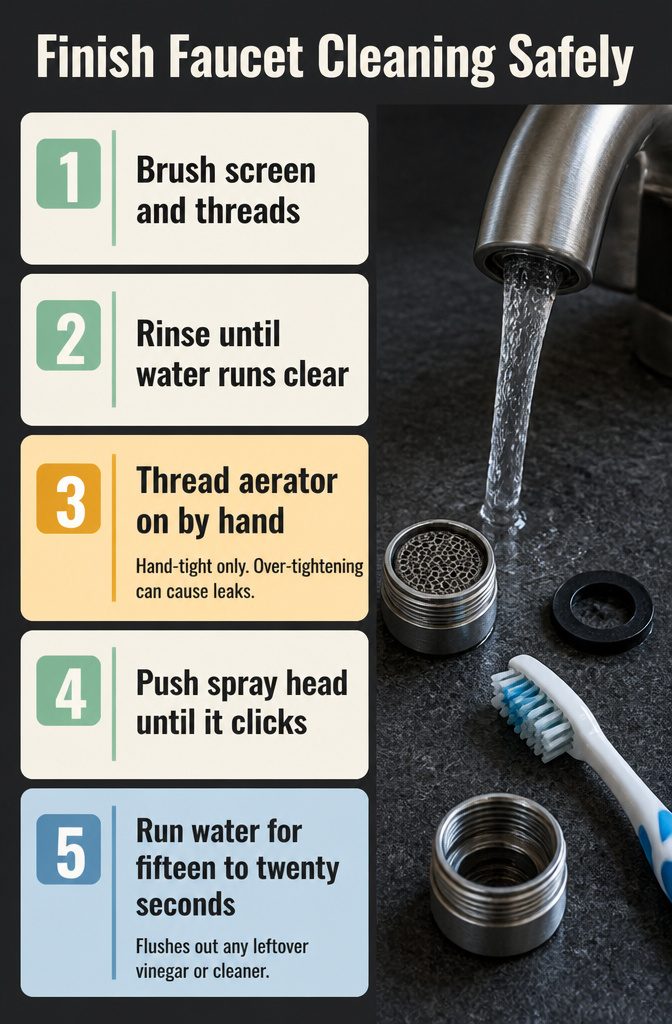
Once the aerator or spray head has finished its soak, grab a soft-bristled brush or an old toothbrush and work it around the screen and threads.
You’ll see white or chalky deposits loosen with a few passes, especially along the edges where mineral scale likes to grip.
Rinse each piece under running water until the water runs clear, checking that no flakes or residue remain caught in the mesh.
Thread the aerator back onto the faucet and tighten it by hand until snug.
Going past hand-tight with pliers can crack the threads or crush the rubber washer inside, and either one turns into a drip by the end of the week.
If you removed a spray head, push it back onto its mount until you hear or feel it click.
Turn the water back on and let the faucet run for fifteen or twenty seconds to flush out any leftover vinegar or cleaner that might have settled in the supply line.
The first few seconds will smell sharp if vinegar’s still present, then it clears.
Why Cleaning the Faucet Matters
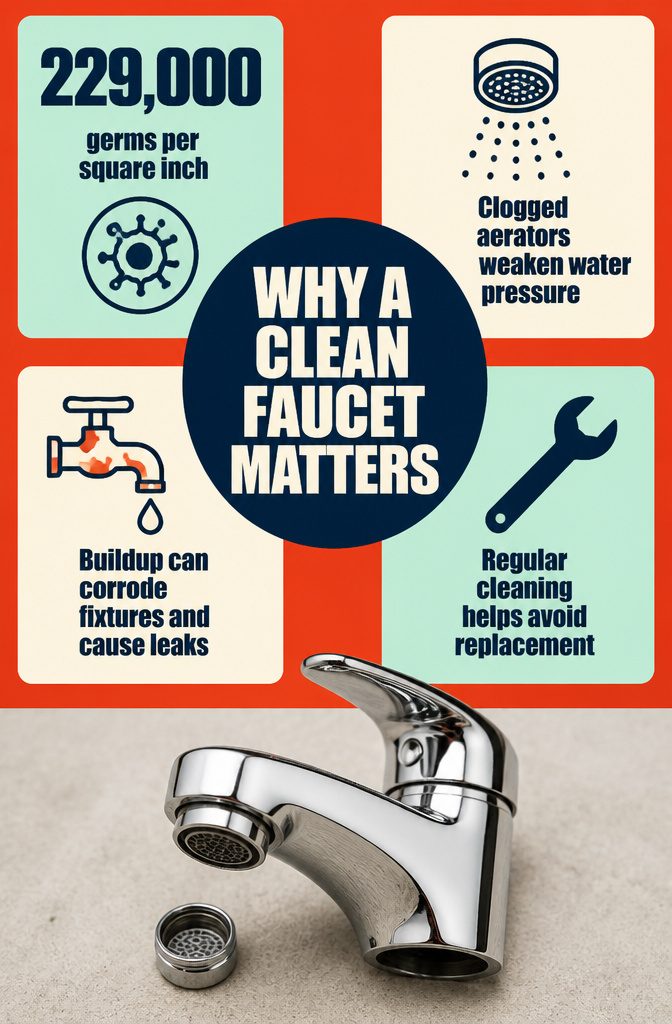
A faucet you ignore becomes something more than an eyesore. Mineral deposits and debris clog the aerator screen, which reduces water pressure and causes uneven spray patterns.
Sludge traps moisture where bacteria multiply, and faucet handles carry approximately 229,000 germs per square inch. Buildup left long enough can corrode the fixture, lead to leaks, and cut the lifespan short enough that replacement becomes the only fix.
Regular cleaning protects both function and hygiene. Water flows smoothly when the aerator stays clear, and removing calcium and grime keeps the finish intact.
A dirty faucet wastes water through poor flow and drips, and the quality of what comes out matters if buildup is releasing rust or bacteria into the stream.
The work takes minutes every few months and saves the cost of a new fixture.
Hard Water and Mineral Buildup
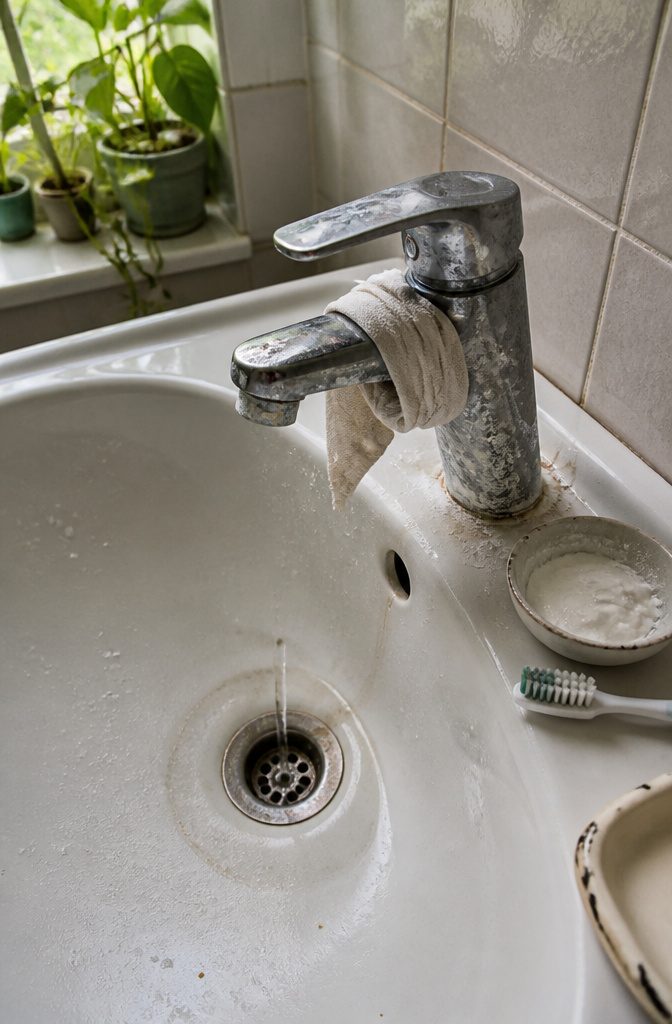
Calcium and lime scale build when water carries dissolved minerals through the faucet. The deposits show up as white, chalky marks around the base and aerator, and a thick layer slows the flow to a trickle.
Vinegar dissolves them: soak a rag in undiluted white vinegar, wrap it around the buildup, and leave it for thirty minutes before scrubbing with an old toothbrush.
For stubborn deposits, mix baking soda with enough water to form a paste, apply it directly to the affected areas, wait thirty minutes, then scrub and rinse.
When vinegar and baking soda fail, CLR Calcium, Lime & Rust Remover handles heavier buildup.
Dilute it fifty-fifty with water, scrub the faucet head with the solution using a brush, then rinse thoroughly in cold water for a couple of minutes to remove any residue.
Regular wiping keeps deposits from accumulating in the first place. If buildup returns quickly, check your water hardness — hard water accelerates mineral deposits and may justify a softener or filter.
How Often to Clean

Keeping a faucet clean comes down to two rhythms: quick maintenance after every use, and deeper work on a weekly schedule.
- Wipe the faucet after every use or at least once a day. A damp cloth or soft sponge gets rid of water spots, soap splatter, and loose debris before they dry into a film.
- Clean weekly to tackle mineral deposits and buildup that daily wiping misses. This keeps the faucet shiny and removes germs that collect around the base and handles.
- Clean the aerator every few months. Minerals and sediment clog the tiny screen inside, reducing water pressure and causing uneven spray. Areas with hard water need this more often.
- For daily disinfecting, kitchen faucets need 10 seconds of contact time to sanitize and 2 minutes to disinfect. Bathroom faucets take longer: 30 seconds to sanitize, 10 minutes to disinfect.
Faucet handles carry around 229,000 germs per square inch, so the daily wipe matters more than it looks like it should.
Chrome and Matte Black Finishes
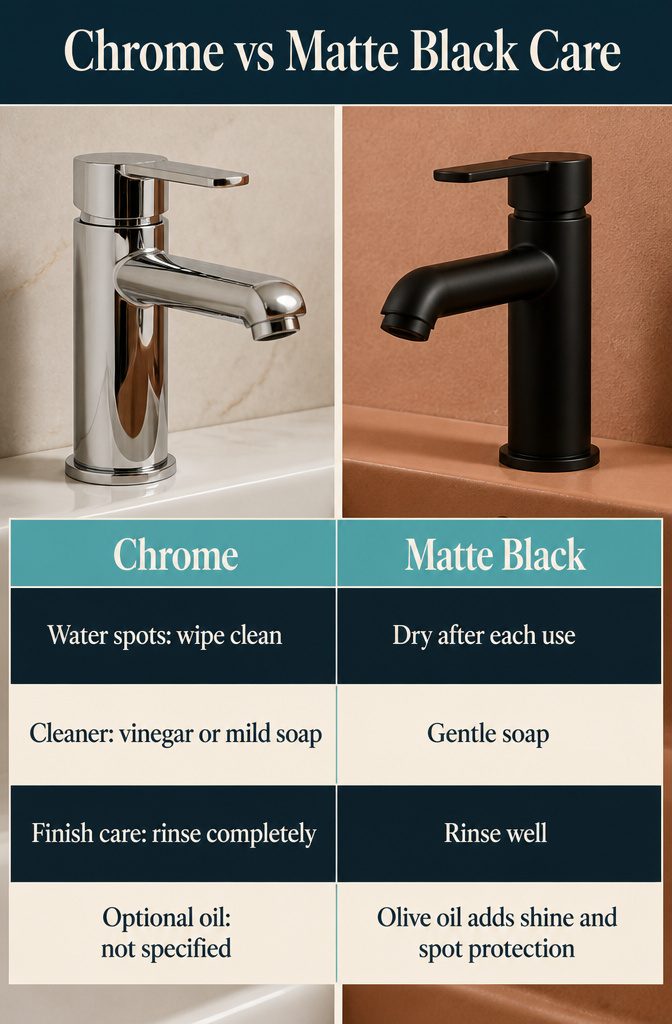
Chrome keeps that reflective shine longest when you skip anything abrasive.
I wipe the surface with plain water first to clear off soap residue and skin oils, then follow with white vinegar or a few drops of mild dish soap if the faucet needs more than a rinse.
A microfiber cloth or soft-bristled brush does the work without scratching the finish. Rub gently rather than scrubbing hard, and rinse everything off completely at the end so the chrome stays bright.
Matte black shows every water spot and mineral mark, so I dry the faucet after each use rather than letting drops sit.
After cleaning with gentle soap, rinse well to keep spotting down. A tiny drop of olive oil buffed over the surface is optional, not required.
It adds a bit of shine and gives the finish some protection from spots and corrosion, but the faucet will be fine without it if you prefer the look untreated.
When to Replace the Aerator
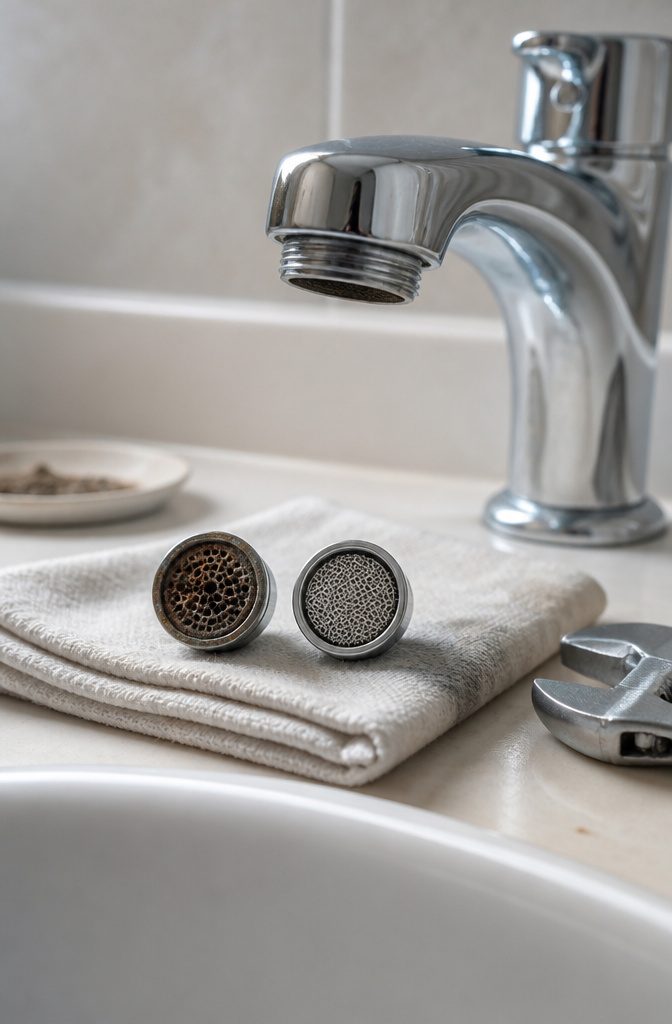
Sometimes a new aerator solves the problem without replacing the whole faucet.
If water flow stays weak after cleaning, if you see leaks around the aerator threads, or if rust has eaten through the screen mesh, unscrewing the old aerator and threading in a new one takes seconds and costs a few dollars.
Age alone can be reason enough. Aerators wear down over years of use, and a deteriorating head may never clean up the way it once did.
Poor water pressure that vinegar or scrubbing cannot fix usually points to damage inside the aerator itself, and at that point replacement beats any amount of elbow grease.
The part is affordable enough that trying a new one makes sense before you consider replacing the entire faucet.
Products I Use
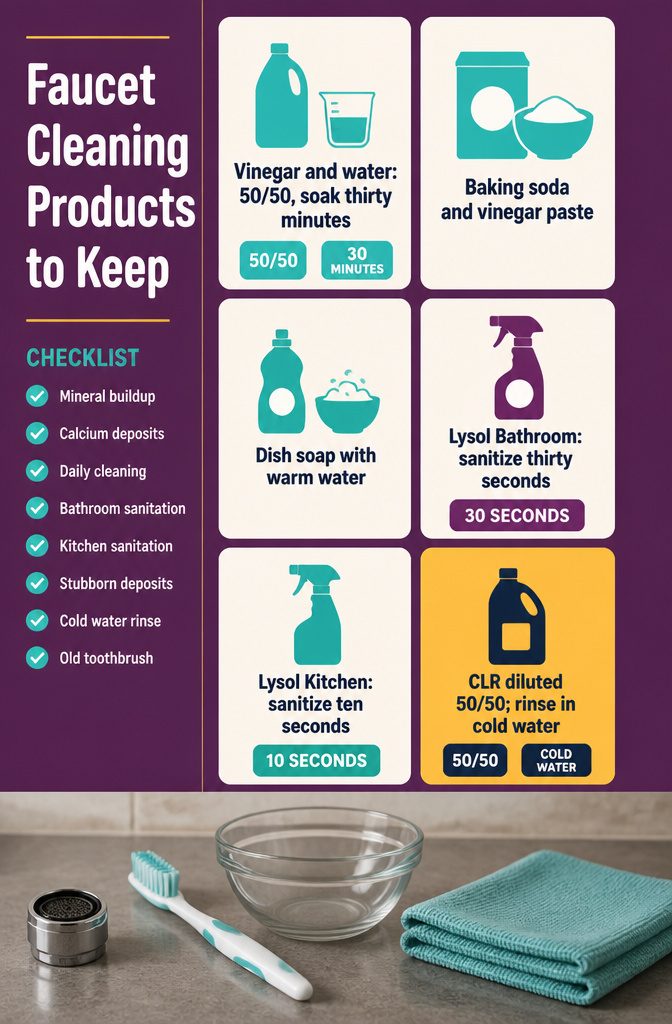
The specific products that get buildup off without scratching depend on what the faucet is made of and how thick the deposits are. Here’s what goes into rotation:
- Distilled white vinegar or apple cider vinegar mixed 50/50 with water for mineral buildup. Soak the aerator or bag the faucet head for 30 minutes.
- Baking soda mixed with vinegar to make a paste for stubborn calcium deposits on chrome.
- Dish soap and warm water for daily wipe-downs and light grime.
- Lysol Power Bathroom Cleaner on bathroom faucets: sanitizes in 30 seconds, disinfects in 10 minutes if you let it sit.
- Lysol Kitchen Pro Antibacterial Cleaner on kitchen fixtures: 10 seconds to sanitize, 2 minutes to disinfect.
- CLR Calcium, Lime & Rust Remover diluted 50/50 with water for deposits that vinegar won’t touch. Scrub with an old toothbrush, then rinse thoroughly in cold water.
CLR is the nuclear option. Vinegar handles most buildup if you stay on top of it.
Frequently Asked Questions
How do you clean faucets?
Wipe the faucet daily with a damp cloth, wash with dish soap when marks appear, and use white vinegar mixed 50/50 with water to dissolve mineral deposits.
For deeper cleaning, unscrew the aerator and soak it in the vinegar solution for 30 minutes, scrub with a soft brush, rinse thoroughly, and reassemble.
Do baking soda and vinegar clean faucets?
Yes.
Mix baking soda with enough water to form a paste, apply it to mineral deposits, wait 30 minutes, then scrub and rinse. For tougher buildup, combine the paste with a vinegar soak on removable parts like the aerator.
How do you remove limescale from faucets?
Soak a rag in undiluted white vinegar, wrap it around the limescale, and leave it for 30 minutes before scrubbing with an old toothbrush.
For stubborn deposits, apply a baking soda paste, wait 30 minutes, then scrub. CLR diluted 50/50 with water cuts through heavy buildup in 2 minutes.
How long do you soak a faucet in vinegar to clean it?
Soak removable parts like the aerator in a 50/50 vinegar and water solution for 30 minutes to loosen most buildup.
For thick deposits, extend the soak to a couple of hours or overnight. The acidity breaks down calcium and lime without scrubbing.
How to clean chrome faucets?
Wipe chrome with plain water first to clear soap residue, then use white vinegar or a few drops of mild dish soap if needed.
Use a microfiber cloth or soft-bristled brush with gentle pressure to avoid scratching, and rinse thoroughly to keep the finish bright.
How to clean matte black faucets?
Dry the faucet after each use to prevent water spots, clean with gentle soap, and rinse well.
A tiny drop of olive oil buffed over the surface adds shine and protects against spots and corrosion, but the faucet will be fine without it.
Why is faucet maintenance important?
Regular cleaning prevents mineral deposits and debris from clogging the aerator, which reduces water pressure and causes uneven spray. It also removes bacteria that multiply in buildup, protects the finish from corrosion, and prevents leaks that shorten the fixture’s lifespan.
Why should you clean a faucet aerator?
Cleaning clears minerals, debris, and sediment that accumulate in the aerator’s tiny screen, which reduces water pressure and makes spray uneven.
A clean aerator maintains steady flow, prevents bacteria buildup that affects water quality, and helps avoid plumbing issues and water waste.