
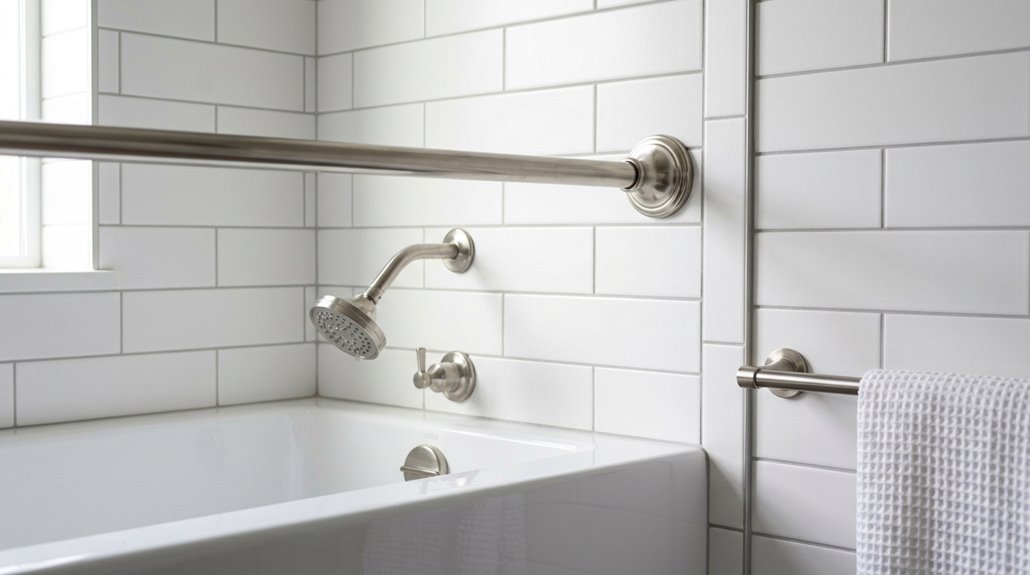
Install your shower curtain rod at 75 to 77 inches from the floor. This height is optimal for preventing mildew growth while keeping water contained within the tub. At this elevation, the curtain hangs approximately one inch above the tub floor, allowing adequate airflow to reduce rust and moisture damage. Installing your rod at this measurement prevents water from splashing onto the bathroom floor and wall areas beyond the tub.
To avoid drilling holes you’ll regret, follow proper installation techniques that account for your specific wall type and stud placement.
The Standard Height: 75 to 77 Inches From the Floor
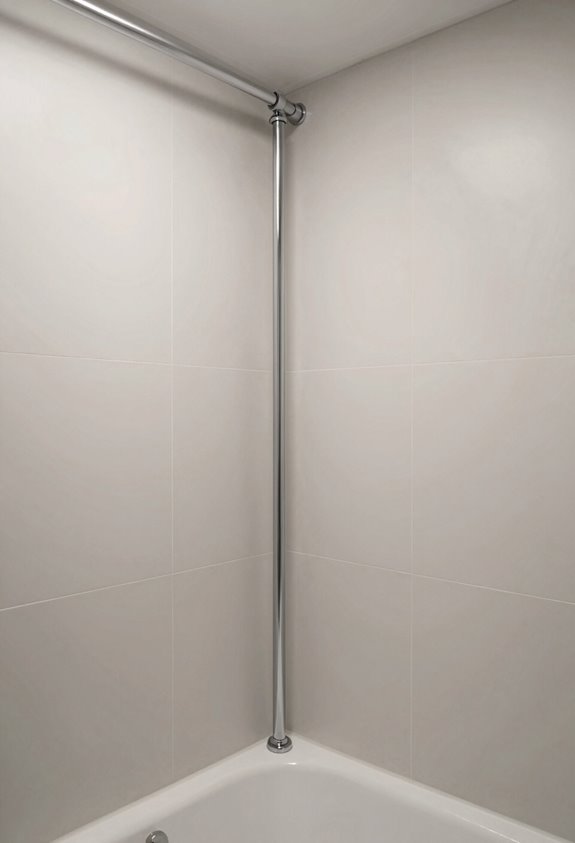
Ever wonder why shower curtain rods seem to have a “sweet spot” when you’re installing them? The standard shower curtain rod height sits between 75 and 77 inches from the floor.
This measurement matters because it creates the perfect balance. When you hang your curtain at this height, you achieve proper floor clearance while keeping water inside the tub. Install your curtain rod too low, and mildew becomes likely. Too high, and you’ll experience splashing and awkward gaps. The 75 to 77-inch range ensures your shower curtain functions as intended.

【Superior Material-Never Rust】-Our Shower curtain rod made of high quality stainless steel,will not rust in any environment, strong and durable, heavy duty high strength steel tube, will not fall off, non-corrosive, easy to clean, no need to spray water before use.

【High -quality materials】 The materials used in Tension Rod are high -quality, iron materials, durable, sturdy and not easy to deform or rust for a long time.

Adjustable Telescopic Design:The tension shower rod assembly includes 1 tension rod, 1 outer rod and 3 splicing rods that you can combine freely to reach your ideal length.It can be adjusted from 31 to 80 inches.
Measuring Your Space: A Step-by-Step Guide
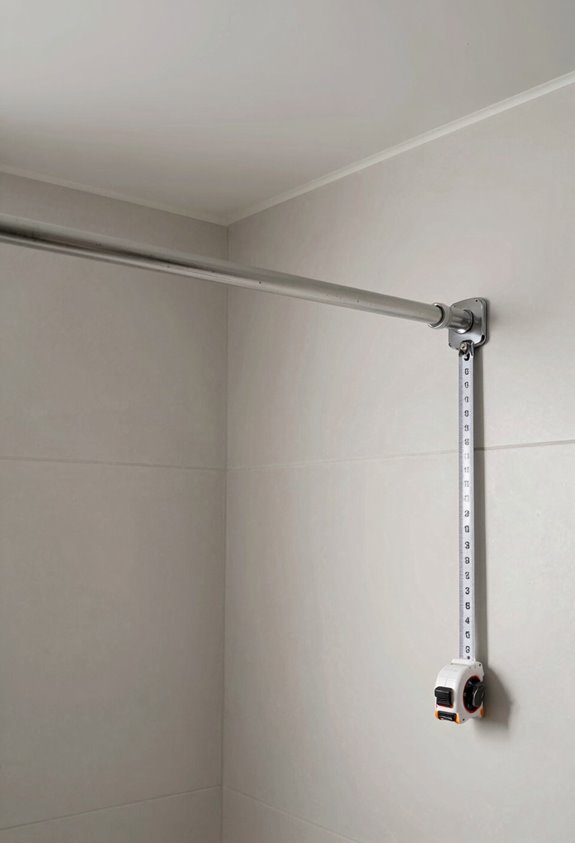
So how do you actually figure out where to drill those holes? The process is straightforward.
First, grab your tape measure and start from the floor. Note your ceiling height, then work backward using our handy guide below. This simple method prevents the “oops, too low” moment that haunts many bathrooms.
| Curtain Length | Recommended Rod Height |
|---|---|
| 72 inches | 75-77 inches |
| 78 inches | 81-83 inches |
| 84 inches | 87-89 inches |
Use a temporary tension rod first. Install it at your target height and hang your curtain. Live with it for a day. Check for splash coverage and floor clearance. This test run prevents drilling mistakes and confirms your rod height and curtain length work together properly in your space.

【Superior Material】-Made from premium stainless steel, non-slip, no drilling, no Rust, never collapse, easy to clean, no need to spray before use.

Easy Installation No Drilling: No tools required for installation. You can easily get a complete tension shower curtain rod within minutes.

【Never Rust】– Newest non-corrosion tech, does not rust under any environment, sturdy and durable, heavy-duty high-strength steel tube, won’t fall down, max load 30 lb.
Adjusting for High or Low Ceilings
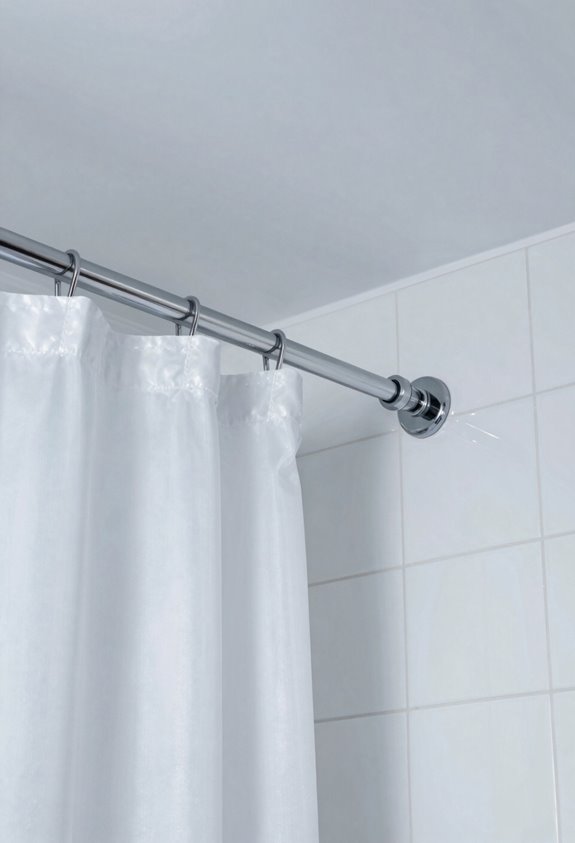
Your ceiling height determines the appropriate rod placement for your bathroom. With tall ceilings of 9 feet or higher, you can install the rod at 87 to 89 inches, creating an airy, spacious feel that enhances the room’s sense of openness. With lower ceilings, installing the rod too high will make the space feel cramped. Keep the rod placement proportional to your ceiling height to maintain visual balance.

Heavy Duty Tension Curtain Rod: Heavy duty 1.1 inch diameter shower curtain rod with adjustable lengths from 30 to 88 inches, no drilling required, quick installation in minutes. Perfect for compact bathrooms, RV showers, and small spaces where standard rods are too long.

【Adjustable Length】 The spring tension rod adjusts smoothly from 32 to 80 inches to fit most standard bathrooms. Its telescopic design allows perfect positioning without gaps.

【Adjustable】Adjust the end of the rod to a length of 1.6 inches by rotating it. The length of the white shower curtain rod is controlled by a knob and can be adjusted within the range of 42-87inches
High Ceiling Solutions
What happens when your bathroom ceiling towers above you like a cathedral? Don’t panic. High ceiling solutions for your shower rod are simpler than you’d think.
I’d recommend mounting your shower rod higher, around 87 to 89 inches, and pairing it with longer curtains like 78-inch or 84-inch lengths. This preserves that coveted hotel-style finish instead of leaving awkward gaps that’ll drive you crazy.
A towering ceiling demands proportional curtains, or your whole setup looks disconnected and sad. Think of it like hanging artwork; you wouldn’t leave it dangling halfway down the wall, right.
Before you commit to permanent installation, test everything with a tension rod first. This lets you evaluate proportions and splash coverage without regrets. Temporary setups prevent costly mistakes and wasted materials.
Low Ceiling Adjustments
On the flip side, if your bathroom ceiling feels like it’s closing in on you, don’t squeeze that shower curtain rod way up high just because you saw it done in those fancy hotel photos.
For low ceilings, keep your rod at 75 to 77 inches from the floor. Pair it with a 72-inch curtain, and you’ll achieve proportions that work well. Your bathroom won’t feel cramped or awkward.
Raising the rod when you’ve got low ceilings makes everything feel tighter, not roomier. Instead, embrace shorter curtains and keep things balanced. Your space will function better, and you’ll prevent water leaks.
Matching Curtain Length to Rod Height
How do you know if that rod height and curtain height actually work together? It’s trickier than it sounds.
- Measure everything. Start from your floor to where you’re hanging the rod, then account for your curtain length so it hangs inside the tub with about 1 inch of clearance.
- Match your setup strategically. A 72-inch curtain pairs with 75 to 77 inches of rod placement. An 84-inch curtain needs 87 to 89 inches. A 78-inch curtain requires 81 to 83 inches.
- Test before committing. Measure twice, drill once. Water will puddle everywhere when these numbers don’t align.
Getting your rod placement and curtain height right prevents water from splashing onto your bathroom floor.

🛁【Linen Texture】- Made of 230GSM premium polyester fabric, which is wrinkle-resistant and non-fading. In addition, the weighted hem design can keep its shape and does not billow like lightweight shower curtains

🚿【Dimensions】72W * 84H inch (183W * 214Hcm); 256GSM (Gram Per Square Meter), about 1.1 pounds heavier than normal 90GSM fabric shower curtains; 12 rust-resistant grommets that fit most standard shower hooks or rings. Package includes 1 Black Waffle Shower Curtain and 12 Plastic Hooks.

🚿【Dimensions】72W * 84H inch; 256GSM (Gram Per Square Meter), about 1.1 pounds heavier than normal 90GSM fabric shower curtains; 12 rust-resistant grommets that fit most standard shower hooks or rings. Package includes 1 Sage Green Waffle Shower Curtain and 12 Plastic Hooks.
Installation Process: Tools, Mounting, and Testing
The installation process requires securing the rod to your wall at the correct height. Measure up from the floor to your predetermined rod height (75-77 inches for standard curtains), mark the location clearly, and mount brackets securely into studs when possible. Use a level to ensure the rod is straight.
Before drilling permanent holes, test everything with a tension rod. This allows you to verify whether your rod height works with your curtain length and splash clearance. You need about an inch above the floor to prevent water from pooling underneath. Once you confirm the placement looks and functions correctly, proceed with permanent installation.

Product includes: 2 spring tension rod holders. ATTENTION: This tension rod holder only available for tension curtain rod, if your rod can’t fix on wall at all, and you want to place it directly on this holder, we do not recommend you to use this rod holder.

Superior Material: Shower Curtain Rod is made of premium Stainless Steel.The thickness is 0.8mm and diameter is 1 inch.The shower curtain rod holder can hold heavy fabrics up to 30 pounds.

Safe and Worry-Free Choice! -Unlike tension shower rods that constantly fall down and damage wall,this wall-mounted fixed shower curtain rod anchored with 4 screws on each end,providing a 400% increase in support strength. Rest assured that this shower rod will never slip after installation,adding an extra safety & will last for decades, even under strong pulling.
Installation Mistakes That Cause Water Leaks and Mold
Even small installation mistakes can turn your bathroom into a mold factory. The two biggest culprits are hanging your rod too low, which lets water splash everywhere, or too high, which creates gaps where water sneaks past your curtain. Additionally, using flimsy hardware that cannot hold up a wet curtain without sagging causes significant problems. Understanding exactly what goes wrong will help you complete this installation correctly the first time.

Set of Shower Curtain & Snap On/Off Replaceable Liner: No Hooks Needed design with built-in rings for easy on and off. Snap-in waterproof PEVA liner is removable when replacing. Size:71x77(same size as 71x75 hooked shower curtain)

Package:4 iron rods high-carbon steel tension rods: 0.87 in outer, 0.75 in inner, 0.4 mm wall; each end carries a 1.3 in anti-slip rubber pad.

Splicing Structure: This black shower curtain rod consists of two end rods and three splicing rods. The size can be increased by adding different numbers of splicing rods.
Improper Height Placement
Why do so many bathrooms end up looking like they’re hosting a science experiment in mold growth? Often, improper height placement of shower curtain rods is the culprit. I’ve learned this the hard way.
Here’s what happens when you mess up the placement:
- Water splashes outside the tub, creating puddles that invite mold to move in permanently
- Fabric drapes into the shower area, staying damp and breeding mildew like it’s hosting a party
- The curtain hangs too high or too low, throwing off your entire splash-control system
For a standard 72-inch curtain, you’ll want to mount that rod between 75 to 77 inches from the floor. This sweet spot ensures proper clearance and keeps water exactly where it belongs, inside your tub. Getting this right prevents mold growth and eliminates the need for constant bathroom maintenance.
Inadequate Mounting Hardware
Cheap drywall anchors will fail under the weight of heavy curtains. They crumble quickly, causing wall damage and water leaks behind the scenes. Use proper toggle bolts or anchors screwed directly into studs.
Misaligned brackets are equally problematic. They tilt your rod, creating gaps where water escapes onto your floor. Check your mounting hardware monthly by tightening screws, inspecting brackets, and verifying everything is level. Regular maintenance prevents mold problems.
When Your Shower Curtain Rod Is Installed Incorrectly
So you’ve hung your rod, stepped back, and something just feels off.
When your curtain hangs wrong, it demands attention. Here’s what goes sideways with incorrect rod height:
- Water’s escaping everywhere. Install your rod too low, and splash sneaks past the curtain onto your bathroom floor. You create a slip hazard.
- Your curtain’s dragging. Too-low placement means fabric pools on the floor, absorbing water like a sponge. Mildew and extra laundry follow.
- Visible gaps appear at the tub edge. Position your rod too high, and you’ll see daylight between curtain and tub. Splash zones expand.
The sweet spot is 75 to 77 inches for standard setups. That keeps your curtain hanging perfectly at about 1 inch above the floor. Test before committing by using a tension rod first.

【Adjustable Tension Rod】With new splicing and telescoping design on the basis of retaining the spring tension, this tension curtain rod can extend from 32 to 66 inches. Come with 3 fixed length rods and 1 telescoping rod, you can flexibly adjust the length according to your need.
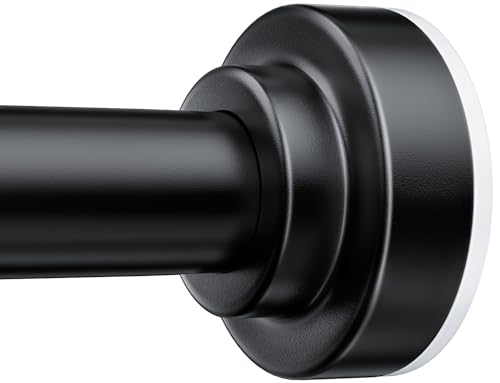
【Superior Material】-Made from premium stainless steel, non-slip, no drilling, no Rust, never collapse, easy to clean, no need to spray before use.

Shower Rod with Holders: The black shower curtain rod can be installed in two ways: Rough walls can be installed using the holders. Smooth walls are mounted using the tension provided by the spring.
Securing Your Rod to Tile, Drywall, or Studs
Your wall type matters significantly. If you’re mounting into tile, use tile-safe screws and a ceramic drill bit to avoid cracking bathroom tile. For drywall without studs behind it, heavy-duty anchors or toggle bolts will support your shower curtain and liner effectively.
Finding studs allows you to secure brackets directly into wood for maximum holding power. Without studs, confirm your anchors can handle the weight of your installation. Installation success depends on matching your fasteners to your wall. Select the right fasteners, and your curtain will remain securely in place.
Easy Installation No Drilling: No tools required for installation. You can easily get a complete tension shower curtain rod within minutes.
Adjustable:The telescopic design allows for easy adjustment and customization to fit your specific space.This adjustable shower rod can extend from 31 to 92 inches.

Adjustable: Adjust the end of the rod to a length of 1.6 inches by rotating it. The length of the black shower curtain rod is controlled by a knob and can be adjusted within the range of 42-100 inches
Keep Your Rod Clean and Rust-Free
Moisture is the enemy of shower curtain rods. It will turn gleaming metal into an orange-brown mess faster than expected. Here’s how to keep yours looking sharp:
Moisture is the enemy of shower curtain rods. It will turn gleaming metal into an orange-brown mess faster than expected.
- Wipe it down weekly – After your shower, grab a dry cloth and run it along the rod. This simple habit stops water spots and rust before they start.
- Check your curtain rod height – Proper installation at 75 to 77 inches ensures good airflow around your rod, reducing moisture buildup that causes corrosion.
- Apply protective coating annually – Use a thin coat of car wax or furniture polish. It works like armor against rust and keeps maintenance minimal.
These quick steps save you from replacing your rod every few years.

Keep Your Bathroom Dry - Our premium PEVA shower curtain liner is waterproof, protecting your decorative shower curtain and keeping your bathroom floor dry, shampoo and soap residues never leaking out.

Lined grommet panel in color blocked gabardine fabric

*HOTEL LUXURY QUALITY: Superior quality polyester shower liner serves long life use, applicable to hotel and home décor. Closely knit thicker than ordinary fabric, a luxury and spa-like feel is delivered when showering or bathing