
A disinfected house costs you a bottle of EPA-registered spray, four teaspoons of bleach in a liter of water, and one minute of wet contact time per surface.
Most people wipe it dry in seconds and wonder why they still get sick.
The contact time on the label tells you how long the disinfectant needs to stay wet to kill what you are trying to remove, and that number ranges from one minute for bleach solution to ten minutes for some homemade recipes.
1. Decide Whether You Need to Clean, Sanitize, or Disinfect
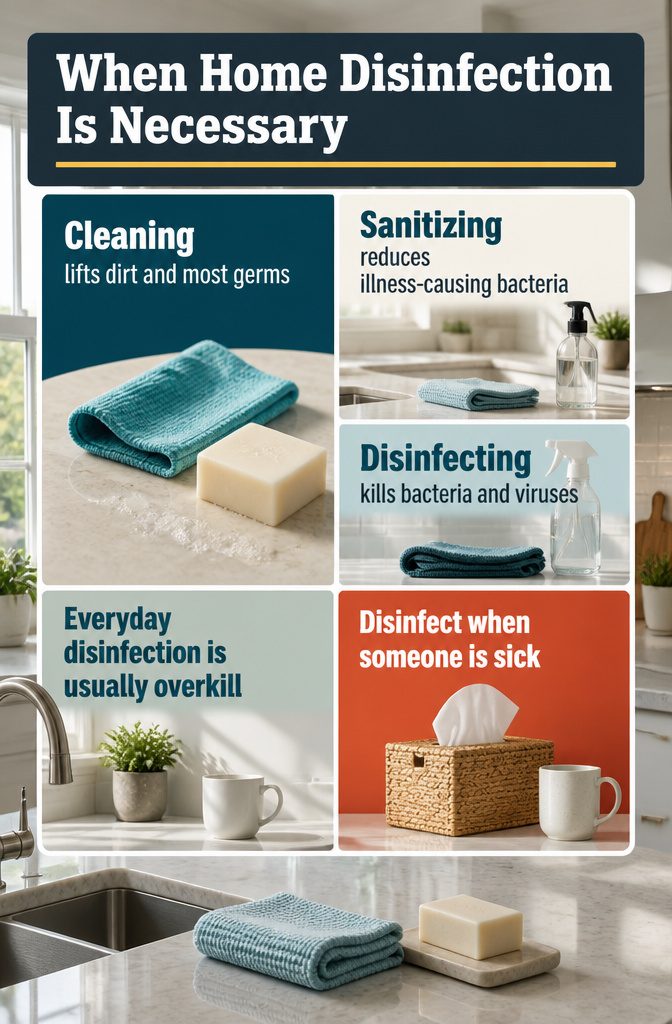
Most days, the only thing standing between you and a germ-free counter is soap and water.
Cleaning removes dirt and most germs by physically lifting them off the surface, which is enough for everyday life. Sanitizing takes it further by reducing bacteria to levels that won’t make you sick, and disinfecting kills bacteria and viruses outright.
The distinction matters because disinfecting every surface every day is overkill for most households. Regular germs help build immune systems, and cleaning alone keeps surfaces safe under normal conditions.
Cleaning is what you do to remove dirt and grime from the surfaces around your home (cleaning can help wash away germs, too). But if somebody in your household is sick, or you’re trying to prevent the spread of illness, you’ll want to follow up your cleaning with targeted disinfecting of frequently-touched areas.
Save disinfection for when someone in the house is sick or if you have an immune-compromised family member whose doctor recommends it. Otherwise, stick with cleaning and let microfiber cloths do most of the work.
2. Choose a Product and Read Its Label Before You Start
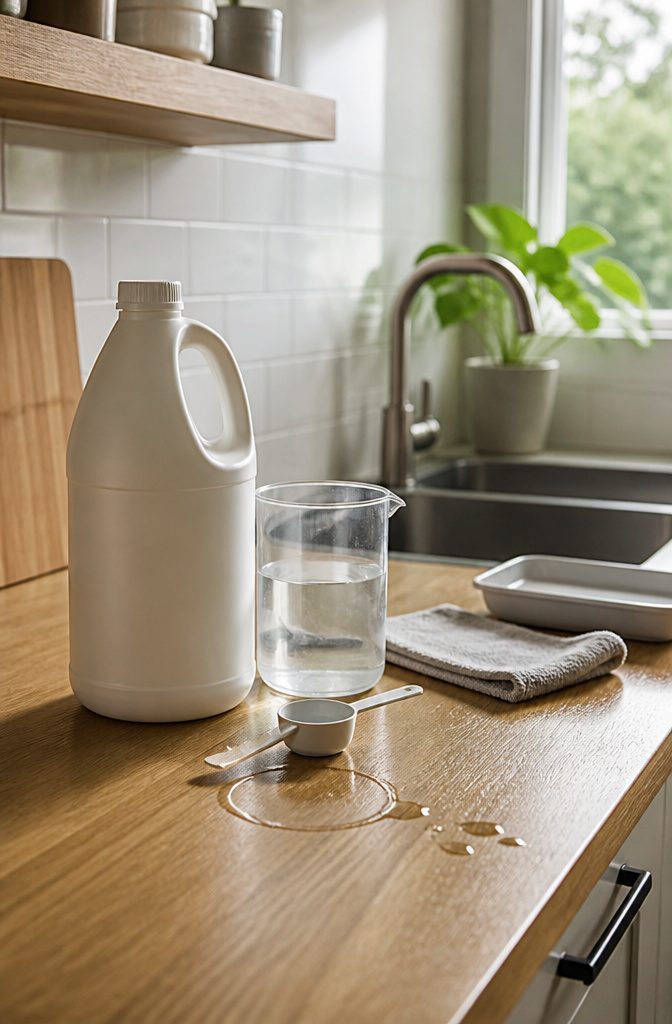
The label tells you whether the product is an EPA-registered disinfectant, which means it has a drug identification number and has been tested for the claims it makes. Not every bottle that looks like a disinfectant actually is one.
Household bleach works if it contains 5% to 9% sodium hypochlorite; dilute four teaspoons in one liter of water and leave the solution on the surface for at least one minute. Alcohol-based disinfectants need to contain at least 70% alcohol to be effective.
The contact time matters more than most people realize.
A typical disinfectant needs four to ten minutes on the surface to kill germs, and many wipe it off too soon. Check the label before you start, not halfway through the job.
Never mix bleach with ammonia or other cleaners.
The combination produces dangerous fumes. Check surface compatibility before applying anything, especially bleach on bathroom sinks or toilets, and follow the manufacturer’s instructions for solution strength and proper handling.
3. Clean Dirt Off the Surface First
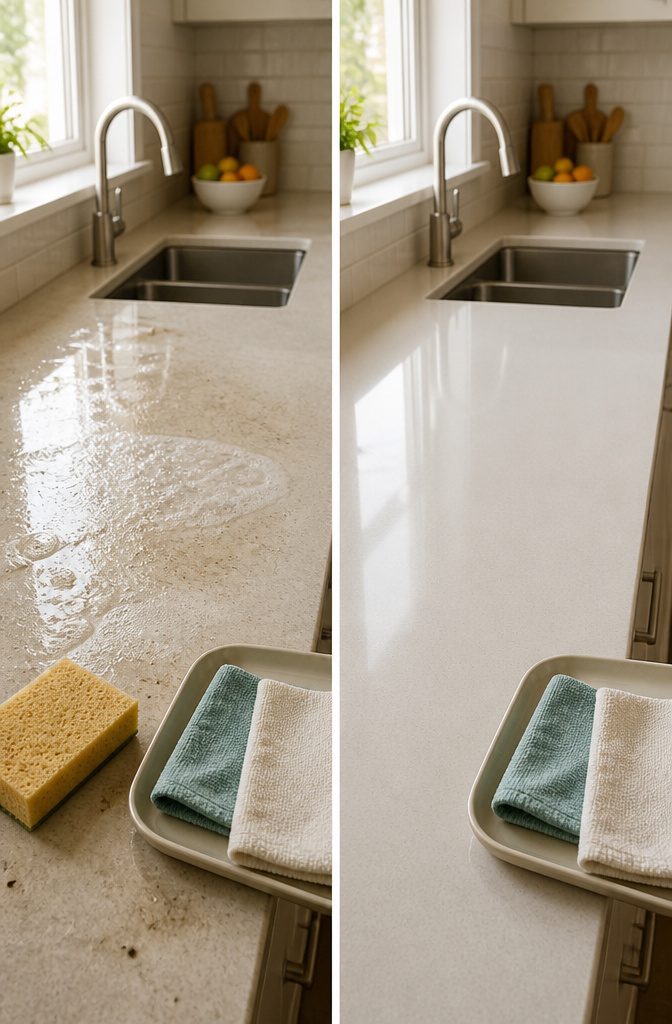
Disinfectant won’t touch germs if dirt is in the way. Soap and water or detergent has to remove visible dirt before disinfectant can work, and that step is separate.
You clean first, then you rinse the surface, then you apply the disinfectant. Skipping the cleaning step or trying to combine them in one pass leaves a film that shields the germs you’re trying to kill.
The rinse matters too. If you’re using bleach solution after cleaning, residue from the detergent can interfere with how the bleach works, so water alone comes between the two.
I treat it as two passes with different cloths, not one swipe that tries to do both jobs at once.
4. Apply Disinfectant and Keep the Surface Wet for the Contact Time
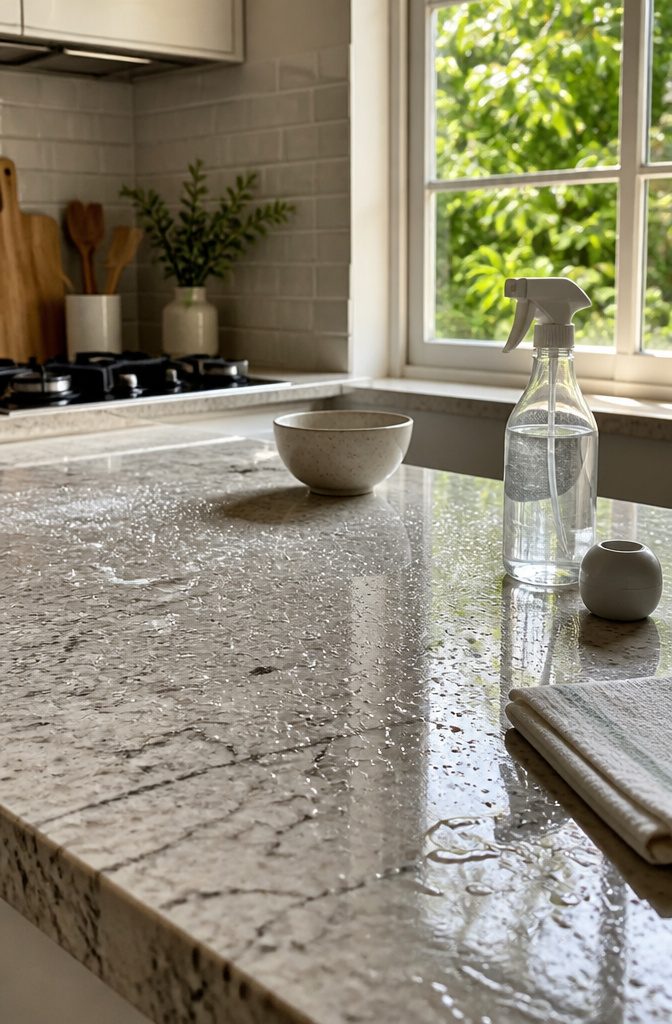
The disinfectant has to stay wet on the surface long enough to actually kill what you are trying to remove.
That time varies by product. A bleach solution needs at least one minute of wet contact time.
Some homemade disinfectant recipes require at least ten minutes. The label on any EPA-registered disinfectant lists its own contact time, and that number is what you follow rather than guessing or rushing to wipe it dry.
I set a timer. It sounds simple, but when you are moving through a kitchen or bathroom with a spray bottle, it is easy to wipe a surface seconds after you spray it and assume the job is done.
If the surface starts to dry before the contact time is up, you need to apply more disinfectant to keep it wet. Once the timer goes off, you can wipe the surface dry with a clean cloth.
5. Disinfect High-Touch Surfaces and Shared Spaces
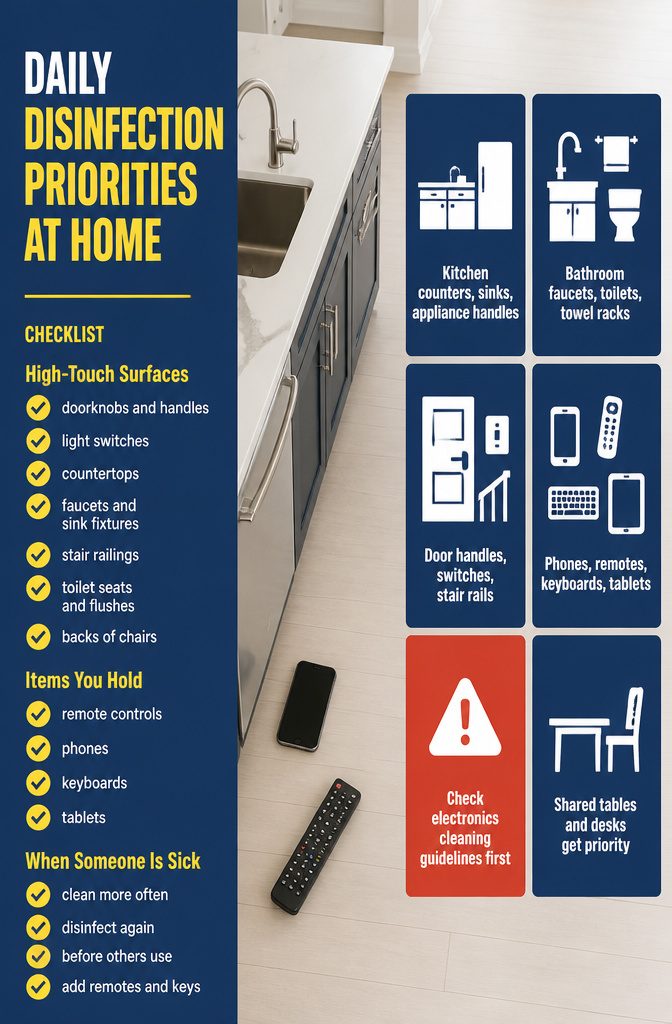
These surfaces get touched constantly throughout the day: doorknobs and handles, light switches, countertops, cabinet handles, faucets and sink fixtures, stair railings, toilet seats and flushes, and the backs of chairs.
Then there are the things you hold: remote controls, phones, keyboards, tablets.
Daily cleaning keeps most germs off these surfaces.
When someone in the house is sick, frequency goes up. Anything a sick person touches needs disinfecting again before someone else uses it.
The list to hit every day:
- Kitchen counters, island surfaces, sink and faucet handles, refrigerator door, microwave and stove handles
- Bathroom counters, faucets, towel racks, toilet paper holder, toilet seat and handle
- Door handles, light switches, stair rails throughout the house
- Remotes, phone screens, keyboards, and tablet screens (check the manufacturer’s cleaning guidelines first—some electronics don’t tolerate moisture well)
- Tables and desks where people work or study
Shared spaces used by multiple people daily get priority.
That includes tables, hardback chairs, toilets, and sinks. When someone’s sick, add remotes and keys to the rotation.
6. Handle Soft Surfaces, Electronics, Laundry, and Dishes by Material
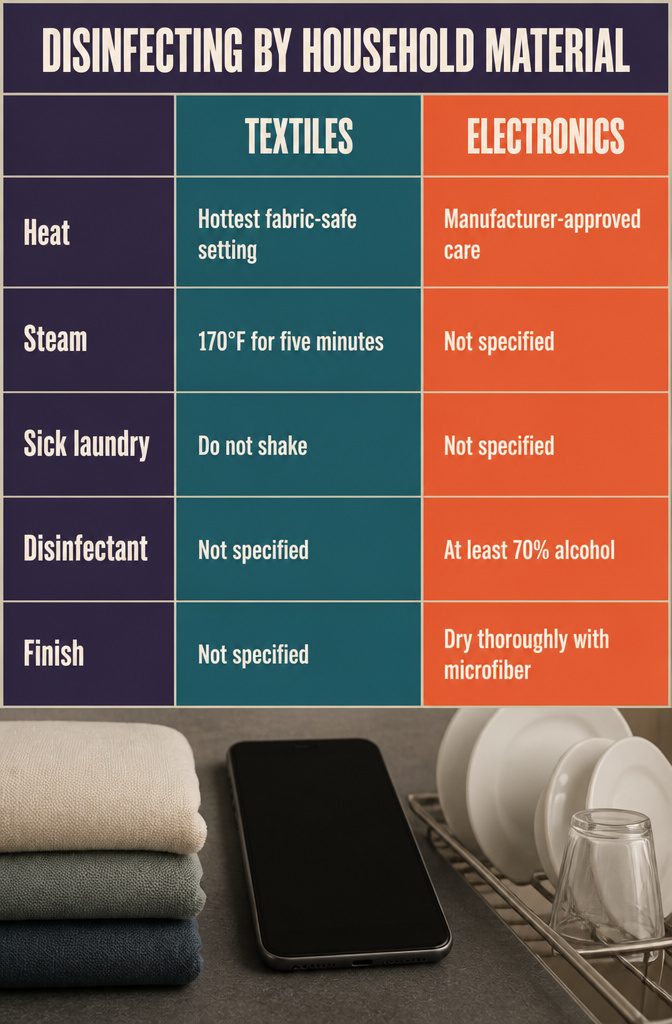
Textiles go in the washer on the hottest setting the fabric can take, and I don’t shake out laundry if anyone’s been sick — trapping germs matters more than airing things out.
For rugs or upholstered pieces that can’t fit in the machine, steam them for five minutes at 170°F or higher. That temperature holds for the full five minutes, not just the moment you pass over it.
Electronics need more care. Remote controls, keyboards, and touchscreens all get handled constantly, but moisture can wreck them.
I check the manufacturer’s instructions first. If the device allows it, I wipe it down with a disinfectant wipe that contains at least 70% alcohol, let it sit for the contact time, then dry it thoroughly with a microfiber cloth.
Wipeable plastic covers help if the device sees heavy use.
Dishes go through the dishwasher on the sanitize setting, or I wash them by hand in the hottest water I can stand with plenty of soap. Soaking in boiling water for ten minutes also works if the dishwasher is out.
7. Wash Your Hands and Store Products Safely
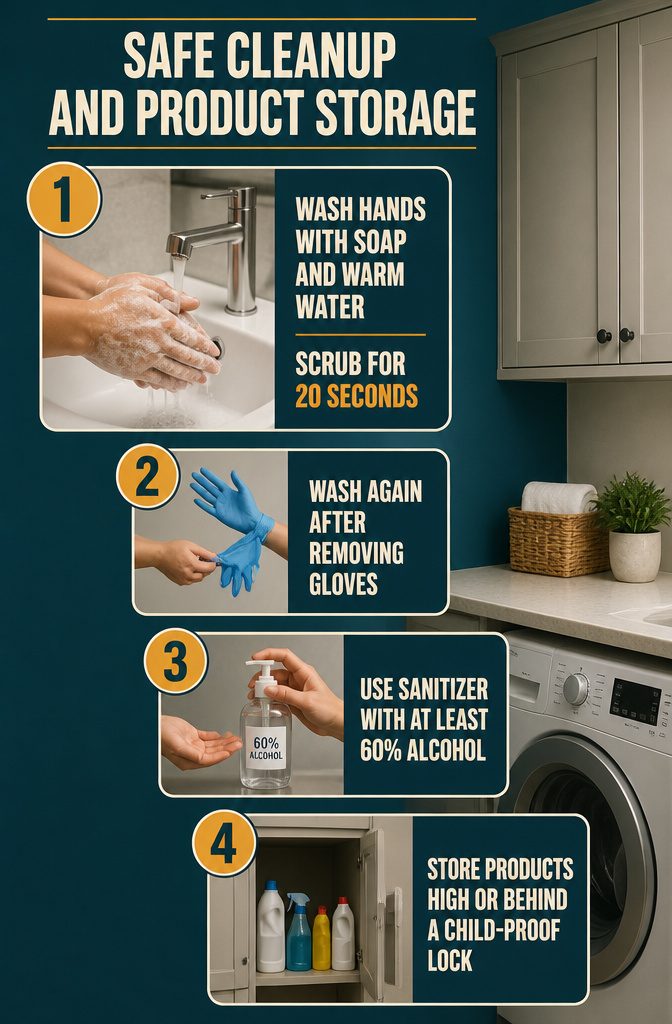
Wash your hands with soap and warm water for 20 seconds after any cleaning session, and again after removing gloves. If soap and water aren’t nearby, hand sanitizer with at least 60% alcohol works.
Cleaning products are genuinely dangerous to children and pets, not just inconvenient to store. Keep everything in a high cabinet out of reach, or behind a cabinet with a child-proof lock.
Putting products away after each use matters as much as where you store them. A bottle left on the counter while you answer the door is a real risk.
Room-by-Room Disinfection After Someone Is Sick
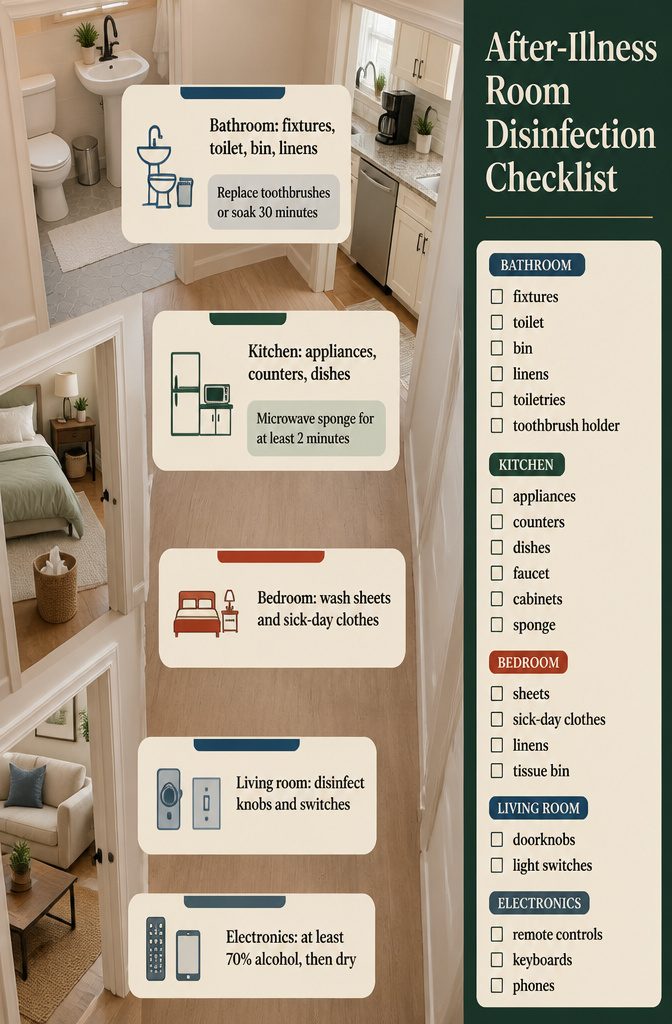
Once someone recovers, walk through the house room by room. The list below hits the surfaces and items that need attention first:
- Bathroom fixtures, the toilet, and the bin. Disinfect faucets, shower handles, every inch of the toilet, and any toiletries the sick person touched. Take out the trash and disinfect the bin. Replace toothbrushes or soak them in hydrogen peroxide for at least 30 minutes, then rinse. Scrub the toothbrush holder. Wash all towels, bath mats, and linens on high heat.
- Kitchen appliances, countertops, and dishes. Wipe down the faucet, cabinet handles, countertops, the coffee pot, and the microwave. Wash all dishes in the hottest water possible with plenty of soap. If you use a sponge, microwave it for at least 2 minutes or replace it.
- Bedroom linens and bins. Wash all bedsheets and clothes worn while sick—bacteria and viruses survive on textiles for weeks. If there is a bin full of tissues, disinfect it.
- Living-room high-touch points. Wipe doorknobs and light switches with a disinfecting product.
- Electronics. Remote controls, keyboards, and phones need attention too. Use a disinfectant wipe with at least 70% alcohol, then dry with a microfiber cloth. Check the manufacturer’s instructions first—moisture damages some devices.
Bleach and Alcohol Dilution Ratios That Work
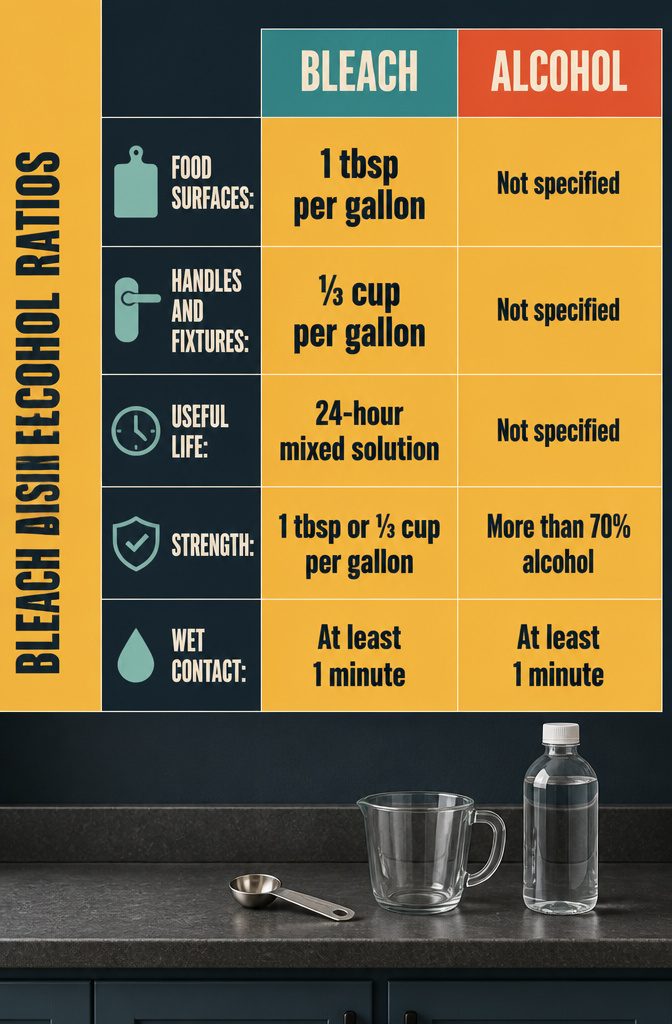
Bleach and Alcohol Dilution Ratios That Work
Household bleach loses its punch after a year even when stored right, and any solution you mix is good for only 24 hours. After that, toss it and make a new batch.
The ratio depends on what you’re cleaning. For counters or cutting boards where food touches, mix one tablespoon of bleach per gallon of water.
For door handles, light switches, or bathroom fixtures, you can go stronger: up to one-third of a cup of bleach per gallon. Alcohol-based disinfectants need more than 70% alcohol to work.
| Disinfectant | Dilution | Best For | Contact Time |
|---|---|---|---|
| Bleach (weak) | 1 tbsp per gallon | Food-contact surfaces | At least 1 minute |
| Bleach (strong) | ⅓ cup per gallon | Door handles, switches, fixtures | At least 1 minute |
| Alcohol | At least 70% concentration | Electronics, small items | At least 1 minute |
Whatever you mix, the surface needs to stay wet for at least one minute to actually kill what you’re after. If it dries before that, you’re just wiping things down.
Why Vinegar Is Not a Reliable Disinfectant
Vinegar cleans well but does not reliably disinfect.
The EPA has not registered it as a disinfectant, and the evidence does not show it removes coronavirus from household surfaces. That matters when someone in the house is sick or you need more than surface dirt gone.
A vinegar-water spray at equal parts, left on for about fifteen minutes, will handle some bacteria. But it can damage natural stone, hardwood, and certain finishes, so test it first or skip it on anything porous or sealed.
And never mix vinegar with hydrogen peroxide. The combination creates peracetic acid, which irritates skin and airways.
If disinfection is the goal rather than a general wipe-down, vinegar is not the tool.
Save it for deodorizing, cutting grease, or rinsing buildup when the surface can take the acidity. For actual disinfection, an EPA-registered product with a pathogen claim that matches what you need is the only reliable route.
Frequently Asked Questions
What is the difference between sanitizing and disinfecting?
Sanitizing reduces bacteria to levels that won’t make you sick, while disinfecting kills bacteria and viruses outright.
For most households, regular cleaning with soap and water is enough; save disinfecting for when someone is sick or if a doctor recommends it for immune-compromised family members.
Does vinegar actually disinfect?
No, vinegar does not reliably disinfect. The EPA has not registered it as a disinfectant, and evidence does not show it removes coronavirus from household surfaces.
While a vinegar-water spray can handle some bacteria if left on for 15 minutes, an EPA-registered product is the only reliable option when actual disinfection is needed.
What disinfectant spray kills norovirus?
Use a bleach solution with one-third of a cup of bleach per gallon of water, and keep the surface wet for at least 1 minute.
Check the label on any EPA-registered disinfectant to confirm it lists the specific pathogen you need to kill, as contact time and concentration vary by product.
Can hydrogen peroxide safely disinfect bathrooms?
Yes, hydrogen peroxide can disinfect bathroom countertops, toilets, tiles, and floors. Test it on a small area first, and never mix it with vinegar because the combination creates peracetic acid, which irritates skin and airways.