
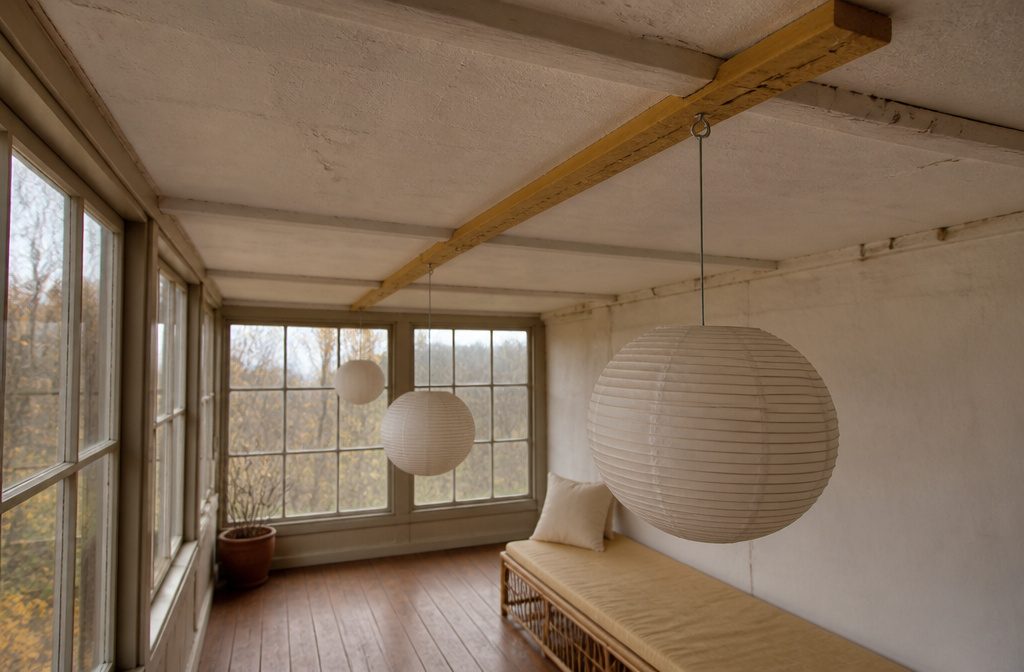
You end up with lanterns hung at different heights across a ceiling, using a painted moulding strip screwed into joists and cup hooks holding fishing line.
The work takes an afternoon and costs around $30 in materials. Most people skip locating the joists first and drill into drywall alone, which leaves the strip sagging under the weight by the second week.
1. Choose the Lantern and Decide Where It Will Go
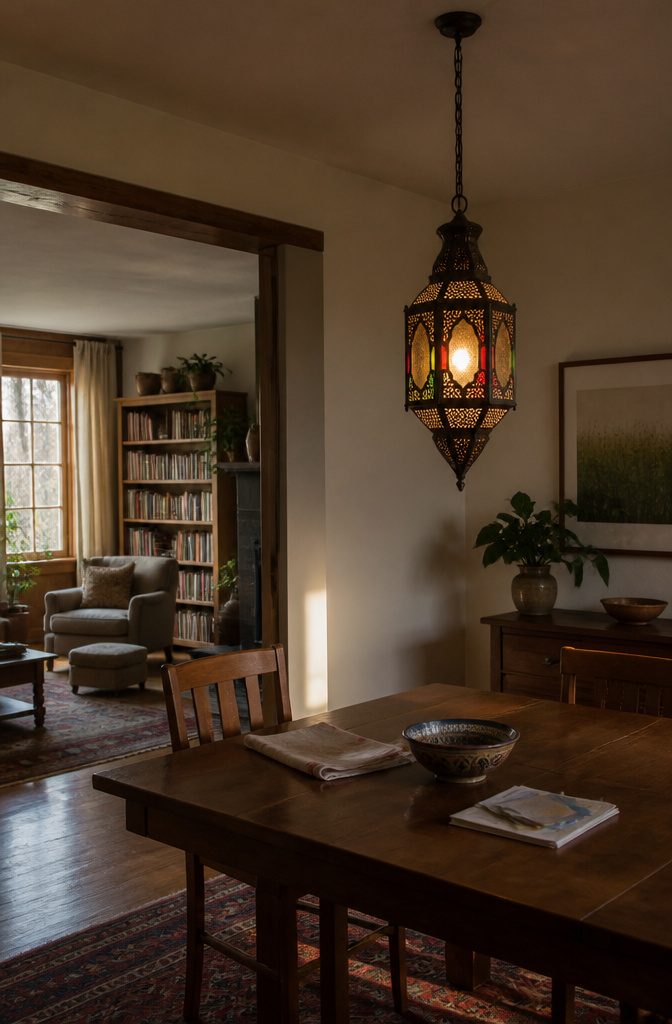
I start by deciding whether the lantern lives indoors or out, because that choice changes everything about what I buy and how I hang it.
Outdoor lanterns need weatherproof housings and galvanized or stainless hardware that won’t rust through the first season; indoor ones can be decorative paper, wicker, or glass without worrying about a rainstorm.
A Moroccan lantern looks right in a bedroom but warps on a porch. A solar garden lantern solves the power question outside but does nothing over a dining table.
Once I know the setting, I walk the space and pick the spot by asking what I want the lantern to do.
If it’s meant to anchor a room, I put it over the dining table or in the center of the living room where it reads as the focal point.
On a porch, I hang it where guests see it first. In a garden, I look for the feature I want lit after dark: a seating area, a path, or a bed that gets lost at dusk.
I also check that the spot stays clear of foot traffic and that I can reach an outlet, a stud, or enough sun for a solar cell, depending on what powers the lantern.
2. Locate Ceiling Joists or Studs
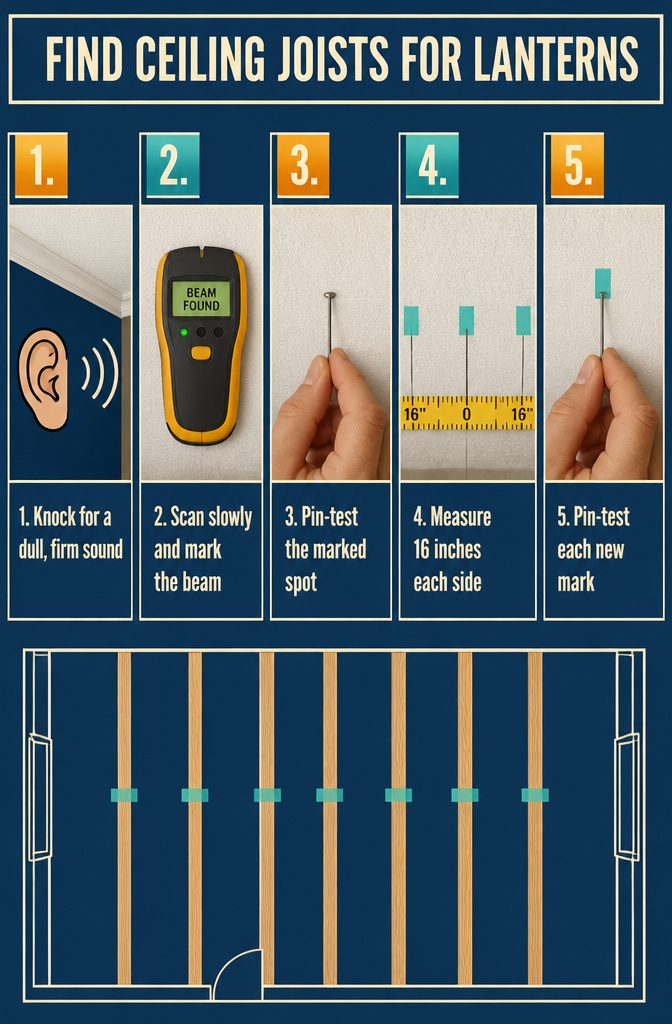
- Knock along the ceiling to listen for the change from hollow to solid. A joist sounds dull and firm where drywall alone sounds empty.
- If you have a stud finder, run it slowly across the ceiling until it signals a beam. Mark the spot with painter’s tape or a pencil.
- Push a thin pin or finish nail through the drywall at the marked location to confirm you’ve hit wood. If it slides straight through, shift six inches and try again.
- Once you’ve found one joist, measure 16 inches to either side and mark those spots. Most ceiling joists in American residential construction run on 16-inch centers.
- Test each new mark with the pin to confirm the pattern holds. If you miss, adjust by an inch or two and retest.
- Joists typically run perpendicular to the floor joists below, which means they often run the short direction of the room. Check which way the floorboards run on the level above if you can see them; joists sit crosswise to the boards.
3. Prepare the Mounting Strip
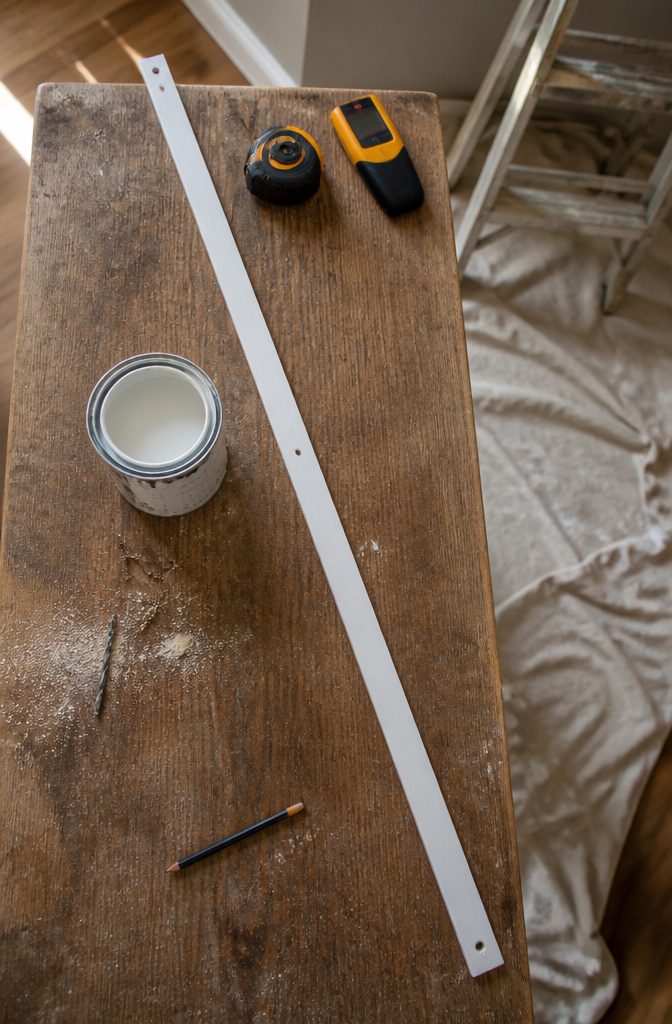
Cut the moulding so both ends anchor to ceiling joists, not just one.
An 8-foot piece of slim flat moulding works well for most installations, but measure between your marked joist locations and trim the board to land squarely on a joist at each end.
Failing to anchor the ends leaves the strip sagging under the weight of multiple lanterns, and that sag shows up fast.
Pre-drill holes at both ends of the cut moulding before you carry it up the ladder. For added strength, mark and drill holes at any other joists that fall between the ends.
The extra anchors distribute the load and keep the strip from bowing when you hang heavier spheres or group several lanterns close together. Use a drill bit slightly narrower than your screws to prevent splitting.
Paint the moulding with ceiling paint before you cut or drill. A bare wood strip reads as unfinished even when the rest of the room looks polished, and touching it up after installation means drips on your face.
4. Fasten the Strip to the Ceiling
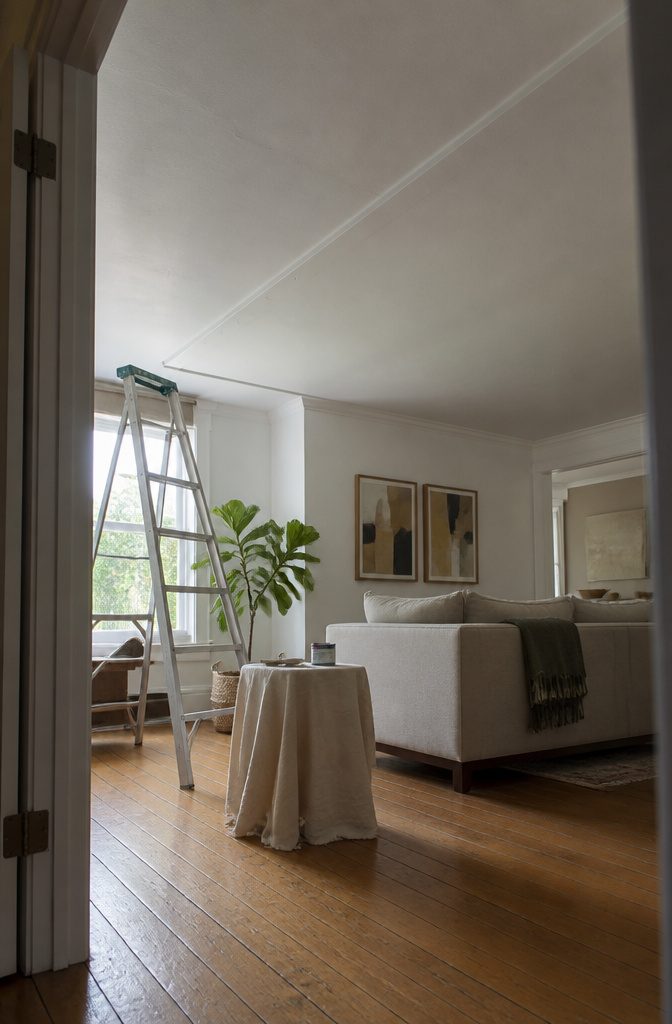
- Hold the moulding strip against the ceiling and line it up with the stud marks you made earlier.
- Drive 2-inch wood screws through the strip and into each stud location until the strip sits flush and secure.
- Paint over the screw heads with ceiling paint to blend them into the surface.
5. Install the Hanging Points
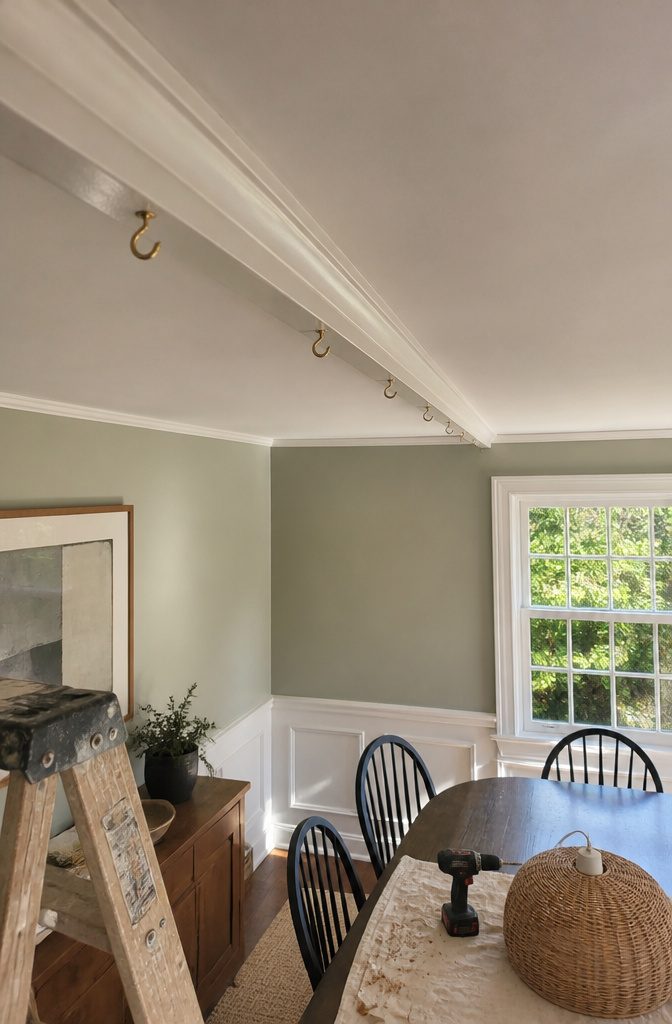
Once the strip is fastened, pre-drill holes in the moulding where you want each lantern to hang. A pilot hole keeps the wood from splitting and makes turning the cup hooks easier.
Turn the cup hooks into the pre-drilled holes until they are snug against the moulding. They should feel tight but stop before you strip the wood.
If you are working with a different ceiling type and skipping the moulding approach, use ceiling hooks rated to support the lantern’s weight and make sure they are securely anchored into a joist or solid backing.
A lightweight paper lantern weighs almost nothing, but the hardware still needs a firm grip so the installation does not sag or pull free over time.
6. Hang the Lanterns
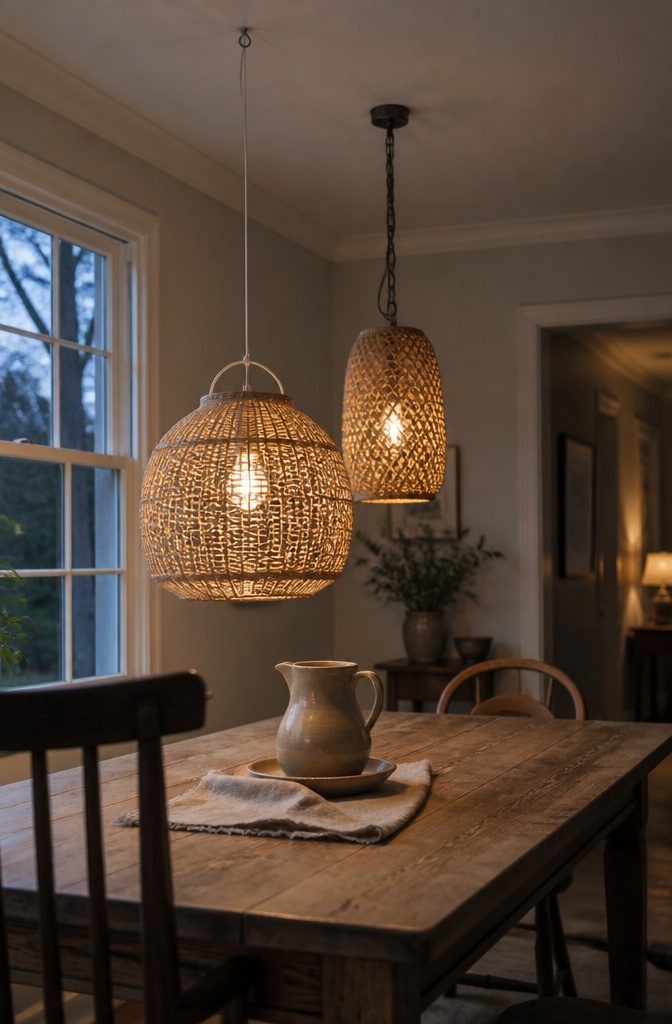
I tie a loop at each end of a length of fishing line and hook the top loop onto a cup hook.
The lantern hangs from the bottom loop. Fishing line holds the weight and disappears against most ceilings, which keeps the focus on the lanterns themselves rather than on what is holding them up.
For lanterns that need more flexibility, adjustable chains or cables work instead. I can raise or lower each lantern without untying anything, which matters when I am balancing the heights across several pieces.
The chain shows more than fishing line does, but it also reads as intentional hardware rather than as a mistake.
Pendant lanterns sometimes come with their own chain or rod. Those mount directly to the ceiling fixture and do not need separate rigging, though the height is usually fixed unless the kit includes an adjustable feature.
I vary the drop on each lantern until the group looks deliberate. A flat line across the ceiling reads as cautious; staggered heights look like I made a choice.
7. Adjust the Display
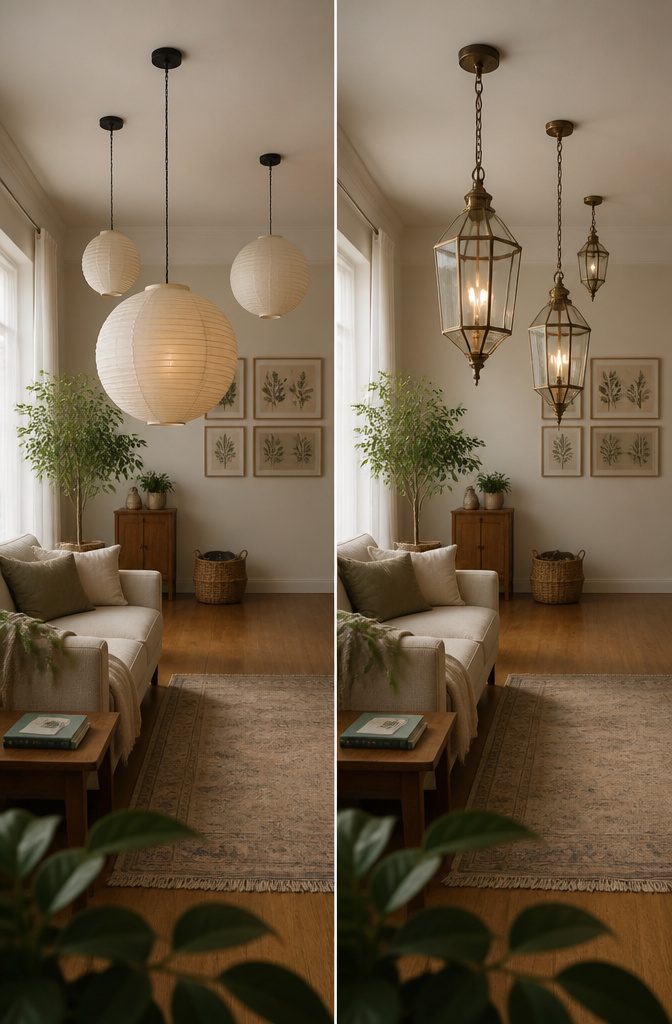
Once the lanterns are hung, step back and look at the whole picture.
Pull them up or let them down until the spacing feels right — you’re after a layered look, not a line of identical drops. A lantern at 6 feet puts light at eye level and makes the space feel grounded.
One at 8 feet lifts the glow higher and opens the ceiling. I like mixing both: anchor one or two low where you’ll move through them, then float the rest higher to fill the upper half of the room.
If you’re hanging them outdoors or near a vent, tighten the chains or cables after you settle on a height. A lantern that sways every time the air moves looks unfinished, and the hardware loosens faster when it’s constantly shifting.
Adjust for the lantern’s size, too — a small paper sphere can sit lower without crowding the floor, while a wide rattan drum needs more clearance or it cuts the room in half.
8. Check Safety and Use
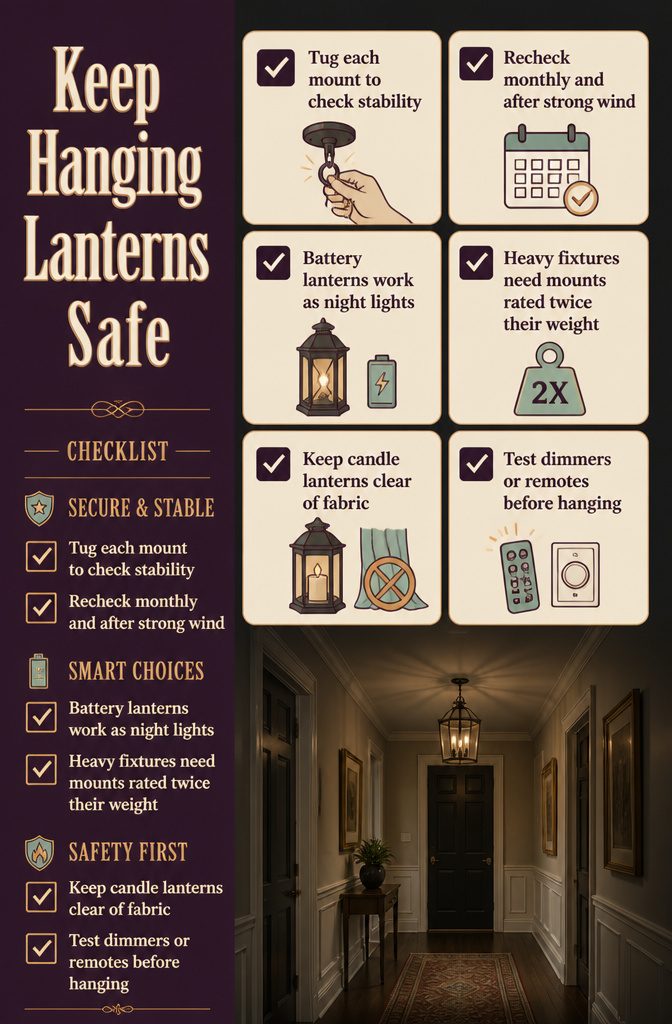
Once the lanterns are up, check that every connection feels stable before you walk away.
Give each hook or mount a light tug to confirm it won’t shift under the weight of the lantern, especially if you’ve hung multiple fixtures from a single strip or beam.
Plan on repeating that check monthly, or after any strong wind if the lanterns hang near an open door or window. Hardware loosens over time, and catching it early keeps a heavy fixture from dropping.
A few practical points worth noting before you consider the job done:
- Battery-powered lanterns double as night lights in hallways or kids’ rooms, since you control when they’re on without adding wiring.
- Heavy lanterns need heavier mounts. If a metal or glass fixture weighs more than a few pounds, the mounting hardware should be rated for at least twice that weight.
- Candle lanterns belong nowhere near fabric, and I skip them entirely if the ceiling is low enough that someone could bump one while reaching overhead.
- Test any dimmer or remote before you hang the lantern at full height. Fixing a wiring issue is faster when the fixture is still on the workbench.
Ways to Hang or Support Lanterns
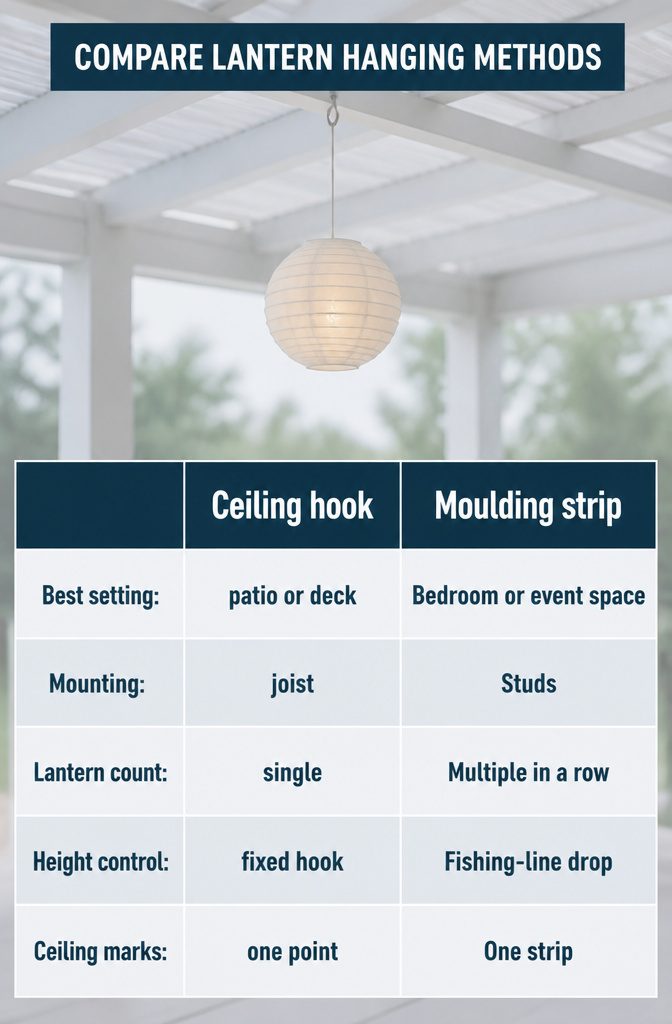
You can suspend lanterns a few different ways depending on the ceiling and the look you want. Here’s what works:
- Ceiling hooks screwed into joists hold lanterns securely on patio or deck ceilings. Make sure the hook is rated for the lantern’s weight.
- Moulding strips with cup hooks let you hang multiple lanterns in a row without marking the ceiling repeatedly. Screw the strip into the studs, add cup hooks at intervals, then use fishing line to suspend the lanterns at different heights.
- Chains or cables work well for pergolas, gazebos, or tree branches. Adjust the length to control how low the lanterns hang.
- Pendant light cord kits give you a finished look if you’re swapping out an existing ceiling fixture. The wiring is already there, and the cord hides the mechanics.
- Wall brackets anchor lanterns to vertical surfaces when you don’t have overhead structure. Good for flanking a door or lighting a narrow passage.
I reach for the moulding strip method when I’m clustering lanterns in a bedroom or event space. Fishing line disappears against the ceiling, and varying the drop gives you depth without drilling a dozen holes.
Height and Arrangement
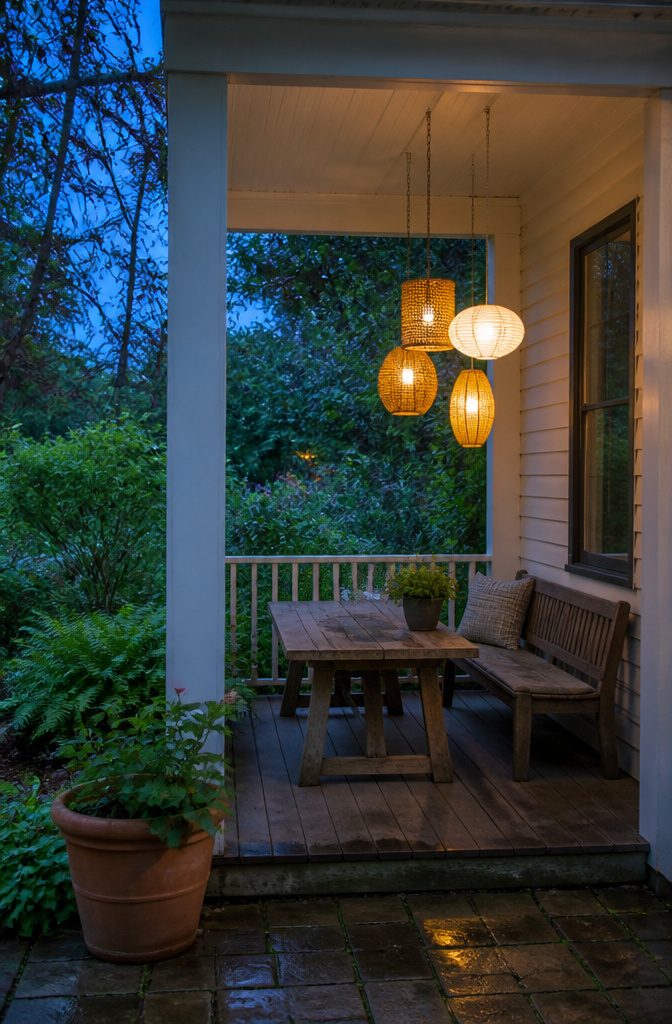
Where you hang the lanterns shapes the mood they create. Eye-level placement — around 5 to 6 feet above the ground — puts the light where people gather and makes the space feel conversational.
Hang them higher, around 7 to 8 feet, and you get broader coverage with a more dramatic look that pulls the eye upward.
The real opportunity is in mixing the two. A cascading display with lanterns at different heights adds depth and keeps the arrangement from looking like it came off a production line.
I vary mine by a foot or more between each lantern, staggering them so the lowest hangs near eye level and the tallest floats well above.
The effect changes with lantern size and the height of the ceiling, so adjust as you hang rather than locking into a rigid plan. What works in one corner may read as crowded in another.
Frequently Asked Questions
How can I hang a lantern from the ceiling?
Locate a ceiling joist with a stud finder or by knocking along the ceiling, then screw a hook rated for the lantern’s weight directly into the joist.
For multiple lanterns, fasten a moulding strip across several joists and attach cup hooks at intervals, then suspend each lantern with fishing line or chain.
If you’re replacing an existing light fixture, a pendant cord kit uses the wiring already in place.
How high should I hang ceiling lanterns?
Hang lanterns at 5 to 6 feet above the floor for eye-level light that feels conversational, or at 7 to 8 feet for broader coverage and a more dramatic look.
Mixing both heights in the same display adds depth and keeps the arrangement from looking flat. Adjust based on lantern size and ceiling height rather than locking into a fixed measurement.
What is the rule for ceiling lights?
Anchor any ceiling light or lantern to a joist or solid backing so the hardware can support the weight without sagging or pulling free.
The fixture should hang high enough to clear foot traffic and heads, typically 7 feet minimum in walkways.
For dining tables or central installations, drop the light lower to put the glow where people gather, usually 30 to 36 inches above the table surface.