

A hanging chair installed into a ceiling joist holds 200 to 400 pounds and takes an hour if you have the hardware ready.
Most failures happen at the location step, where people drill into drywall instead of waiting to find the joist. That choice collapses under the first swing, since drywall cannot handle dynamic load and toggle bolts do not fix it.
The screw eye has to thread into wood or metal framing, which means marking the joist center with a stud finder before the drill comes out.
1. Choose a Location With Joist Support
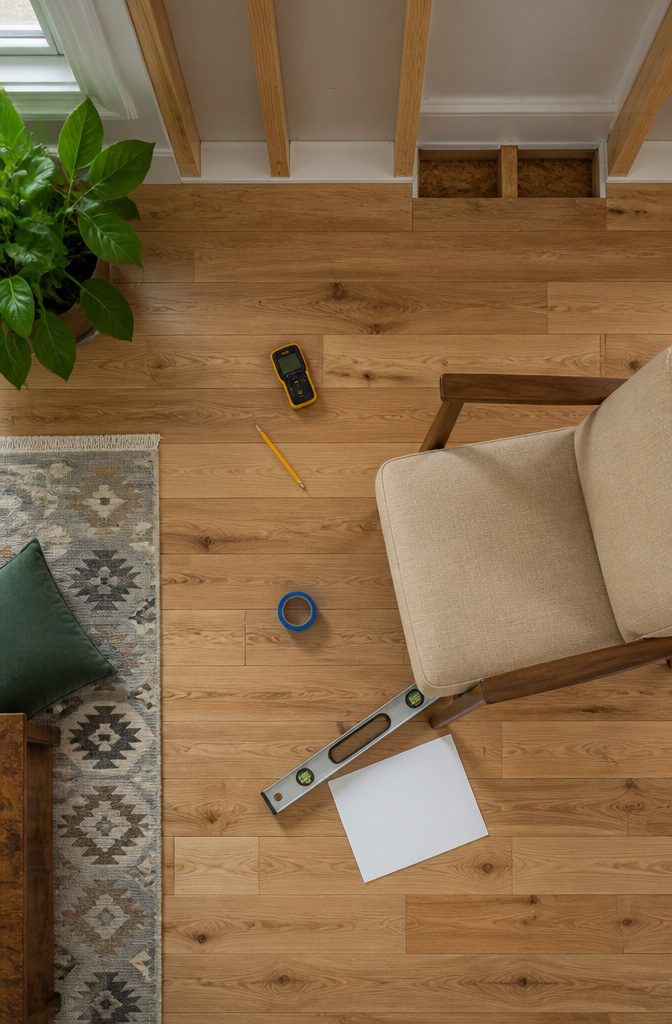
The chair needs to anchor directly into a ceiling joist or beam, not drywall alone. Drywall holds paint and pictures.
It will not support the dynamic load of a person swinging, and toggle bolts do not change that. Use a stud finder to mark the center of a joist, which will run in a single direction across the ceiling.
The joist gives you wood or metal to grip, and the hardware threads into solid material rather than crushing through gypsum.
Before you drill, account for the full swing radius.
Measure from the mounting point to the chair’s farthest edge when occupied, then check for obstructions in every direction. Ceiling fans, pendant lights, door swings, and furniture all need clearance.
Walk the radius with your arm extended to feel where the chair will travel. A location without sound structural support is not an option, and relocating the chair later means patching and redrilling.
2. Gather Your Drill, Screw Eye, Chain, and Ladder
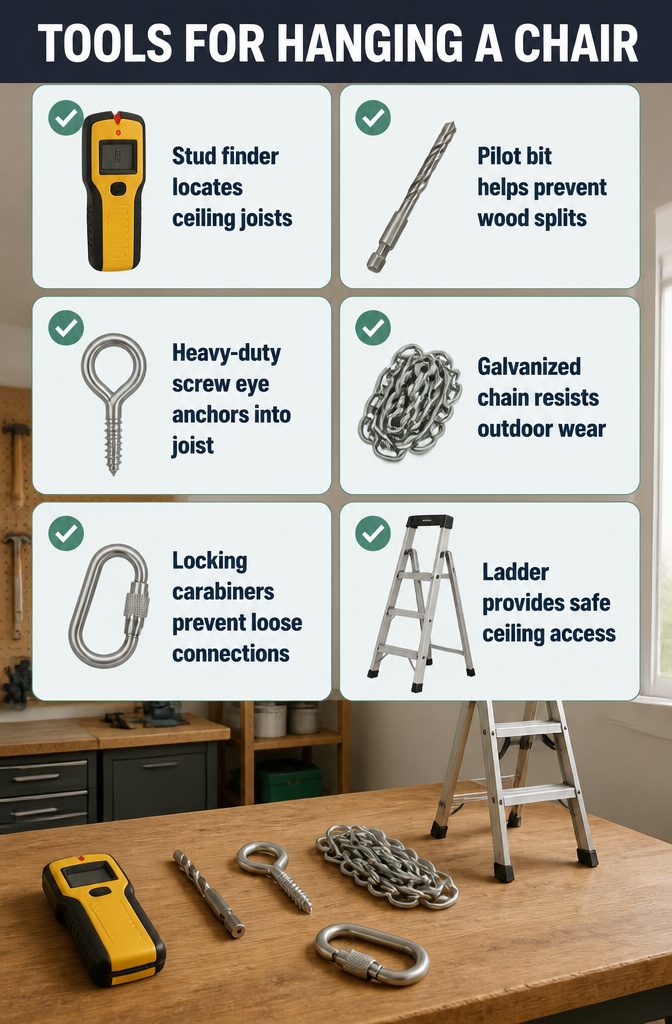
You will need a stud finder, drill with pilot bit, heavy-duty screw eye, galvanized metal chain or heavy-duty rope, locking carabiners or chain links, and a ladder.
Follow the instructions that came with your chair or hardware kit for specific requirements, since weight ratings and attachment methods vary.
Here is what each piece does:
- Stud finder: Locates the ceiling joist so you drill into solid wood, not hollow drywall
- Drill and pilot bit: Creates the starter hole that keeps the screw eye from splitting the wood
- Heavy-duty screw eye: The anchor point screwed directly into the joist center
- Chain or rope: Suspends the chair; galvanized metal chain holds up better than rope outdoors
- Locking carabiners or chain links: Connects the chair to the suspension without slipping loose
- Ladder: Gets you to ceiling height safely while you work
Gather everything before you start so you are not climbing up and down to retrieve a tool mid-install.
3. Mark the Joist Center With a Pencil
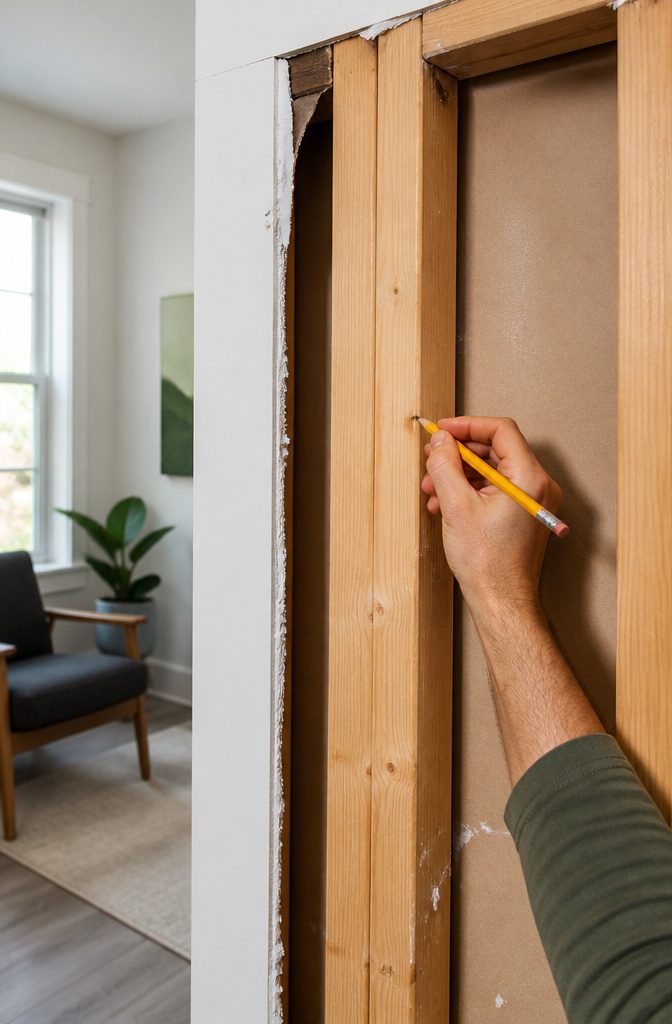
Run the stud finder slowly across the ceiling until it lights up or beeps.
That tells you where solid framing sits behind the drywall. Keep moving the finder in both directions until the signal fades, then come back and mark both edges of the joist with light pencil marks.
The center point between those two marks is where the screw eye goes, so measure the gap and mark the middle.
Aligning the screw eye with the joist center means the load spreads evenly across the wood instead of pulling on one edge, which matters when you’re hanging something that swings.
4. Drill a Pilot Hole at the Mark
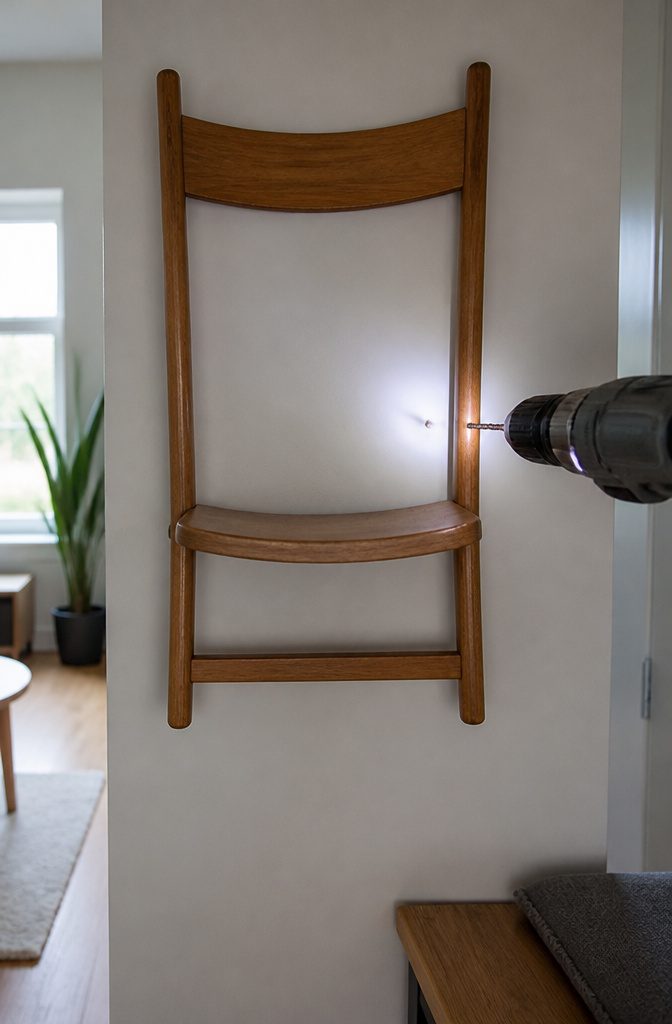
Switch the drill to a low speed and drill straight into the mark without angling the bit. The hole only needs to go as deep as the screw eye’s threaded shaft, usually two to three inches.
A pilot hole that matches the diameter of the screw eye’s shaft (not counting the threads) prevents the wood from splitting when you drive the hardware in.
If the hole ends up too narrow, the joist can crack under the torque.
If you drill off-center or at a slant, the screw eye won’t bite properly and the load shifts onto a smaller section of wood than the rating assumes.
I use a bit one size smaller than the screw eye’s core diameter. The threads still grip, but the wood isn’t fighting the metal on the way in.
Clear the sawdust out of the hole with a quick burst of air or a twist of the bit before you pull the drill back out.
5. Install and Tighten the Screw Eye
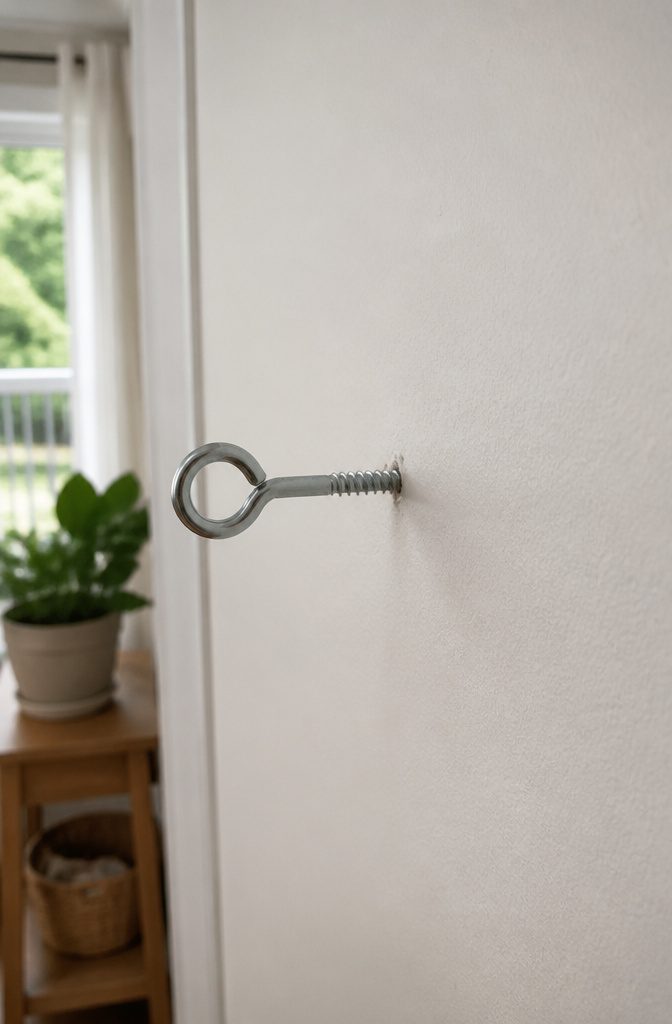
Start by hand-twisting the screw eye clockwise into the pilot hole you drilled. Push firmly as you turn so the threads bite into the wood of the joist.
Keep turning until the screw eye sits snug against the surface and no longer moves easily by hand. That usually takes more force than you expect, especially once you get past the first inch or two of thread.
Once you can’t twist it any further by hand, grab a pair of pliers to finish tightening. Clamp the pliers onto the eye itself and turn until the hardware feels completely seated.
The eye should sit flush and steady, with no wobble when you tug on it. That final tightening step is what keeps the screw eye from loosening over time under the weight and motion of the chair.
6. Attach Chain or Rope With Locking Hardware

With the screw eye installed, you connect the suspension material using locking carabiners or heavy-duty chain links. Galvanized metal chain is the most common choice.
Heavy-duty rope works too, particularly climbing rope rated for serious strain. Rope runs quieter than chain and shows wear as it stretches, which makes inspection easier.
Whatever material you choose, the connection hardware must lock. Locking carabiners close securely and cannot pop open under movement.
Standard non-locking links can work their way loose over time. I would not trust a hanging chair to anything that relies on friction alone.
Thread the chain or rope through the screw eye, then attach it to the chair’s suspension ring using the carabiner or chain link.
Keep the connection tight and check that the lock mechanism is fully engaged before moving to the next step.
7. Test the Installation Before Sitting

Once the chair is up, test it before anyone sits in it. Push down hard on the seat with both hands, applying as much weight as you can without climbing in.
If the hardware shifts, creaks, or pulls away from the ceiling even slightly, stop. Something isn’t rated for the load or wasn’t installed into solid structure.
Follow the manufacturer’s instructions exactly. If the chair or hardware came with a weight limit, that applies to the entire system: the screw eye, the joist it threads into, and the suspension components between them.
Skipping a step or using hardware that wasn’t specified can turn a safe installation into one that detaches without warning.
When you’re unsure whether the setup can handle the load, consult a professional before anyone uses the chair.
The risk isn’t just the chair falling. Improper installation can pull hardware straight through drywall or damage the ceiling structure, and injury follows close behind.
Match Chair and Hardware Capacity to Your Weight

I check the chair’s stated capacity first, then the hardware, and I make sure both clear the weight they will actually carry.
Many hanging chairs land somewhere between 200 and 400 pounds, and mounting hardware goes up to 800 pounds if you need it. I match capacity to the heaviest person who will use the chair, then I add room for dynamic load.
A swinging chair puts more force on the support than dead weight does, so a 200-pound user needs a chair and hardware rated well above 200.
I have passed on installations where the numbers did not line up, because reliability matters more than getting the chair hung today.
If the chair’s rating sits too close to the user’s weight or the hardware cannot handle the swing load, I wait until I can source components that do.
A chair rated at 250 pounds with hardware at 300 is marginal for an adult who weighs 180; a chair at 400 with hardware at 600 or higher gives me the margin I want.
Measure Floor to Ceiling and Size the Suspension

Start by measuring the full distance from floor to ceiling where you plan to install the chair.
That measurement tells you how much chain or rope you need to reach a comfortable seat height, which runs somewhere between waist and hip level for most people.
If your ceiling stands at ten feet and you want the seat at three feet off the ground, you need seven feet of suspension plus whatever length the hardware itself takes up.
The math gets tighter if the chair swings. A chair in motion needs clearance on all sides, so walk the space before you commit to a height.
Open any nearby doors, pull out drawers, check that the chair will not brush a wall or a shelf when someone rocks back.
Marking the footprint with painter’s tape shows you whether the swing path works or whether you need to shorten the chain to keep the arc small.
Frequently Asked Questions
What tools and hardware do I need to install a hanging chair?
You need a stud finder, drill with pilot bit, heavy-duty screw eye, galvanized metal chain or heavy-duty rope, locking carabiners or chain links, and a ladder.
The stud finder locates the joist, the drill creates the starter hole, and the screw eye anchors into solid wood. Chain or rope suspends the chair while locking hardware connects everything securely.
Where can I safely hang a chair or swing indoors?
Anchor the chair directly into the center of a ceiling joist or beam, never into drywall alone.
Use a stud finder to locate solid framing, mark the joist center, and drill there so the screw eye threads into wood or metal rather than gypsum.
Toggle bolts and adhesive hooks will not support the dynamic load of a person swinging.
How do I measure and set the correct hanging height?
Measure the full distance from floor to ceiling, then size your chain or rope to reach a comfortable seat height between waist and hip level.
If your ceiling is 10 feet and you want the seat at 3 feet off the ground, you need 7 feet of suspension plus the length the hardware takes up.
Walk the swing radius before you commit to make sure the chair clears walls, doors, and furniture.
What weight limits should I check before installing?
Check both the chair’s stated capacity and the hardware rating, and make sure both exceed the weight they will actually carry.
Most hanging chairs are rated between 200 and 400 pounds, and mounting hardware goes up to 800 pounds. Match capacity to the heaviest user, then add room for dynamic load since swinging puts more force on the support than dead weight does.
How do I hang a swing chair from the ceiling?
Use a stud finder to mark the center of a ceiling joist, drill a pilot hole 2 to 3 inches deep, and hand-twist a heavy-duty screw eye into the hole until snug.
Finish tightening with pliers so the eye sits flush, then attach galvanized chain or rope using locking carabiners or chain links. Test the installation by pushing down hard on the seat before anyone sits in it.
Can I put a hanging chair in a bedroom?
Yes, if you have enough clearance and the chair does not block doors, closets, or walking paths.
Measure the full swing radius from the mounting point to the chair’s farthest edge when occupied, then check that nearby furniture, drawers, and door swings stay clear.
A bedroom with a ceiling joist in the right spot can work as long as the space allows safe movement.
Can adults use indoor swing chairs?
Adults can use hanging chairs when the chair, hardware, and joist support are all rated for the user’s weight.
Many chairs land between 200 and 400 pounds capacity, so check the rating and match it to appropriately rated hardware. A 200-pound user needs a chair and hardware rated well above 200 to account for the extra force a swinging chair generates.
How do I check whether a hanging chair is safe?
Test the installation by pushing down hard on the seat with both hands before anyone sits in it.
If the hardware shifts, creaks, or pulls away from the ceiling, stop and check that everything is rated for the load and installed into solid structure.
Inspect regularly for frayed rope, rust, or loosened fittings, and check the U.S. Consumer Product Safety Commission recall database.