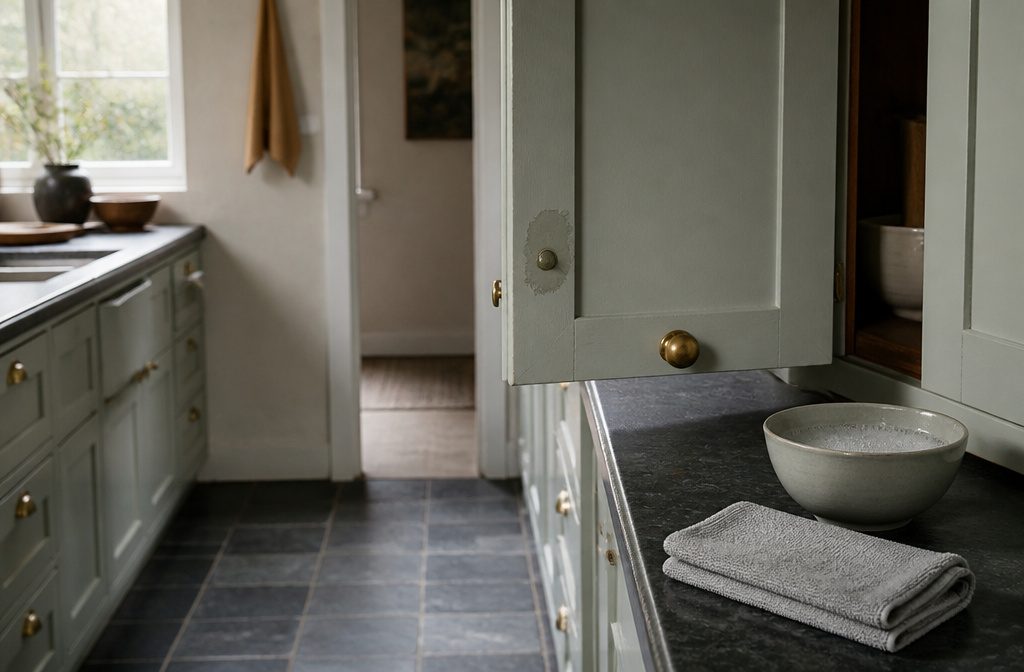
Kitchen cabinets come clean in about 30 minutes with warm water, dish soap, and a microfiber cloth.
The part most people skip is the spot test, and that’s where finishes get damaged. Vinegar cuts grease fast, but one cabinet maker calls it too acidic for wood and recommends testing any vinegar solution on a hidden corner first.
1. Prepare and Clear the Cabinets
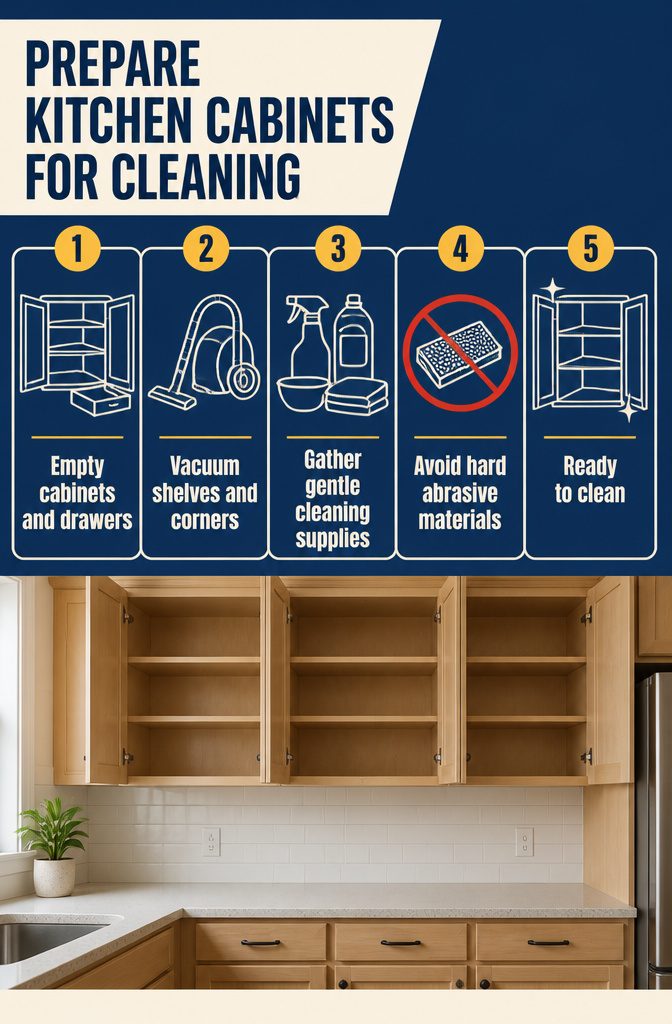
- Empty the cabinets and drawers completely. Pull everything out so you can reach into corners and wipe down shelves without working around boxes and bottles. Sort through what comes out and toss anything expired or unused while the shelves are bare.
- Vacuum the inside of each cabinet. Crumbs, dust, and loose grime come out faster with a vacuum than with a cloth, and you avoid turning dry debris into a smear once the wet cleaner goes on.
- Gather soft cloths or microfiber towels, non-abrasive sponges, warm water, white vinegar, mild dish soap, and a gentle all-purpose cleaner. Having everything within reach keeps the work moving and prevents you from dripping cleaner across the floor mid-wipe while you hunt for another towel.
- Keep hard or abrasive materials off the list. They scratch the finish, and cabinet surfaces show that damage more than countertops do.
2. Choose a Cleaner Suited to the Cabinet and the Soil
Choose a Cleaner Suited to the Cabinet and the Soil
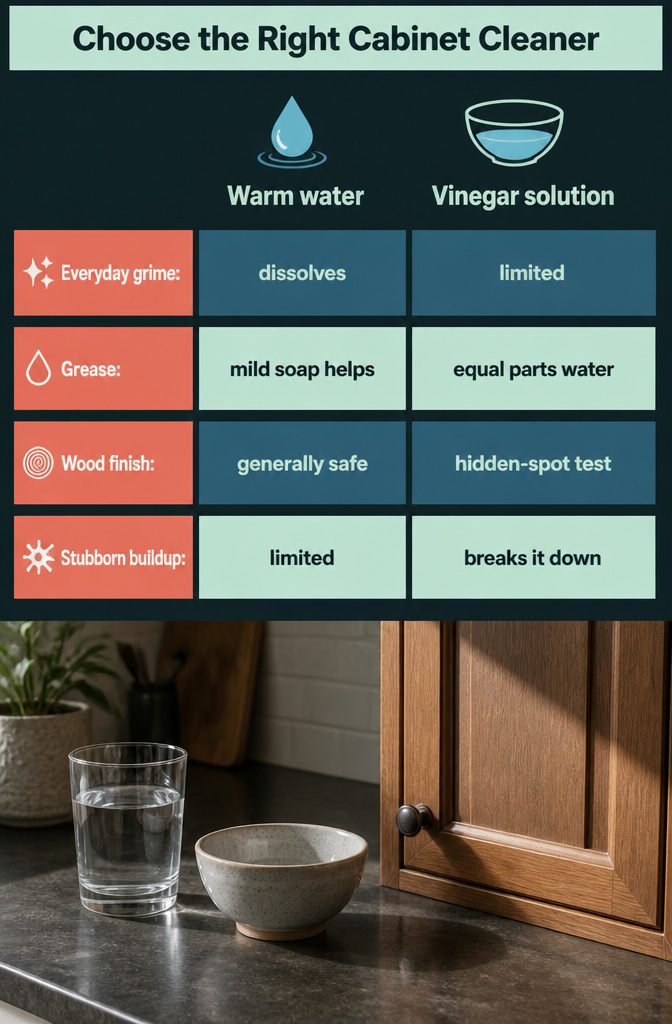
Warm water alone dissolves everyday grime on most finishes, and adding a few drops of mild dish soap gives you something that cuts through grease without stripping the cabinet.
For hardened grease or stubborn stains, mix equal parts vinegar and water to break down buildup naturally.
That said, one cabinet maker warns against vinegar on wood entirely, calling it too acidic for the finish. The disagreement is real, and if your cabinets are wood I’d test any vinegar solution on a hidden spot first.
Wood cabinets do better with a gentler ratio: 1 ounce Simple Green All-Purpose Cleaner to 4 cups warm water. Mix a stronger batch for very greasy cabinets, but spot-test before you commit to the whole surface.
The grease-removal paste that surprises people combines 2 parts baking soda with 1 part coconut oil.
Coconut oil contains lauric acid, which helps lift stuck-on grime when you rub the paste into crevices. A warm damp cloth wipes it clean afterward, taking the grease with it.
3. Test and Apply the Cleaner Gently
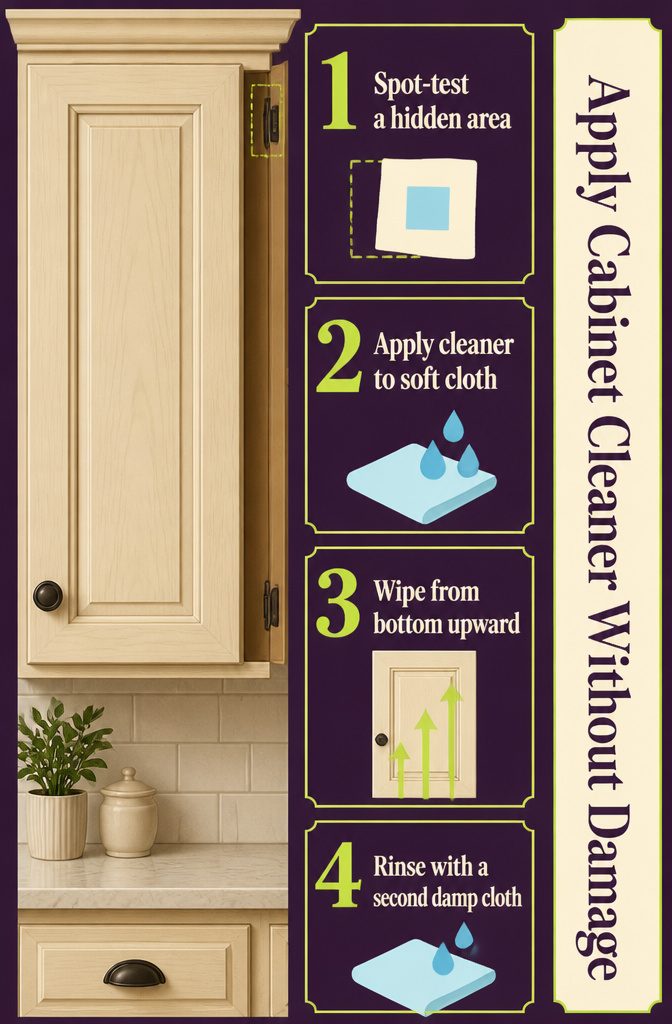
- Spot-test on a hidden area first. Pick an inconspicuous corner inside a door or along the lower edge where a mistake won’t show. Apply your cleaner to a soft cloth, wipe a small patch, and wait a few minutes to check for discoloration or finish damage before you commit to the whole cabinet.
- Apply the cleaner to a clean, damp microfiber cloth or soft sponge, never directly onto the cabinet. Hard or abrasive materials scratch the finish, so stick with gentle tools that won’t leave marks.
- Start at the bottom and work upward. Wipe in the direction of the grain if your cabinets are wood. Cover edges, sides, and handles as you go.
Slather the mixture onto your cabinets with a soft cloth, toothbrush, or even your hand. Rub it in, and be sure to get into all the crevices.
— Hunker
If you’re using a paste like baking soda and coconut oil, that means you can work it into trim details and recessed panels where grease hides.
- Wipe the cabinet down with a second cloth dampened in warm water to lift away the cleaner and any remaining grime.
4. Clean Trouble Spots and Hardware
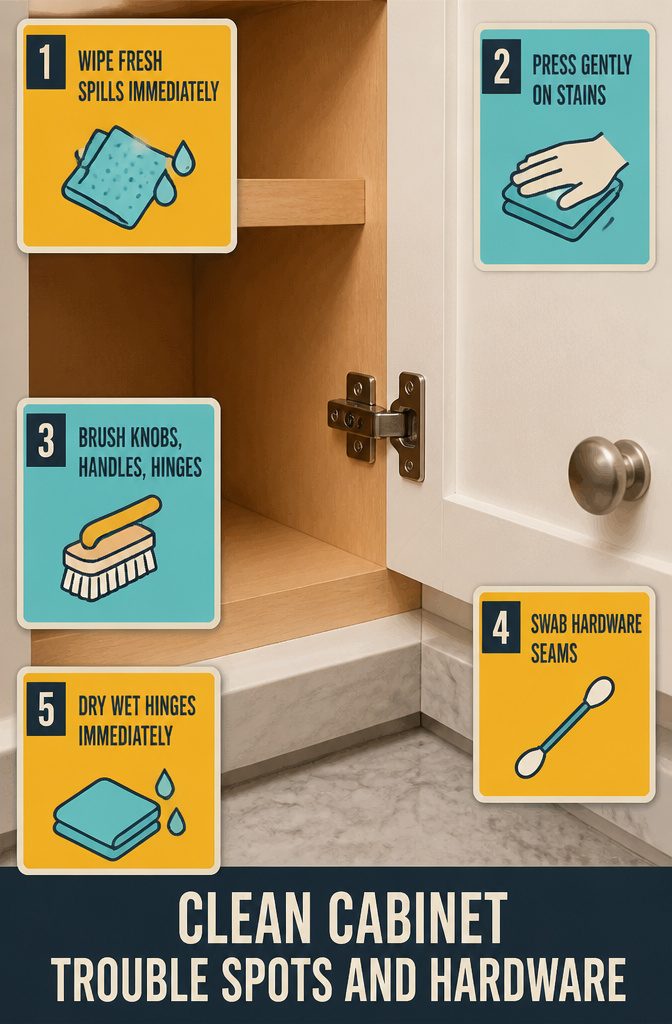
- Wipe up spills and grease as soon as they happen. The longer grease sits, the harder it sticks to the cabinet surface and the more scrubbing you’ll end up doing later. A damp cloth catches fresh splatters in seconds.
- Spot-clean stains or built-up grease with your cleaning solution and a microfiber cloth. Press gently rather than scrubbing hard, especially on painted or finished wood.
- Dip a small scrubbing brush or an old toothbrush in your cleaning solution and softly scrub knobs, handles, and hinges. These spots collect more grime than you’d think. Rinse and dry them right after.
- Use cotton swabs to clean hard-to-reach corners where the hardware meets the cabinet face. A surprising amount of grease hides in those seams.
- If water reaches the hinges, dry them immediately with a microfiber cloth. Moisture left on metal leads to rust.
5. Rinse and Dry
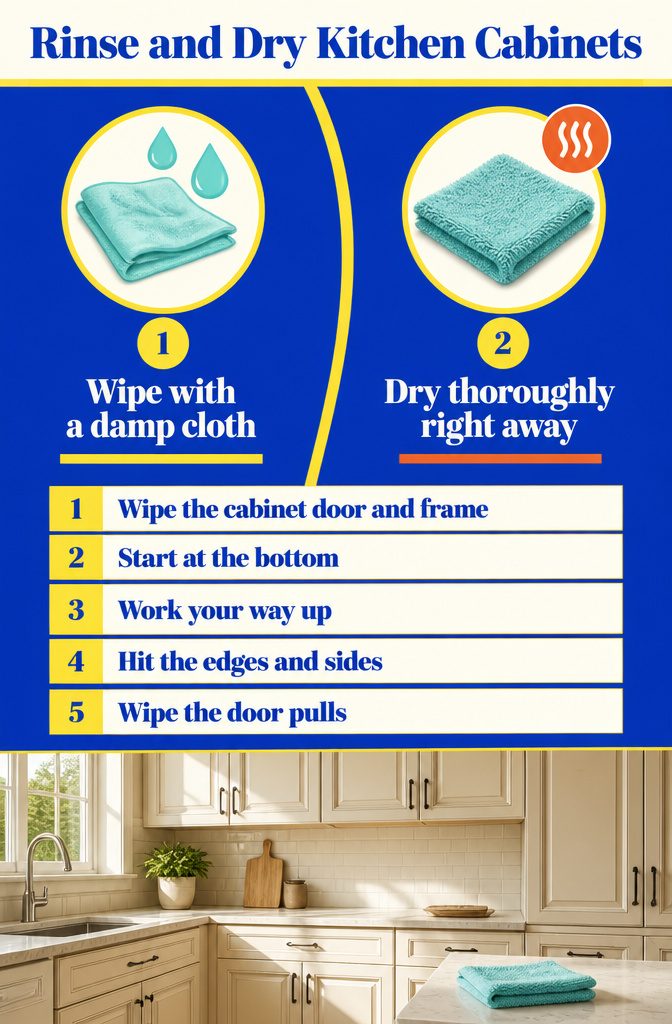
Once the cleaner has done its work, wipe down each cabinet door and frame with a clean, water-dampened microfiber cloth or soft pad.
This pass lifts away any cleaner residue that could streak or dull the finish if left behind. Start at the bottom and work your way up, and remember to hit the edges, sides, and door pulls.
- Wipe with a damp cloth. Use a separate cloth dampened with plain water, wrung out so it’s not dripping. Go over every surface you cleaned.
- Dry thoroughly with a microfiber pad, clean cloth, or paper towels. Water left sitting on cabinet surfaces can discolor and damage them, and leaving wet cabinets to air dry can bubble or lift the finish or paint. Dry immediately after rinsing.
6. Keep Up With Cleaning and Care
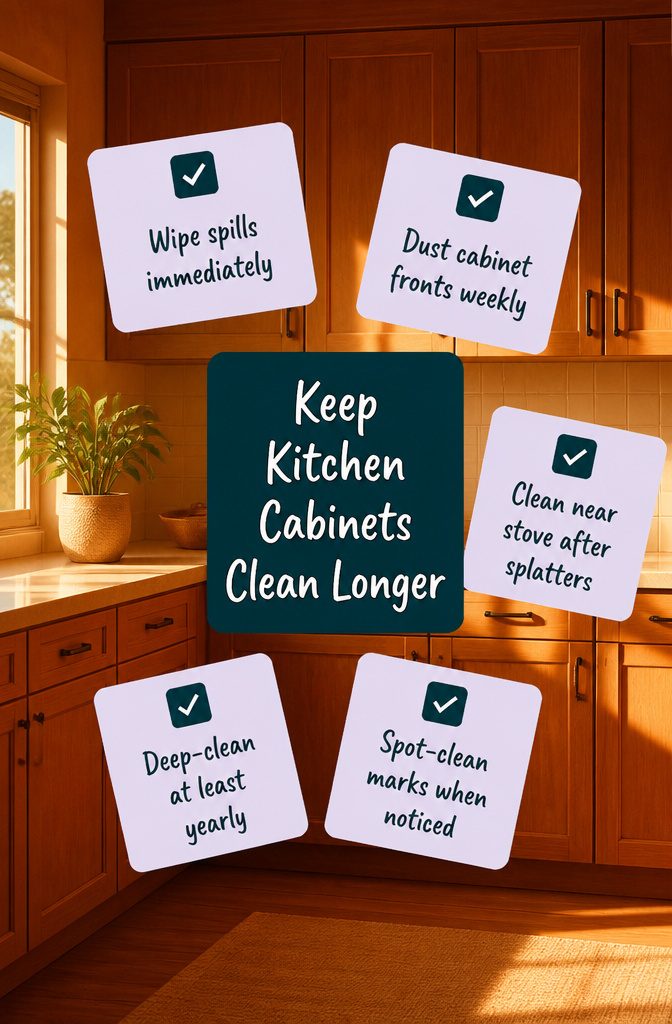
Once you’ve gone through the deep cleaning steps, what keeps cabinets looking sharp longer is catching things when they are small.
- Wipe spills the minute they happen, while the drip is still wet and lifts with a damp cloth. A day later it is sticky; a week later it takes scrubbing.
- Dust cabinet fronts when you dust the rest of the kitchen — once a week is the schedule most sources name, though I find twice a month keeps ahead of the film in my kitchen.
- After cooking anything that splatters — frying, roasting at high heat — wipe down the cabinets nearest the stove. Grease lands invisibly and turns to varnish if it sits.
- Spot-clean marks as you notice them: a fingerprint on the door pull, a drip line below the handle. Catching one takes ten seconds; ignoring five and addressing them all later takes ten minutes.
- Deep-clean cabinets inside and out at least once a year. Some sources recommend monthly; I land somewhere between and find quarterly realistic for drawer interiors and the cabinet tops that collect dust no one sees until they do.
Different Cabinet Materials Need Different Care
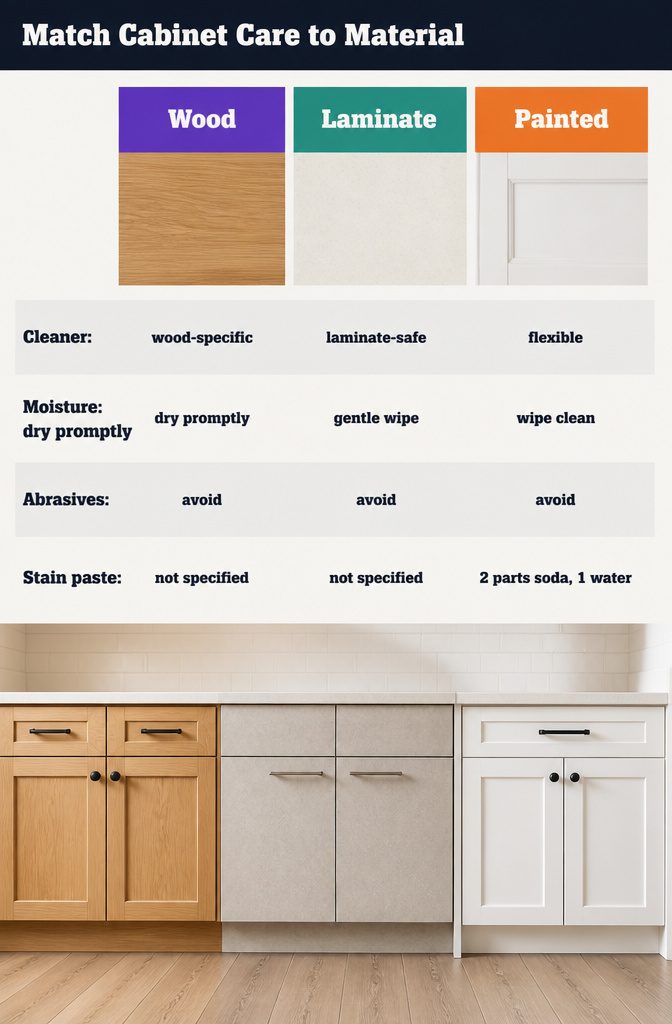
Wood cabinets need the gentlest approach. I wipe them with a damp cloth only, following the grain to avoid streaks, and reach for a wood-specific cleaner designed to protect and nourish the wood.
Excessive moisture warps wood, so I dry the surface right away. Simple Green works well on most closed-grain hardwoods like maple and birch, but it is not intended for unfinished or untreated wood.
Laminate cabinets are easier.
A mild cleaner safe for laminate surfaces and a soft cloth are all you need. Skip anything abrasive that can scratch the finish.
Painted cabinets give you the most flexibility.
For stuck-on drips or stains, mix two parts baking soda with one part water into a paste, dab it onto the spot, let it sit a few minutes, then wipe clean and buff out any residue.
The same paste works on drawer pulls and hinges.
Glass Fronts Get a Different Treatment
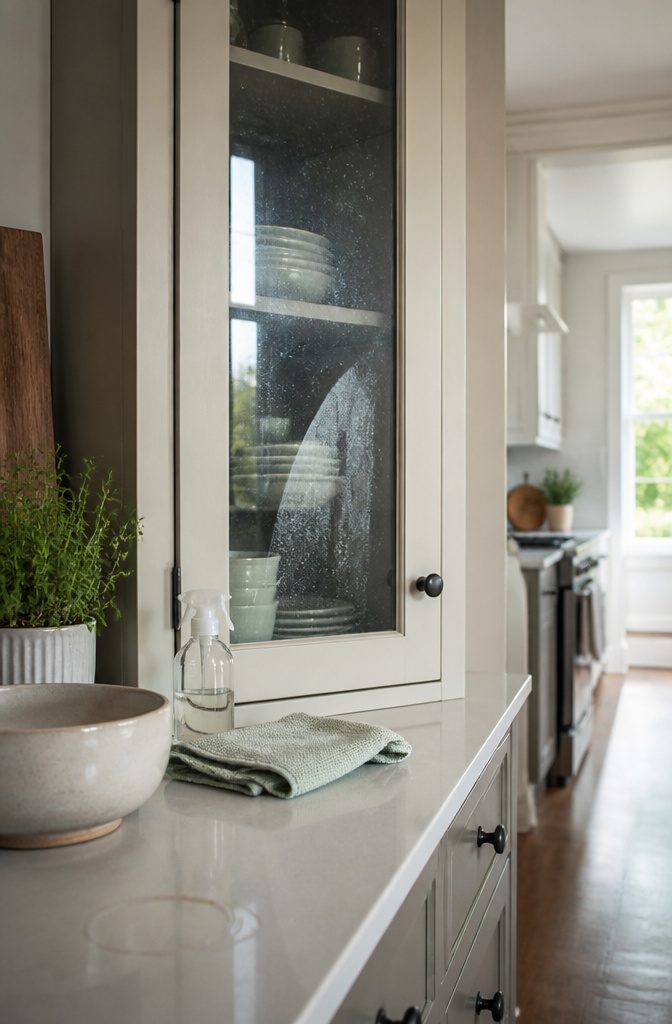
Glass fronts need a cloth you spray first, never the glass itself. Spray your vinegar cleaner or a commercial glass product onto a microfiber cloth, then wipe both sides of the panel.
Dried splatter and grease film come off faster than they do on wood, but some spots need a second pass. I go over the inside surface last so I can see what I missed.
Nothing abrasive goes near the glass.
A scratched panel catches light wrong and there is no fixing it short of replacement. Once the grime is gone, dry the glass with a clean cloth.
Water left to air-dry leaves streaks, and those show up worse on glass than on any other cabinet surface. The drying step is what makes the difference between clean and clean enough to photograph.
Frequently Asked Questions
Can I use Dawn dish soap to clean wood cabinets?
Yes, a few drops of mild dish soap in warm water cuts through grease without stripping the cabinet finish.
Dish soap is designed to break down cooking oils, making it safe and effective for wood cabinets when you apply it with a soft cloth and dry the surface immediately after.
Does Murphy’s oil soap remove grease from kitchen cabinets?
Murphy Oil Soap removes grease from wood cabinets while conditioning the surface. It is stronger than dish soap but safe for waxed hardwood and finished wood, so it lifts cooking residue without damaging the finish.
Why are my kitchen cabinets sticky after cleaning?
Cabinets stay sticky when cleaner residue gets left behind or when you use a non-drying oil like olive or coconut oil.
Wipe the surface with a clean cloth dampened in plain water after cleaning, then dry thoroughly to remove any film.