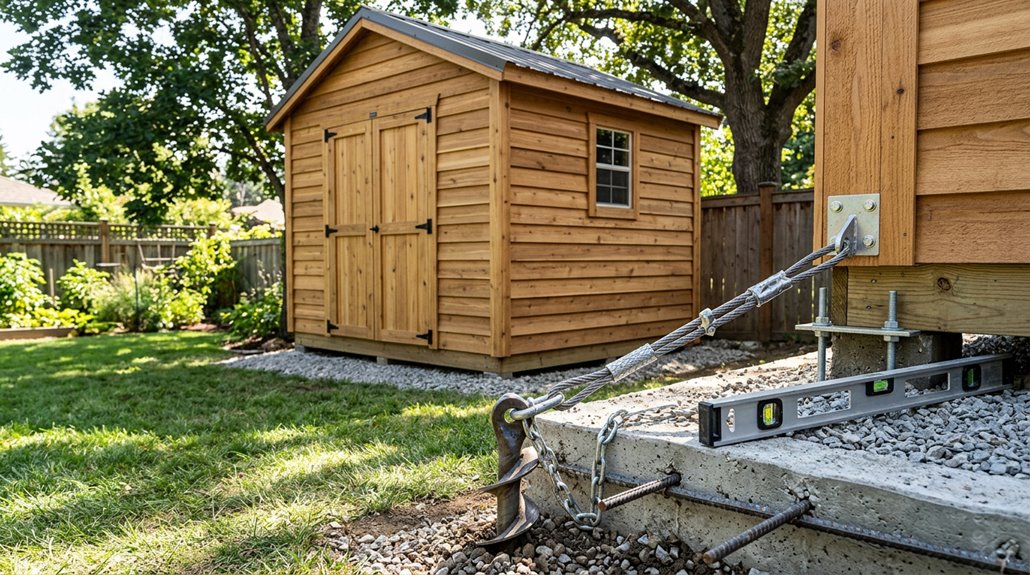
I’ll walk you through anchoring your shed so it doesn’t end up as your neighbor’s problem. First, scout your site for level ground, as slopes create installation problems. Next, lay pressure-treated skids as your foundation baseline. Then pick anchors matching your soil: auger-style for loose dirt, penetrators for firm ground, straight McAdams for rock-hard clay. Drive them 18-24 inches deep at corners, then cable everything down tight. Finally, inspect seasonally and retighten fasteners because soil shifts over time.
Assess Your Shed Site Before Anchoring
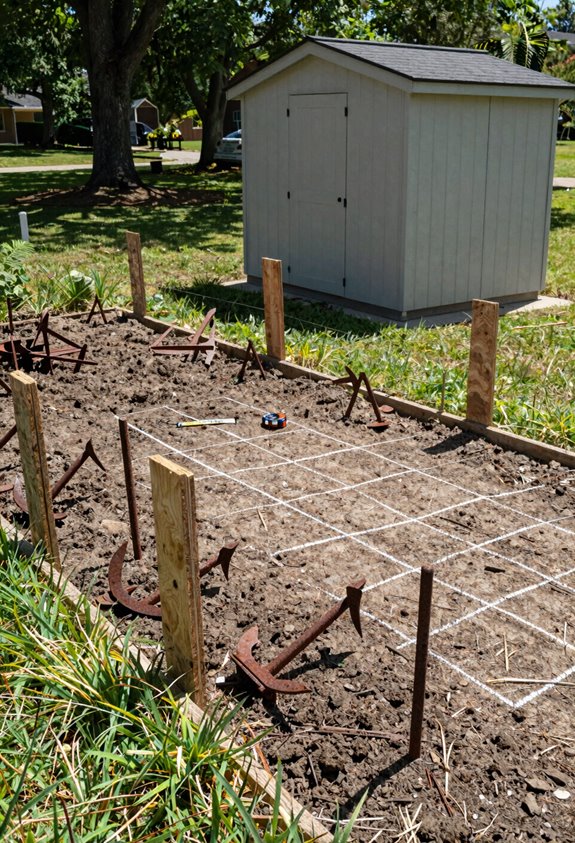
Why does location matter so much when you’re anchoring a shed? A bad site choice will create ongoing problems.
A poor shed location creates lasting structural problems. Choose your site wisely to avoid expensive repairs down the road.
Picking the right anchor shed site makes everything easier. You’ll want level ground, not a slope that’ll destabilize your shed. Scout for debris and standing water; moisture compromises your foundation.
Soil conditions determine which anchoring methods work. Clay soil and sandy soil require different approaches. Before you commit, check what’s underneath by digging a small test hole.
Verify the spot allows tool access and future maintenance. You need to be able to reach your shed for repairs and inspections. A gravel base provides stability by ensuring proper drainage and soil settlement.
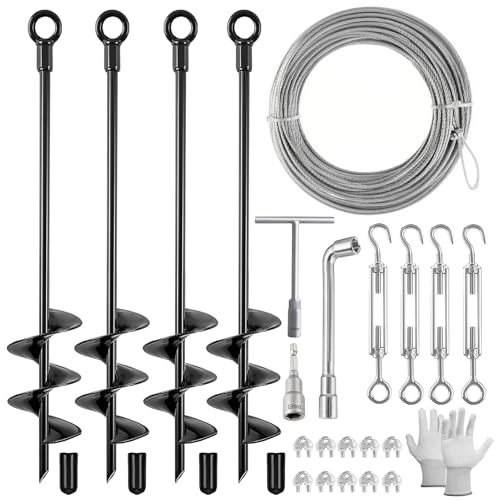
Complete Shed Anchor Kit: Includes 4 heavy-duty 18" ground anchors with removable eyes, 50 ft galvanized steel cable, 10 rope clamps, 4 adjustable turnbuckles,1 drill adapter, clamp wrench, T-handle wrench and gloves for anchoring outdoor structures
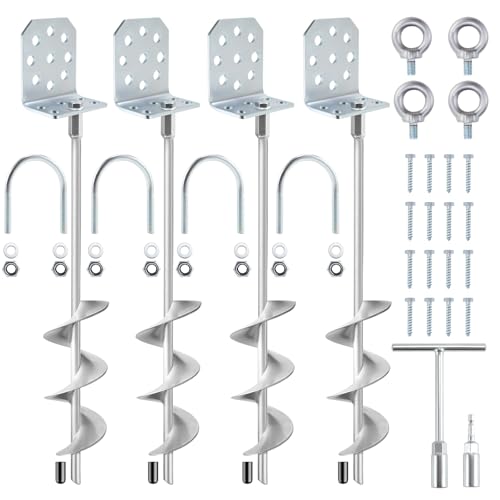
Stable in High Winds: The wider(2.5 inches) spiral blade screws deeper into soil, sand, or clay, offering reliable holding power. Perfect for securing mobile homes, sheds, trampolines, swing sets, carports, and more, even in windy conditions

Complete Heavy-Duty Ground Anchor Kit: Comes with 4×18″ ground anchors, 50 ft of galvanized cable, bolt-type clamps, extra-wide tree straps, drill adapter, T-Socket & clamp wrench—all you need to secure sheds, mobile home, tents, trampolines, and canopies
Set Up Skids and Position Ground Anchors
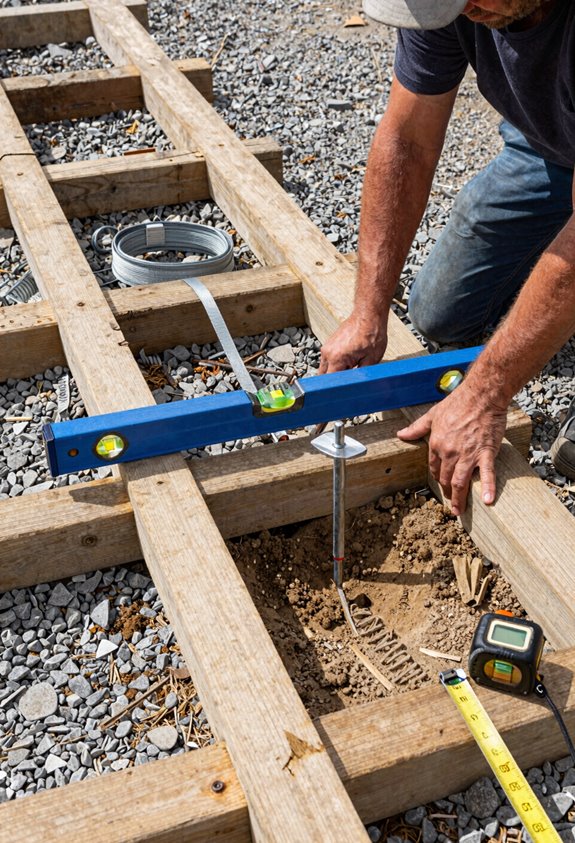
Once you’ve got your site locked down, it’s time to build the foundation. Lay pressure-treated 4×4 or 4×6 skids parallel to your shed’s longest side, ensuring they’re level and spaced evenly. Skids function as the shed’s baseline; they distribute weight and prevent sagging.
For ground anchors, position them at each corner and strategic driver points while carefully avoiding the skids themselves. This maximizes uplift resistance during high winds. Before anchoring shed components, drill pilot holes through the floor into those skids, then secure everything with heavy-duty bolts or screws. Finally, attach weather-resistant straps or cables from the ground anchors to the shed, tightening until snug. Properly installed skids provide structural stability.

HEAVY DUTY TRAMPOLINE ANCHORS – Designed for ultra-strong hold in high wind conditions, these ground anchors securely fasten trampolines, outdoor sheds, and large equipment firmly to the ground, eliminating shaking and displacement.

Full Spiral Blade Anchors: Upgrade Version full spiral blade design make easier to drill into the ground, 2.21mm/0.087in Thick blade, 40mm/1.6in Wide blade and Overall length 38cm/15in, top ring design provides greater resistance, holds Firmly in place even on high wind

✅ Won't budge, even in high winds - : Every steel shed has anchor pressure relief that has been tested in HIGH WINDS at 1000 lbs per drilled anchor - which means they will hold any anything - making them ideal ground anchors, swing anchors, standing anchors, playset anchors, or as anchor drill bits.
Pick the Right Anchor for Your Soil Type
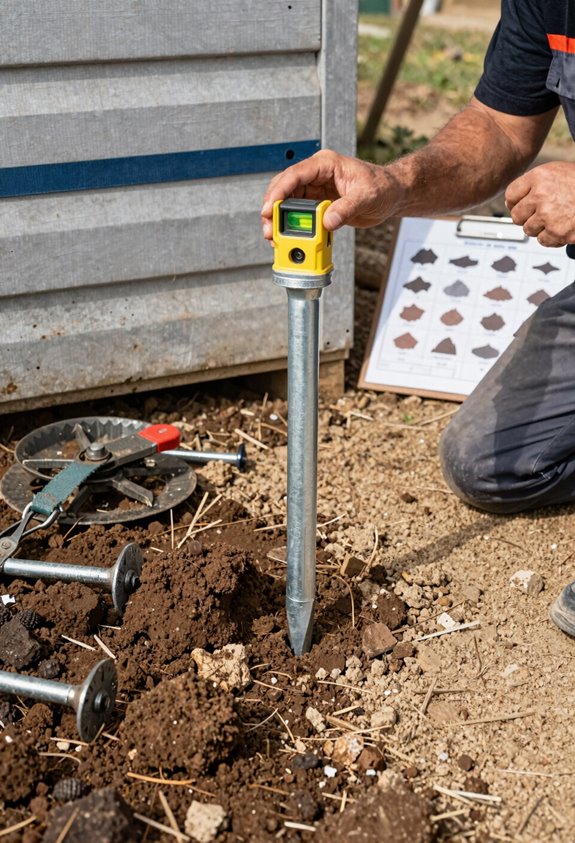
one size doesn’t fit all, and choosing the wrong one is like trying to hammer a nail with a screwdriver. It’s technically possible, but ineffective. Anchor soil type makes all the difference in shed anchoring success.
Here’s what I match to my ground:
- Loose soil – I use auger-style ground anchors that screw deep into soft earth
- Firm ground – Penetrator anchors work best, driving straight down with serious holding power
- Rocky or compacted soil – Straight McAdam anchors handle these tough conditions without breaking
The real secret involves spacing equally. Maintain minimum spacing equal to anchor depth. This prevents cone-of-soil interference and keeps your shed locked down tight. Get these anchoring techniques right, and your structure stays put through seasons of weather.

WIDENED DESIGN FOR SUPERIOR STABILITY: Our ground stakes feature innovative widened spiral blades that penetrate deeper into the ground, maximizing the friction area for exceptional stability. This cutting-edge design ensures your structures remain securely anchored, even in the toughest conditions

BUILT TO LAST: Reinforced with glass fibers for superior rigidity, load-bearing performance

Thick Spiral Blade Design: Upgraded with 2.16 mm thick spiral blades, these ground anchors feature a full helix structure that penetrates soil, clay, and even rocky layers with ease. The spaced spiral design allows the rock layer to grip the anchor securely, improving holding power and minimizing slippage. Ideal for preventing your tent, trampoline, or furniture from being displaced by wind, they’re a reliable choice for outdoor furniture, life scenes, and recreational setups.
Drive Anchors Into Ground and Cable Them to Your Shed
Now that you’ve got the right anchors matched to your soil, it’s time to actually get them in the ground. This part requires significant physical effort. You’ll need a sledge hammer or drive rod, depending on your anchor type, and driving ground anchors is physically demanding work that produces visible results.
Aim for 18 to 24 inches of depth, similar to planting a tree that will remain secure. Space your anchors at each corner so they don’t interfere with each other. Once they’re secure, loop heavy-duty weather-resistant straps from each anchor eyelet directly to your shed’s frame. Tighten them snug. This connection prevents wind damage to your shed.

12 Pack Pedestal Kit attaches to wood joists to build plank decks and eliminates digging concrete footers, saving time and labor Builds up to an 8 ft by 10 ft ground level...
Inspect and Retighten Anchors Regularly
Why do we ignore things that work perfectly fine? Your anchors need regular inspection just like your car does. Neglect catches up fast. I check mine seasonally and after storms, and you should too.
What I focus on:
- Visual inspection – I scan for corrosion, wear, or loose fasteners that signal trouble ahead
- Re-torque fasteners – I tighten everything down because soil shifts and vibrations loosen connections over time
- Check the base connection – I look for cracked wood or bent hardware where anchors meet your shed
Document what you find. Keep records. This maintenance schedule prevents problems and protects your shed’s stability. Catching issues early prevents dealing with a crooked shed later.

Choose American. Choose Certainty. Eurmax Canopy is North America’s #1 factory store, stocking all canopies, accessories, and patio umbrellas right here in the U.S.

Value Pack:The shed anchor kit includes 4 heavy-duty 18" spiral anchors, 50ft x 1/8" galvanized steel cable, 8 rope clamps, 4 turnbuckles, 4 carabiners, 2 wrenches and 1 drill adapter,provides everything needed for secure outdoor installations

Choose American. Choose Certainty. Eurmax Canopy is North America’s #1 factory store, stocking all canopies, accessories, and patio umbrellas right here in the U.S.