A proper deep clean of an empty apartment takes 8 to 12 hours if you work room by room, ceiling to floor, and hit the systems most turnover cleaning skips.
The mistake is cleaning around your boxes instead of before them: once furniture and bags fill the rooms, you lose access to the baseboard edges, closet backs, and oven interiors that stayed filthy through the last tenant.
Replace the toilet seat first for $20, then clean everything else while you still can.
1. Prepare the Empty Apartment and Gather Supplies
An empty apartment is the fastest to clean because nothing blocks you from the corners, the closet backs, or the grease layer on the range hood. Once boxes arrive, you work around them.
Start by sorting what stayed behind or what moved in early. I use three piles: Keep, Donate, Trash.
The drawer that holds two sweatshirts and three old phone chargers takes ten minutes to empty, and those ten minutes mean you wipe it clean once instead of folding around junk every week until you finally deal with it.
Declutter first, then clean.
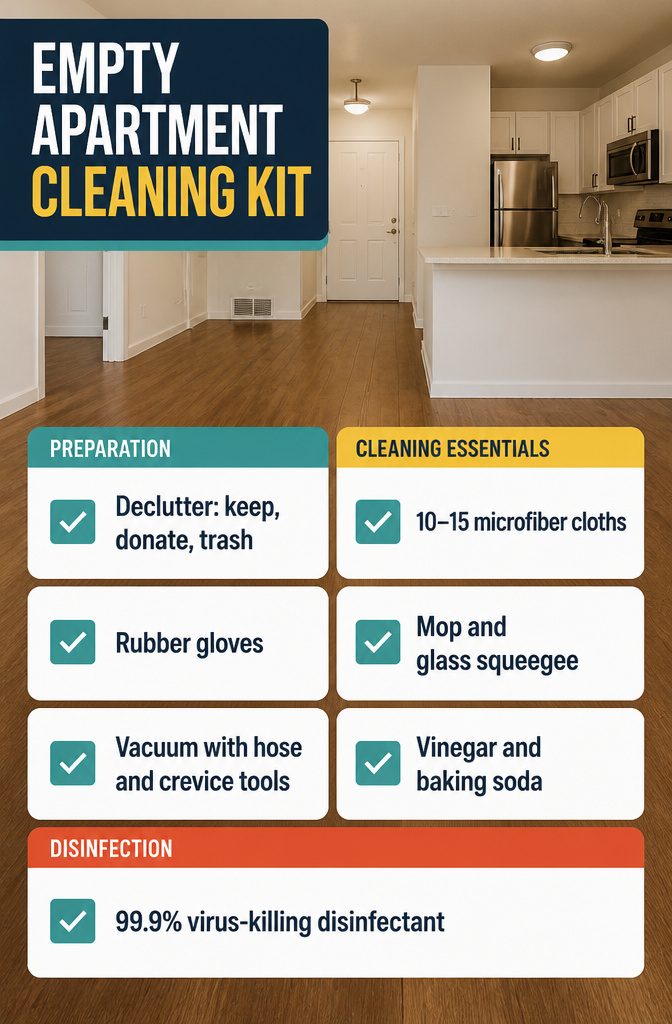
You need at least 10–15 microfiber cloths. Paper towels smear dust; microfiber traps it with a static charge.
Add rubber gloves, a vacuum with hose and crevice attachments, a mop, a squeegee for glass, white vinegar, baking soda, and a disinfectant that kills 99.9% of viruses for doorknobs and light switches.
A step ladder reaches cabinet tops and ceiling fans safely. Vinegar cuts mineral deposits and grease, baking soda scrubs without scratching, and the vacuum’s upholstery tool does more for baseboards than the floor head ever will.
2. Start High and Work Down
Gravity decides the order here.
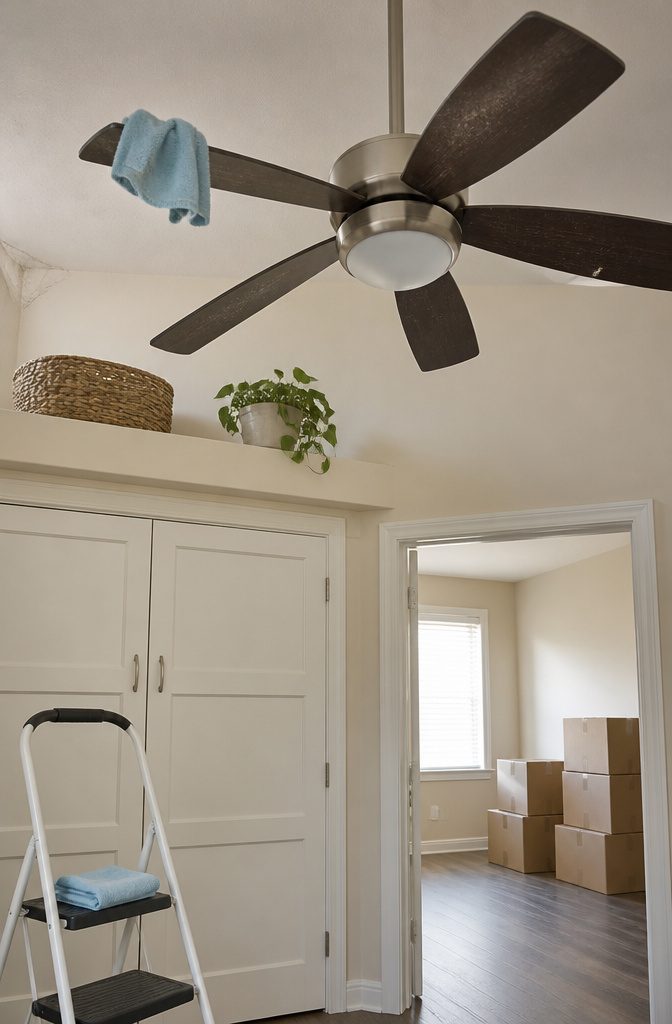
Start at the ceiling and work your way down—dust on a fan blade or cobweb in the corner lands on whatever sits below, so cleaning the floor first just means cleaning it again once the high surfaces are done.
I grab a telescoping duster and clear cobwebs from corners and light fixtures, then move to ceiling fans.
A damp microfiber cloth works, or a wet pillowcase if you want something that catches dust instead of spreading it. High shelves and the tops of cabinets come next, then door frames and window sills.
Baseboards get wiped last, right before the floor. The sequence matters because every pass knocks something loose, and anything you disturb settles downward.
The difference shows when you wipe a baseboard after dusting above it versus before—one pass versus two, and the second one picking up what fell from higher up.
3. Clean Kitchen Cabinets and Appliances
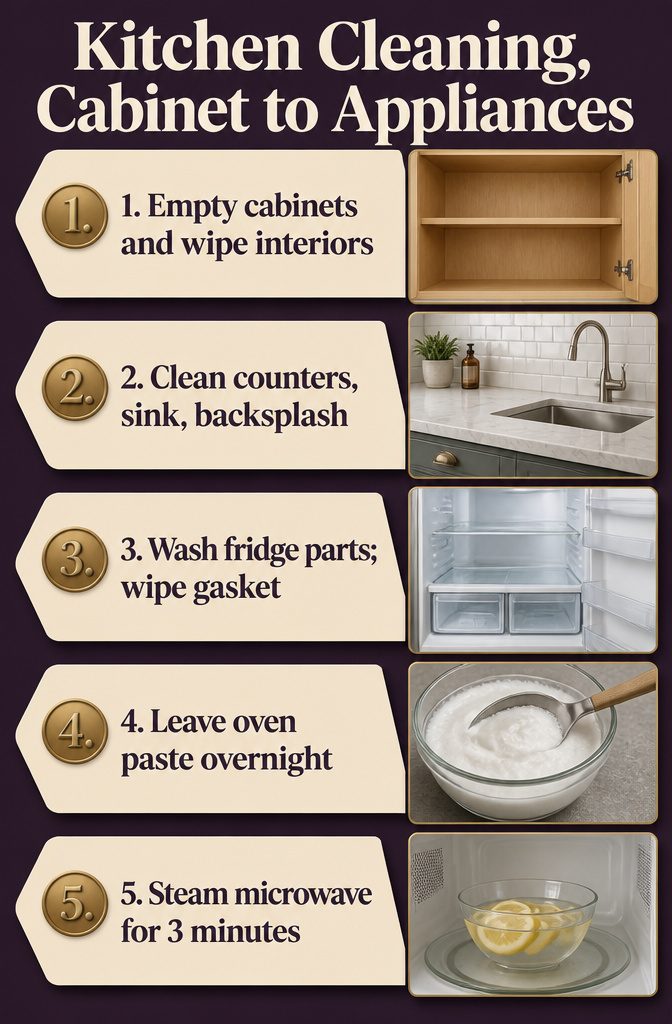
- Empty cabinets and drawers completely, then wipe the interiors with a mild cleaner. Wooden shelves take well to a damp cloth and dish soap; if grease found its way inside, a degreaser handles it faster.
- Wipe counters, the sink, and the backsplash with an all-purpose cleaner or a vinegar solution. Scrub around the drain and faucet where grime collects.
- Pull the fridge out and vacuum the coils, then remove every shelf and drawer. Wash them in the sink with warm, soapy water. While they dry, wipe the interior walls and door gaskets with equal parts vinegar and water to kill mold and neutralize odors. Clean behind and under the unit before pushing it back.
- For the oven and stovetop, apply a paste of baking soda and water to burnt-on food and let it sit overnight. The next day, spray it with vinegar and the grime lifts off. Remove stove knobs and clean the grease on the stems behind them.
- Heat a bowl of water with lemon slices in the microwave for 3 minutes, then wipe down the softened splatter. Remove and wash the glass turntable.
- Run the dishwasher on Hot with a cup of vinegar on the top rack, then follow with baking soda on the bottom and run it again on Hot.
- Pour half a cup of baking soda down the disposal, then a cup of vinegar. Let it fizz for ten minutes, then flush with boiling water.
- Remove range hood filters and soak them in a sink of boiling water and dish soap for 20 minutes to dissolve sticky grease buildup.
4. Deep-Clean the Bathroom
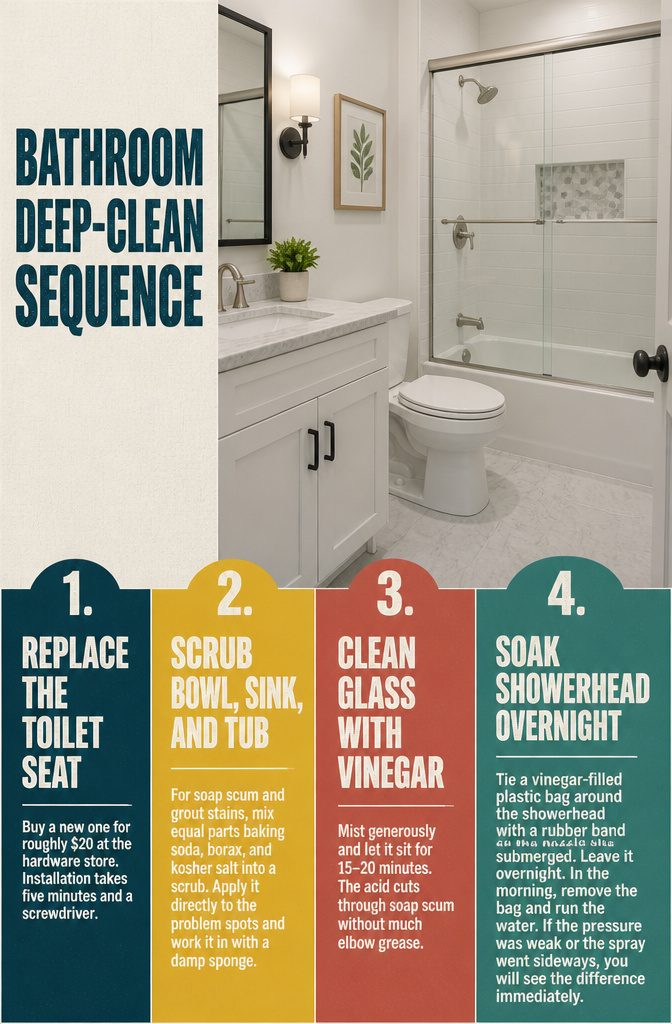
- Replace the toilet seat. Buy a new one for roughly $20 at the hardware store. Installation takes five minutes and a screwdriver. Knowing you are the only person to ever use that seat beats any amount of scrubbing the old one, and it makes the bathroom feel brand new instantly.
- Scrub the toilet bowl, sink, and tub with a disinfectant cleaner. For soap scum and grout stains, mix equal parts baking soda, borax, and kosher salt into a scrub. Apply it directly to the problem spots and work it in with a damp sponge.
- Clean shower doors and mirrors with equal parts vinegar and water in a spray bottle. Mist generously and let it sit for 15–20 minutes. The acid cuts through soap scum without much elbow grease.
- Tie a vinegar-filled plastic bag around the showerhead with a rubber band so the nozzle sits submerged. Leave it overnight. In the morning, remove the bag and run the water. If the pressure was weak or the spray went sideways, you will see the difference immediately.
- Scrub tiles and faucets with a non-abrasive cleaner, paying attention to grout lines. Rinse everything thoroughly and dry with a microfiber cloth to avoid water spots.
5. Clean Other Rooms and Built-Ins
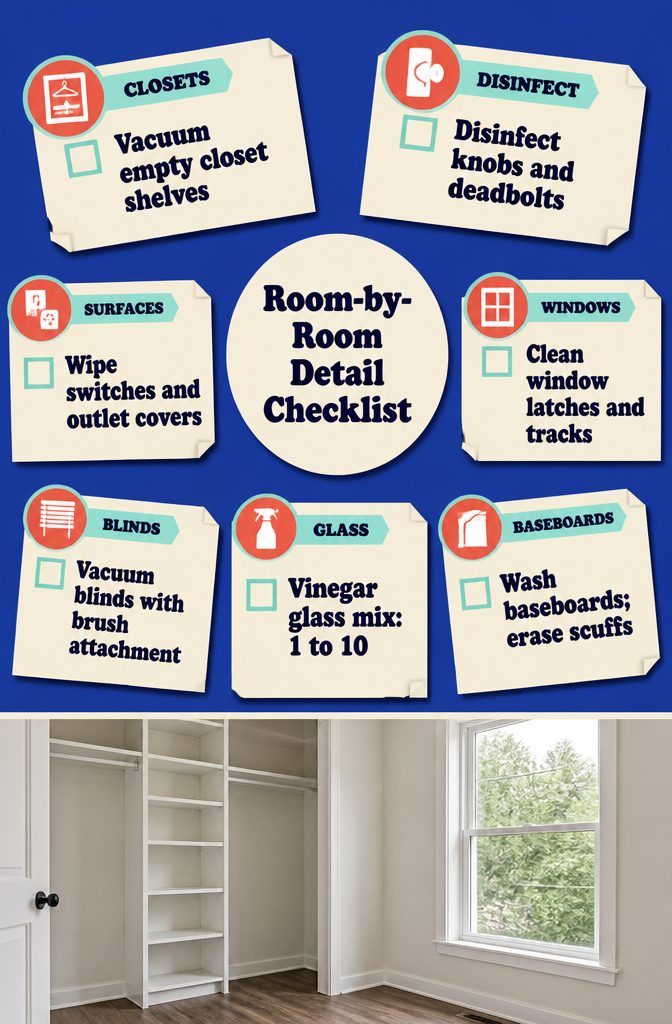
Closets fill up fast once you move in, so vacuum the floors and shelves now while they’re still empty.
Run the vacuum along baseboards and into corners, then wipe down the shelves with a damp microfiber cloth. Dust settles heaviest where air doesn’t move, and a closet cleaned before you unpack stays cleaner longer.
Walk through with disinfectant wipes and hit every surface hands touch:
- Doorknobs and deadbolts on every door
- Light switches and outlet covers
- Window latches and sill edges
- Cabinet handles and drawer pulls
- Thermostat dials
For windows and blinds, close the slats flat and vacuum with a brush attachment, then wipe with a microfiber cloth.
The window track likely holds dirt, dead bugs, and pollen — vacuum it out and wipe with a wet cloth so the seal closes properly.
Clean mirrors and windows with one part distilled vinegar to ten parts warm water in a spray bottle. Wipe baseboards with warm soapy water; a magic eraser takes off scuff marks the cloth misses.
6. Finish With Floors
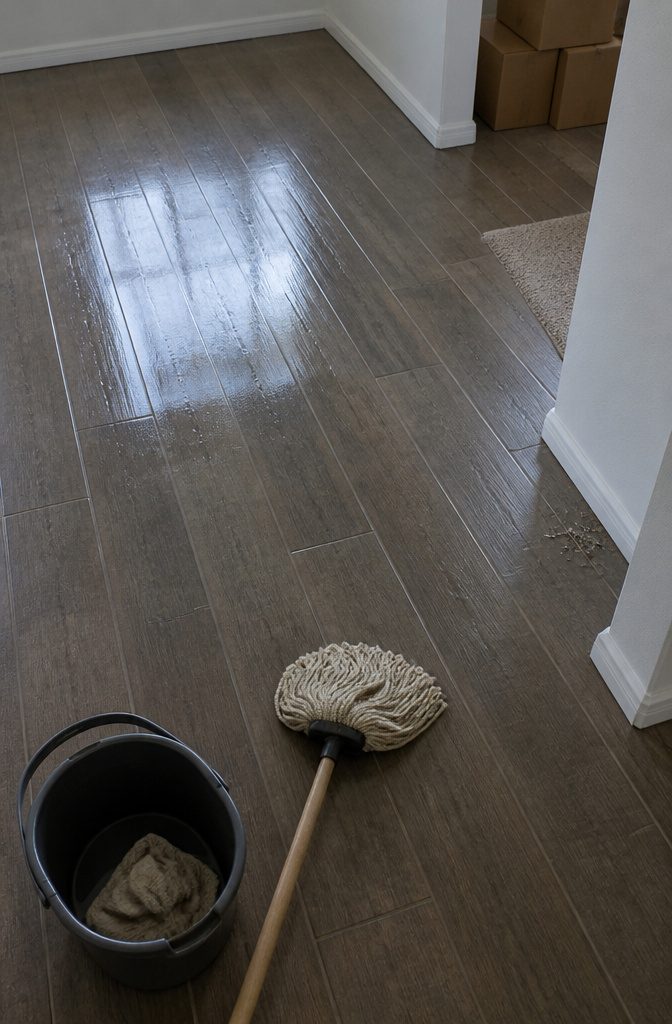
Floors come last for a reason: everything you wiped, scrubbed and dusted lands here. Sweep or vacuum first to clear loose debris, then mop hard floors with a cleaner matched to the surface.
Steam mops work fast on tile and laminate; for hardwood, keep the mop damp rather than soaking and choose a product that works with the finish.
Carpets need more than surface work.
Vacuum thoroughly, but if the carpet looks worn or smells stale, vacuuming alone won’t pull out what’s buried. Rent a steam cleaner from a grocery or hardware store to extract the dirt a regular vacuum leaves behind.
Professional deep cleaning is recommended at least once per year, or more often in busy areas — hallways and entries take the most wear. Some leases cover carpet cleaning; worth asking your landlord about reimbursement if the job is serious.
7. Check Overlooked Systems and Final Details
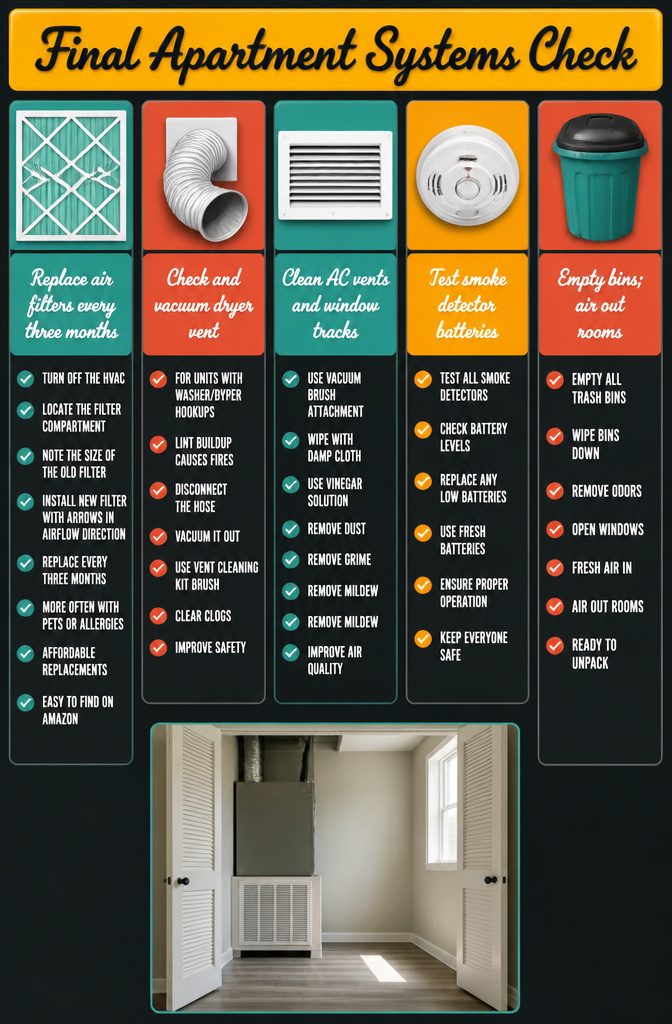
The rooms are clean, but a few systems still need attention before you settle in.
- Replace air filters every three months — or more often if you have pets or allergies. Turn off the HVAC, locate the filter compartment near the unit or air return vent, note the size of the old filter, and slide in the new one with the arrows pointing in the direction of airflow. Affordable replacements are easy to find on Amazon.
- Check the dryer vent duct if your unit has washer/dryer hookups. Lint buildup here is a leading cause of house fires. Disconnect the hose, vacuum it out, and use a vent cleaning kit brush if it’s clogged.
- Clean air conditioning vents and window tracks with a vacuum brush attachment, a damp cloth, and vinegar to remove dust, grime, and mildew that collect there.
- Test smoke detector batteries and replace any that are low.
- Empty all trash bins, wipe them down, and open windows to air out the rooms before you unpack.
Cleaning Products and Tools
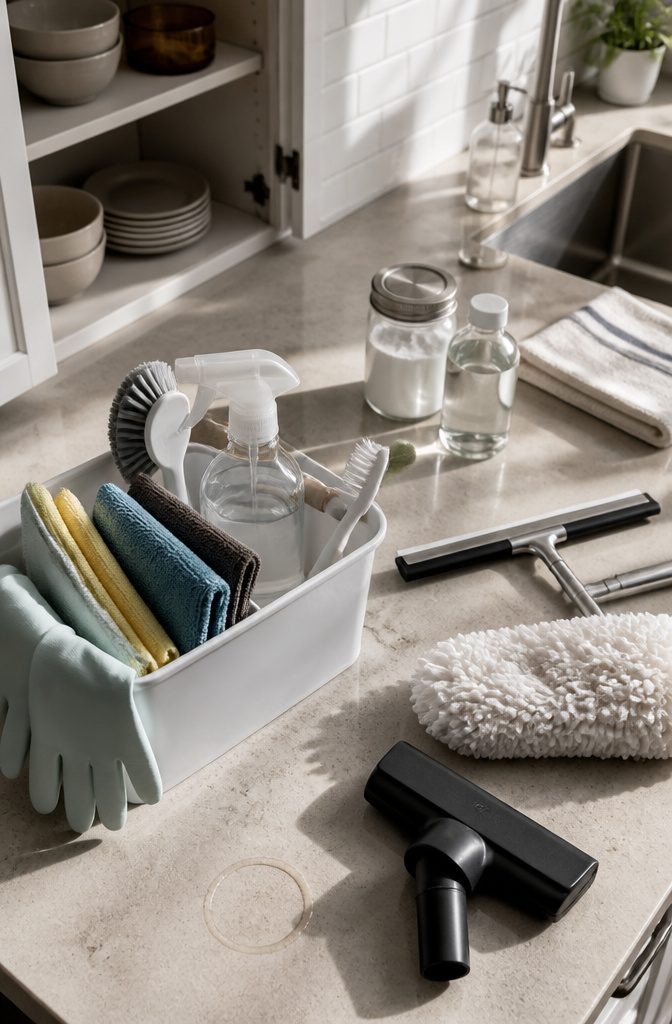
Before you start, pull together a few basic supplies and the specific tools that match the surfaces you’ll be tackling.
EPA Safer Choice labeled cleaners and plant-based options with biodegradable formulas cover most jobs without harsh fumes, and rubber gloves keep your hands protected while you scrub.
- All-purpose cleaner, microfiber cloths, and a scrub brush handle counters, sinks, and appliance exteriors.
- Branch Basics Essentials Kit if you want one system that works across the apartment.
- Old toothbrush for grout lines and faucet bases.
- YKYI Electric Spin Scrubber for shower tile, white grout, and mineral deposits in tight corners.
- Magic Eraser for scuff marks on walls and baseboards.
- Phueut Pressurized Handheld Natural Steam Cleaner to sanitize kitchen cabinets, door handles, and bathroom surfaces with just warm water.
- Squeegee for glass and mirrors.
- Dyson V8 Cordless Vacuum or any vacuum with a HEPA filter and attachments for carpets, upholstery, and baseboards.
- Mop and bucket for hard floors; a steam mop works well on laminate or hardwood if the finish allows it.
- Baking soda and white vinegar for deodorizing and light disinfecting without spending extra.
Gather everything into a caddy so you can move room to room without backtracking.
When to Hire Professional Cleaners
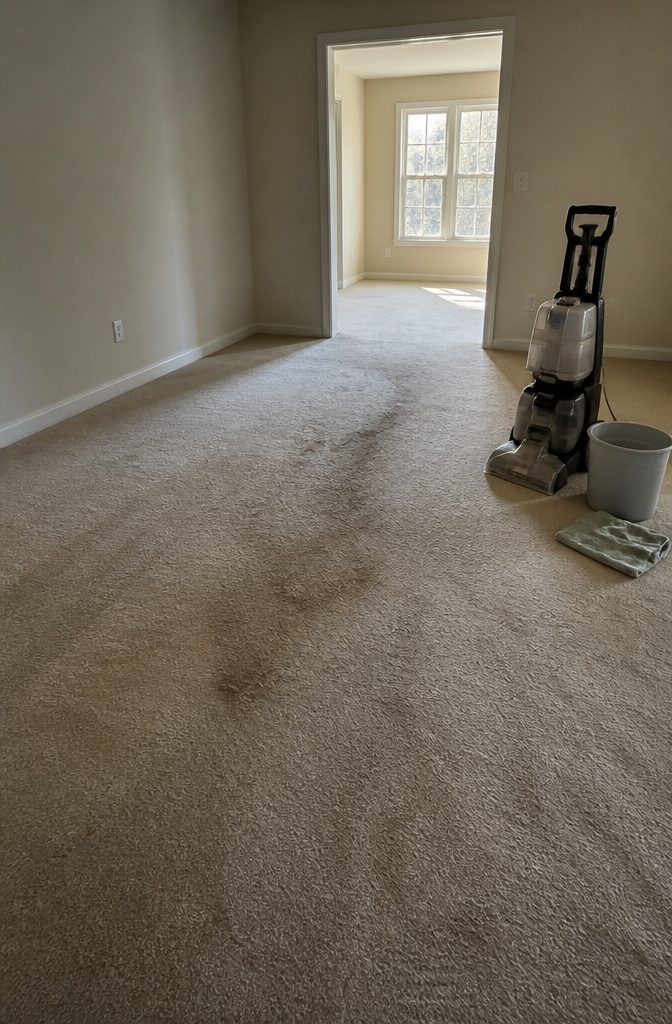
Sometimes the math says hire someone instead. A true deep clean can take 8 to 12 hours if you’re doing it right, and that’s time you could spend unpacking or setting up your actual life.
I call in help when I’m pressed on time, when the carpet needs a proper steam clean I can’t do with a rental machine, or when I’m looking at stains or odors that survived the landlord’s turnover crew.
Physical limits count too: scrubbing baseboards on your knees in a two-bedroom gets old fast.
Professional carpet cleaning is recommended at least once a year anyway, so if you’re moving into a place with wall-to-wall, having it done before you bring furniture in is the smartest timing.
You get the whole floor done in one shot, no need to move a couch around later.
For everything else, weigh the hours against what else you need done that week. If hiring frees you up to handle the unpacking that actually makes the place livable, that’s the better play.
Frequently Asked Questions
When is the best time to deep clean before moving?
Clean while the apartment is completely empty, either before you move in or right after moving out.
You get full access to corners, closet backs, and spaces furniture normally blocks. Once boxes arrive, you’re working around them instead of through them.
What do you need to deep clean an apartment?
You need 10–15 microfiber cloths, rubber gloves, a vacuum with attachments, a mop, white vinegar, baking soda, and a disinfectant.
Add a step ladder for ceiling fans and cabinet tops, plus a squeegee for windows and mirrors. These tools handle every surface without needing specialty products for each room.
What if I’m short on time or energy?
Focus on bathrooms, the kitchen, and floors first since those are the spaces that affect livability and health most directly.
If scrubbing baseboards on your knees in a two-bedroom sounds miserable, hire help and spend the time unpacking instead. A deep clean can take 8 to 12 hours if done thoroughly.
What is the 5-5-5 rule for cleaning?
Spend 5 minutes per room cleaning, 5 minutes decluttering, and 5 minutes organizing.
It’s a daily maintenance method, not a deep clean strategy. For move-in work, you need more than 15 minutes per room to handle grout, appliances, and the dirt that settled while the place sat empty.
What is the 80/20 rule for cleaning?
Focus on high-impact areas like counters, sinks, toilets, and floors when time is short.
These surfaces deliver the most visible results for the effort. It’s a triage strategy for weekly upkeep, not a substitute for the full clean an empty apartment needs before move-in.