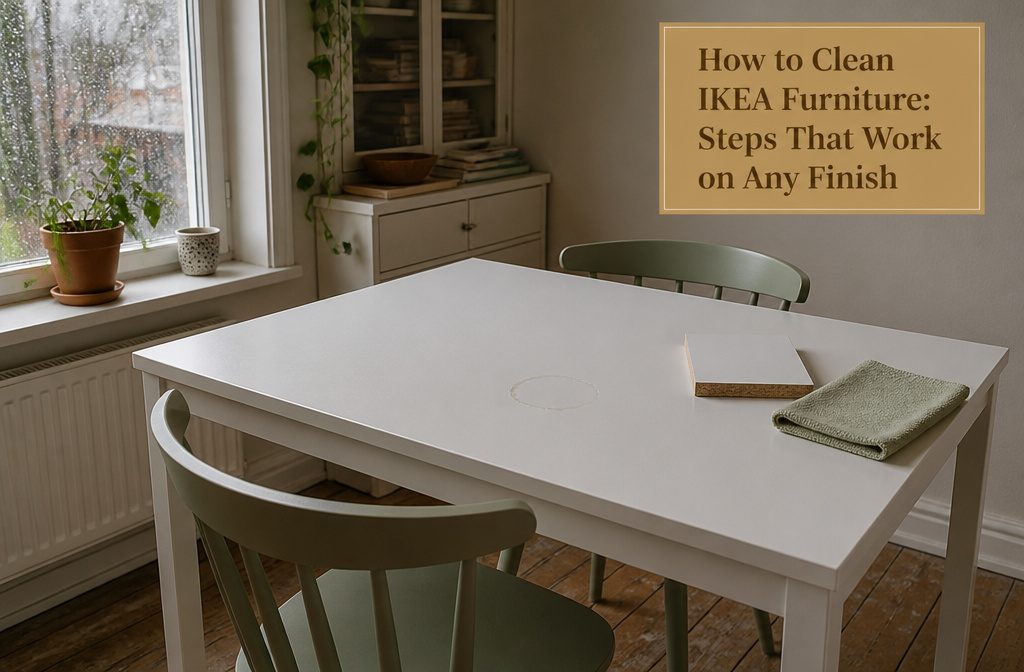
IKEA furniture cleans with dish soap, warm water and a soft cloth in under 10 minutes, but only if you know whether the surface is laminate or paint before you start.
Most people skip that check and scrub painted particleboard the way they’d treat sealed laminate, which dulls the finish or strips it entirely. The Meltorp table’s melamine foil, for instance, tolerates damp scrubbing that would ruin a painted edge.
1. Check Whether the Surface Is Paint or Laminate
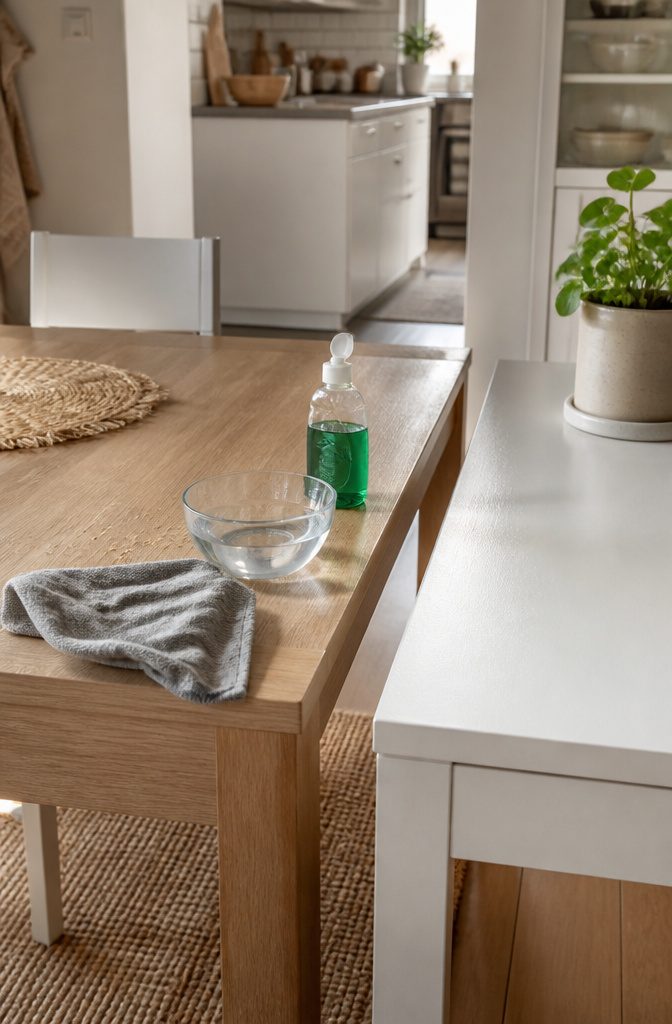
Before you clean, figure out whether you’re working with painted particleboard or laminate.
Look closely at the corners and edges — laminate usually shows a visible seam where two pieces meet, though the joint can be hard to spot on lower-resolution surfaces or if the finish is well applied.
The IKEA Meltorp table, for instance, is listed as particleboard with melamine foil and ABS plastic edging, which puts it in laminate territory even if the seams don’t jump out at you.
This matters because paint and laminate tolerate different cleaning methods. Laminate can handle a damp rag and some scrubbing without lifting, but painted surfaces may dull or streak under the same treatment.
When the finish isn’t obvious, assume laminate and start gentle: plain water and a drop of dish soap on a wrung-out cloth. If that doesn’t budge the mess, you know you have room to push harder without risking the topcoat.
2. Vacuum and Dust the Furniture First
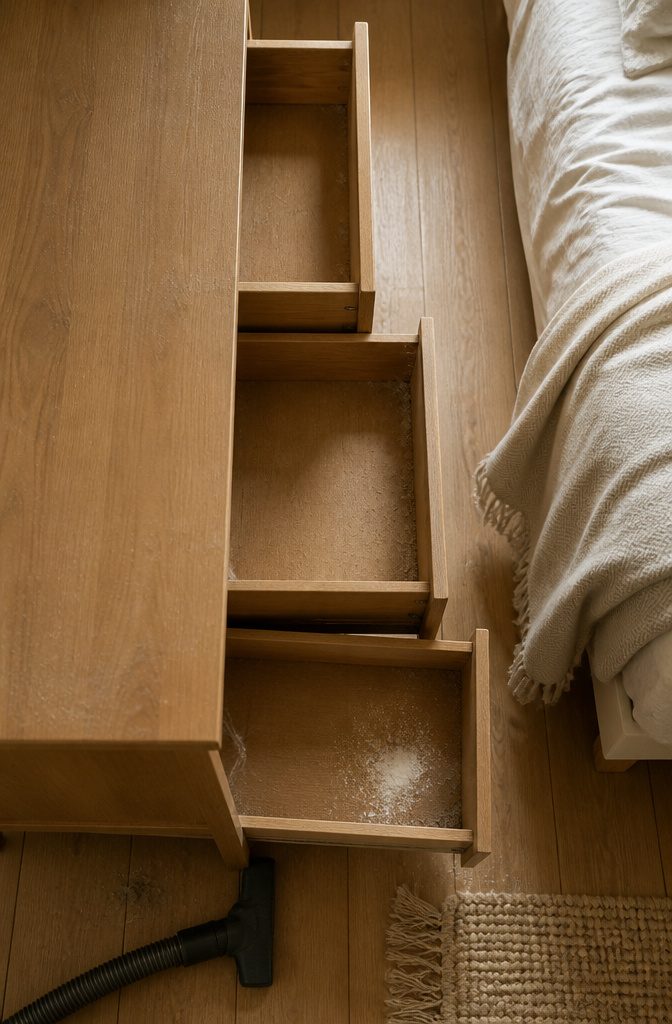
Start with a thorough vacuum of the entire piece before any cleaner touches it. Loose dust, bugs, and cobwebs stick around in joints and under surfaces, and wiping over them just spreads the mess into a film.
Pull out every drawer if your piece has them and get the vacuum nozzle into corners, along inside edges, and anywhere hardware meets wood.
If the furniture smells musty, set the drawers outside in direct sun for a few hours. Sunlight clears trapped odor better than most sprays, and it works on mild surface stains at the same time.
You can also sprinkle baking soda inside drawers or cabinets while they air out; leave it for an hour or two, then vacuum it up.
A sunny day makes both steps faster, but baking soda alone works if you’re cleaning indoors or in winter.
3. Wipe With Water and Mild Detergent
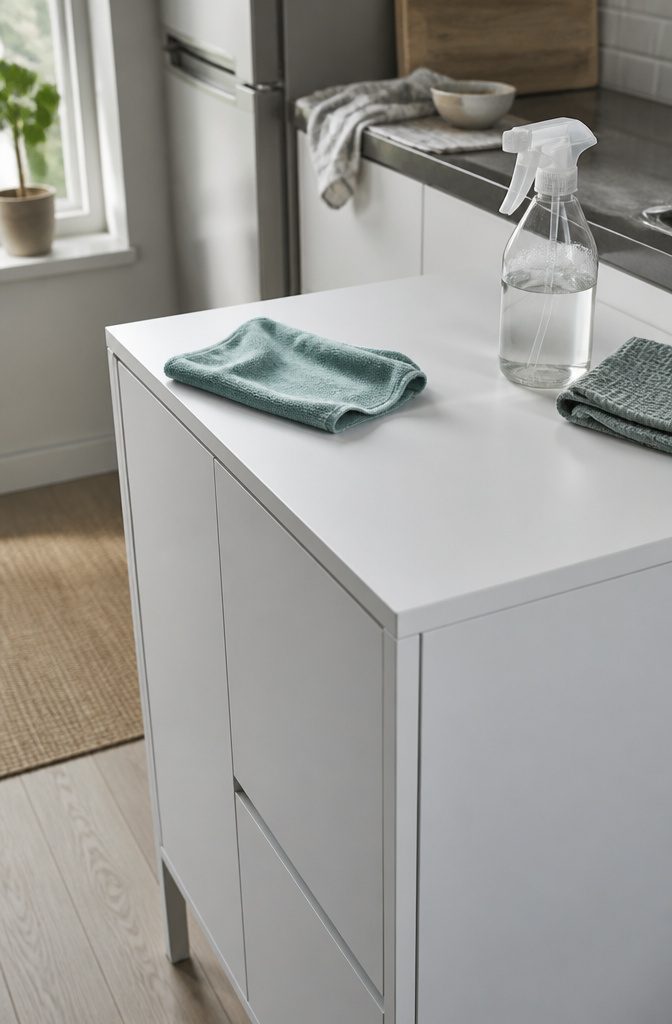
Once you’ve dusted, mix warm water with a few drops of dish soap and wipe down every surface with a damp microfiber cloth.
The cloth should be damp enough to lift grime but not so wet that it puddles or soaks into seams.
I work from top to bottom, then flip the piece to get the back and underside where dust settles even if you never see it.
A homemade cleaning solution that cuts grease and deodorizes at the same time mixes 4 cups warm water, 1/2 cup vinegar, 1/2 teaspoon dish soap, and 10 drops lemon essential oil.
You can apply it with the cloth directly or pour some into a spray bottle, mist the surface, and follow with a gentle scrub. Either way works; the spray bottle just keeps you from oversaturating the rag.
Laminate surfaces handle this routine without complaint. Painted finishes tolerate it too, but keep the cloth only damp and avoid scrubbing one spot hard enough to wear through the topcoat.
4. Rinse and Dry Completely
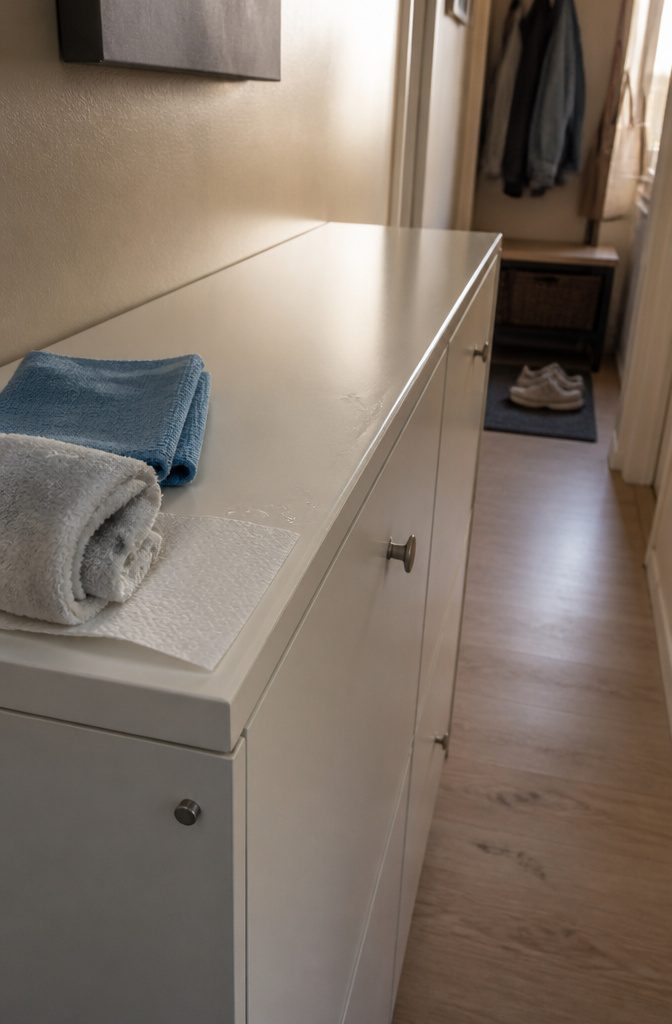
After wiping down the surface, go back over it with a clean cloth dampened in plain water.
This second pass lifts away any soap film the first cloth left behind. Soap residue dries cloudy on laminate and can streak on painted finishes, so a rinse matters even when the surface looks clean wet.
Dry the piece right after rinsing. I use a soft microfiber cloth for most surfaces and switch to paper towel on laminate, where it seems to pull moisture faster and leave less lint.
Water sitting on the finish is what causes the damage: laminate edges swell if moisture gets under the surface layer, and wood veneer can lift or darken where a puddle sat too long.
Get into edges and seams where water pools, and if you rinsed hardware, dry around the screw heads before moving on.
5. Try Vinegar Spray for Grease or Stubborn Stains
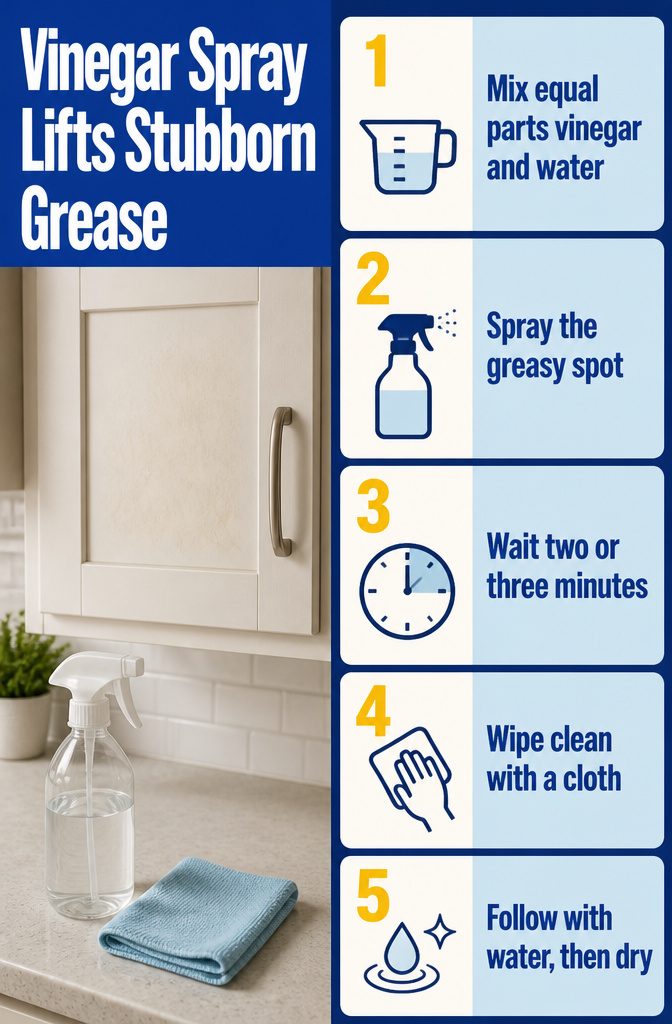
When soapy water slides off grease without lifting it, I switch to equal parts white vinegar and water in a spray bottle.
Spray the spot, let it sit for two or three minutes while the acid cuts through the buildup, then wipe with a clean cloth.
The vinegar smell fades as it dries, but if you want it gone faster, follow with a plain water wipe and dry the surface right away.
This works on laminate and painted surfaces alike. I use it on kitchen cabinet doors where cooking spray settles into a film, and on drawer fronts where hand oils build up around the pulls.
The wait matters: wiping too soon leaves residue, but three minutes is usually enough to break down what plain detergent could not reach.
6. Use Baking Soda Paste for Set-In Marks
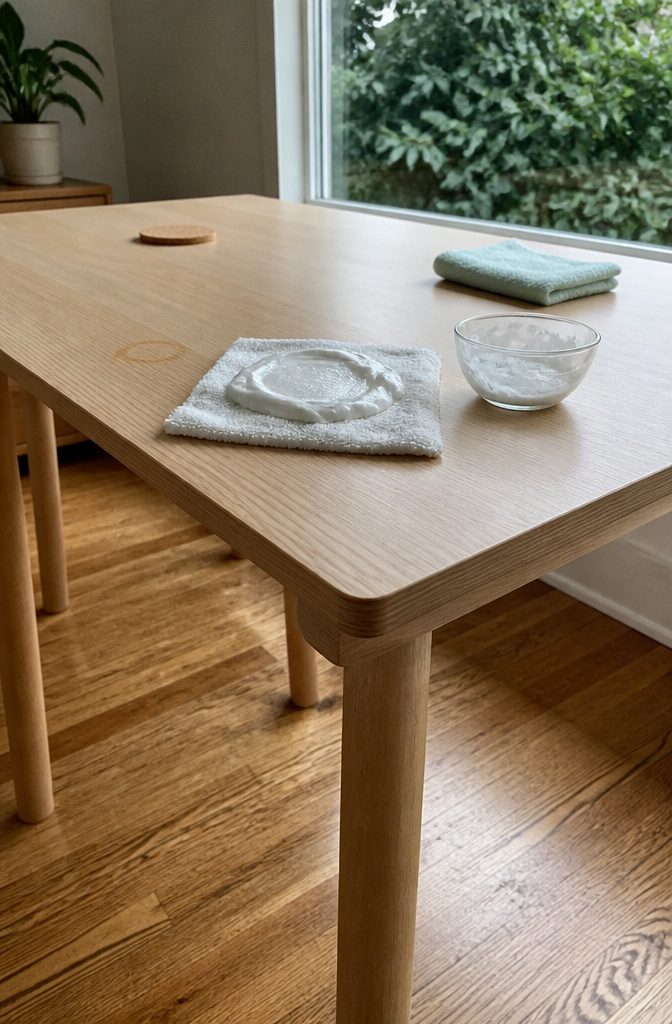
Baking soda paste handles the stains vinegar leaves behind. Mix three parts baking soda to one part water until you have a thick paste that holds its shape on the cloth.
Apply it directly to the mark, let it sit for two minutes, then scrub gently with a soft cloth in small circles. The mild abrasive lifts grease and set-in grime without scratching laminate or painted surfaces.
Rinse the area with a damp cloth, then dry it completely with a towel so moisture doesn’t sit on particle board edges. This method works on coffee rings, hand oils, and sticky residue that wiped cleaning misses.
7. Test Acetone in an Inconspicuous Spot if Marks Remain
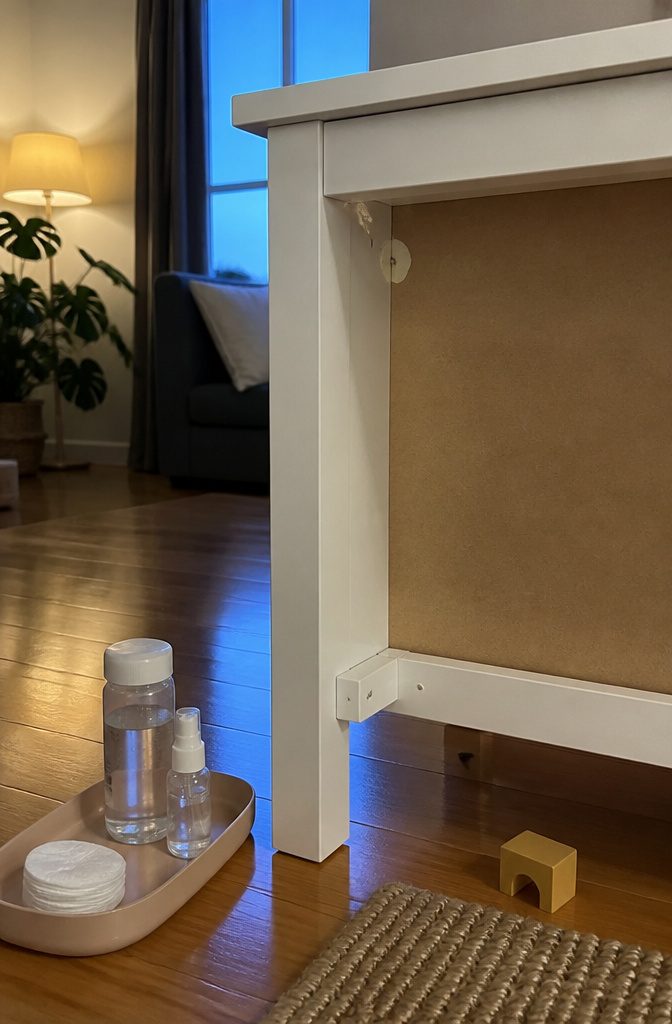
Acetone may lift permanent marker or stubborn stains, but it strips painted surfaces and can remove paint entirely. Test it on a hidden spot before you commit: the back of a leg or the underside of a shelf.
Nail polish remover contains acetone, but it carries oily ingredients that complicate cleanup. A paint store sells pure acetone if you want the solvent without the extras.
Hand sanitizer is the other path.
The alcohol in it breaks down marker ink and wipes away cleanly, and you already have it in the cabinet. I reach for it first on light marks; acetone is for the ones that have been there a while.
8. Buff or Repaint If Cleaning Changes the Finish
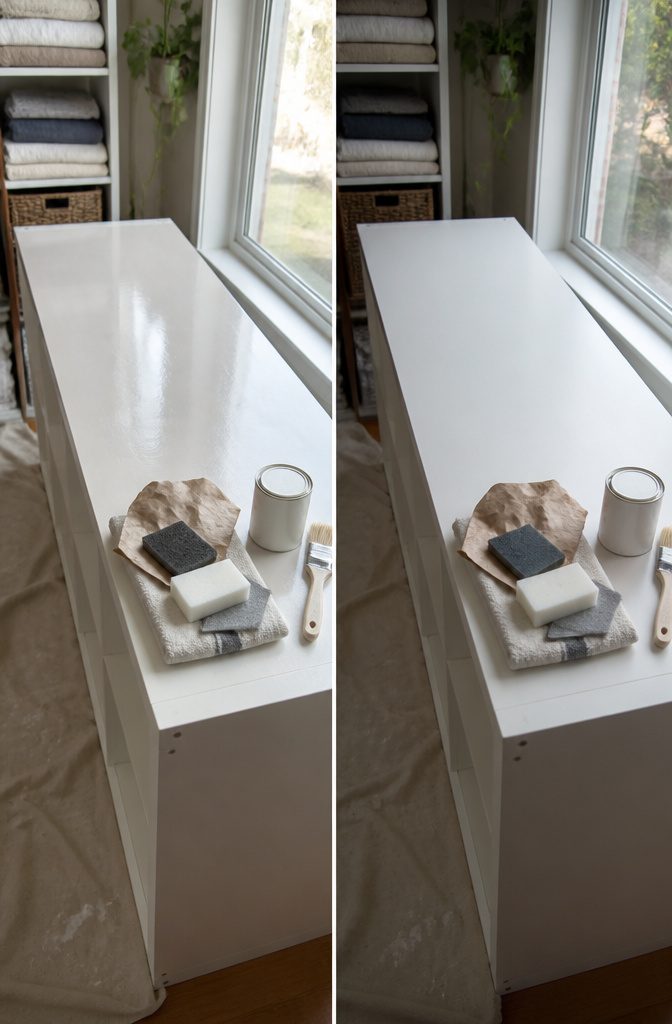
A cream cleanser left a glossy patch on one white IKEA table that stayed even after gentle wiping. That shine is likely polished or damaged finish.
You can repaint the whole surface or try buffing it out with gray or white Scotch-Brite pads, fine 3M pads on a random orbit sander, a brown paper bag (skip any seams or printing), or a P4000 Abralon pad followed by polishing.
These come from forum suggestions, not verified IKEA repair processes.
Buffing could scratch the surface or alter the sheen unpredictably. If you go the abrasive route, test in a spot no one sees first.
Repainting sidesteps the guesswork but means committing to the whole piece. I’d repaint unless the shine covers a large area and you’re willing to risk uneven results from sanding.
9. Address Lingering Odor After Cleaning
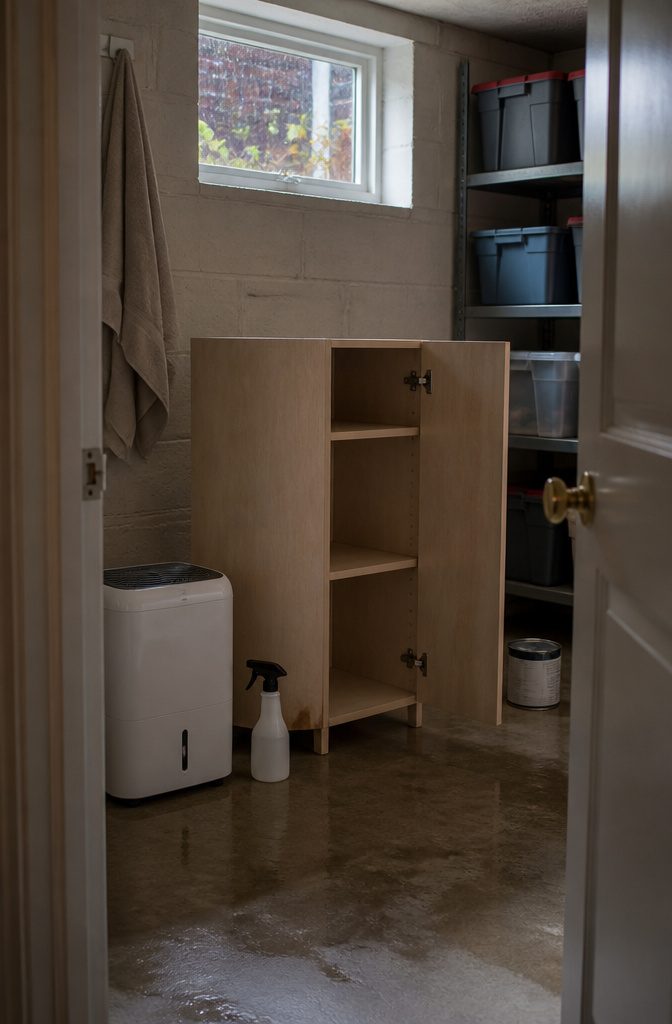
If a musty smell lingers after washing and air drying, the piece may have mold or mildew from sitting in damp conditions. Wash it with a mold control spray and let it dry completely.
You can also park the furniture next to a dehumidifier in a basement or garage for a day or two to pull any trapped moisture out of the particleboard or veneer.
That step helps especially when the weather is rainy or humid and you can’t leave the piece outside in hot sun.
If the smell still won’t budge, an odor- and stain-blocking primer seals it in permanently. The catch: you have to paint over the primer, so keeping a natural wood finish stops being an option.
It works, but it changes the project from cleaning to refinishing. I’d save it for a piece you were planning to paint anyway.
Match the Cleaner to the Material
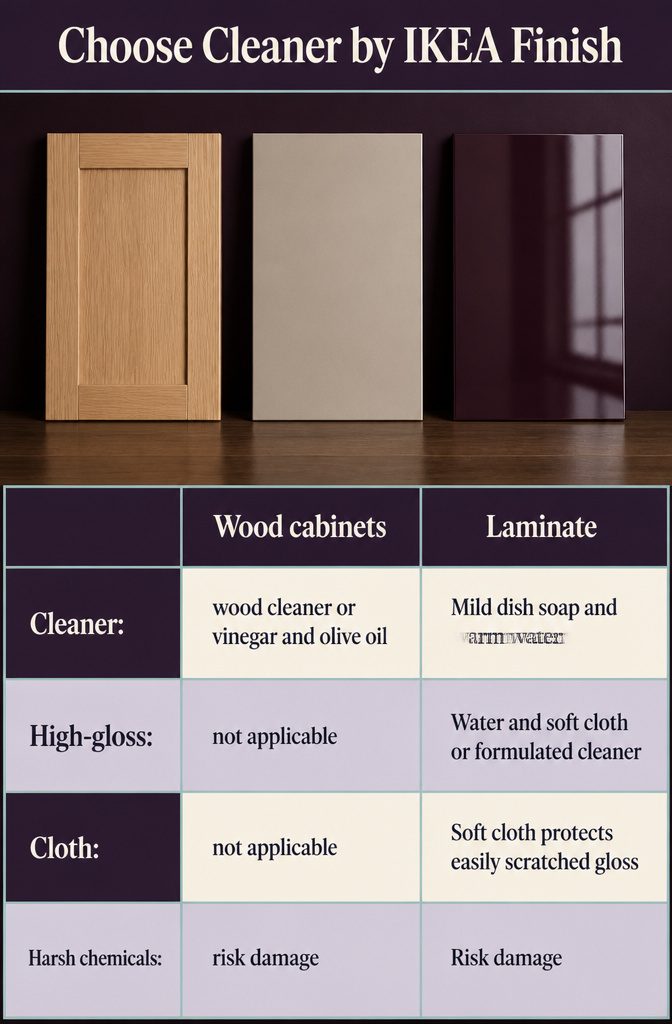
Wood-specific cleaners or natural options (vinegar and olive oil) are the safe route for wood cabinets.
Laminate takes mild dish soap and warm water; high-gloss finishes need a soft cloth dampened with water or a mild cleaner made for that surface. Harsh chemical cleaners risk damaging any of them.
What to reach for:
- Wood cabinets: wood cleaner or a natural mix of vinegar and olive oil
- Laminate: mild dish soap and warm water
- High-gloss finishes: water and a soft cloth, or a cleaner formulated for high-gloss surfaces
The gloss finish scratches easily, so the cloth matters as much as the cleaner. I stick with the gentler option first and move to something stronger only if the mild version leaves a mark behind.
Clean Hardware and Prevent Future Buildup
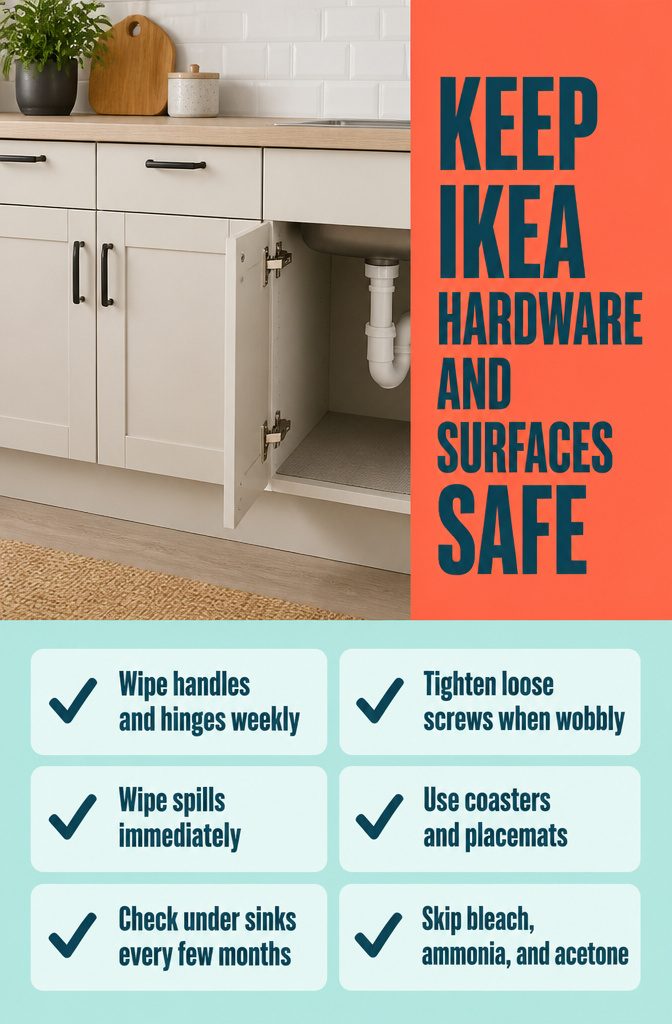
Hardware stays cleaner when you wipe handles and hinges with a damp cloth every week or two, and tighten loose screws as soon as you notice wobble.
A screw working its way out leaves a bigger hole every time you open the door, and the fix takes ten seconds now versus a stripped hole later.
A few habits keep the rest of the piece ahead of damage:
- Wipe spills immediately — water, coffee, anything acidic. Laminate can take moisture for a minute or two, but twenty minutes is long enough to lift an edge or cloud the surface.
- Skip harsh chemical cleaners. Bleach, ammonia and acetone all strip IKEA finishes faster than they clean them.
- Use coasters and placemats on horizontal surfaces. Heat rings and water stains both happen before you notice, and neither buffs out of laminate.
- Check underneath sinks and behind dishwashers for leaks every few months. A slow drip warps particleboard long before it pools on the floor.
What Not to Use on IKEA Finishes
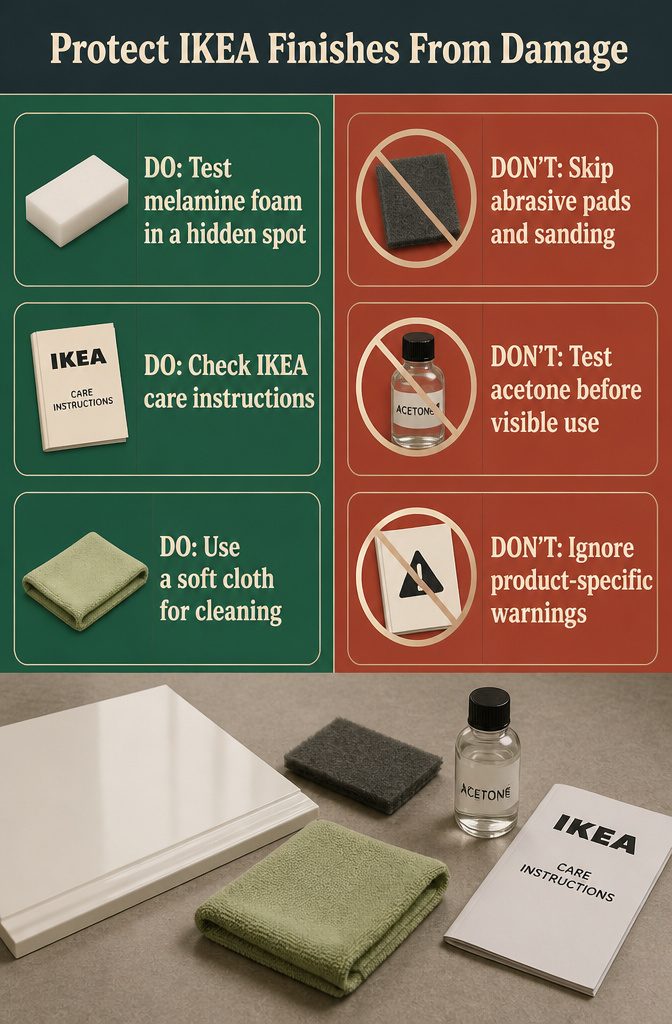
Here are the products and methods that scratch, strip or dull IKEA finishes faster than they clean them:
- Magic Erasers are melamine foam and abrasive. They leave scratch patterns on polished surfaces and some glass compounds. Test on a hidden spot before using one anywhere visible.
- Abrasive pads and sanding change sheen. They work for stripping paint or removing deep damage, but they also remove finish. For cleaning rather than refinishing, skip them.
- Acetone requires testing. It works on some laminate adhesives and paint marks, but it can also de-gloss a painted surface or remove the paint entirely. Pure acetone is stronger than nail polish remover and more likely to cause problems.
- Avoid anything the manufacturer warns against for the specific material. IKEA publishes care instructions by product line, and following them prevents damage you cannot undo.
Frequently Asked Questions
How can I clean my wooden IKEA chairs?
Use a wood cleaner or a natural mix of vinegar and olive oil on solid wood surfaces.
Wipe with a damp cloth using warm water and a few drops of dish soap, then rinse with plain water and dry immediately. Water left sitting on wood can darken the finish or cause veneer to lift.
What is the best thing to clean IKEA fabric chairs with?
Vacuum the fabric first to remove loose dust and debris, then spot-clean stains with a mixture of warm water and a drop of dish soap applied with a damp cloth.
For set-in marks, apply a baking soda paste (3 parts baking soda to 1 part water), let it sit for 2 minutes, scrub gently, then rinse and dry. Test any cleaner on a hidden spot first to avoid discoloration.